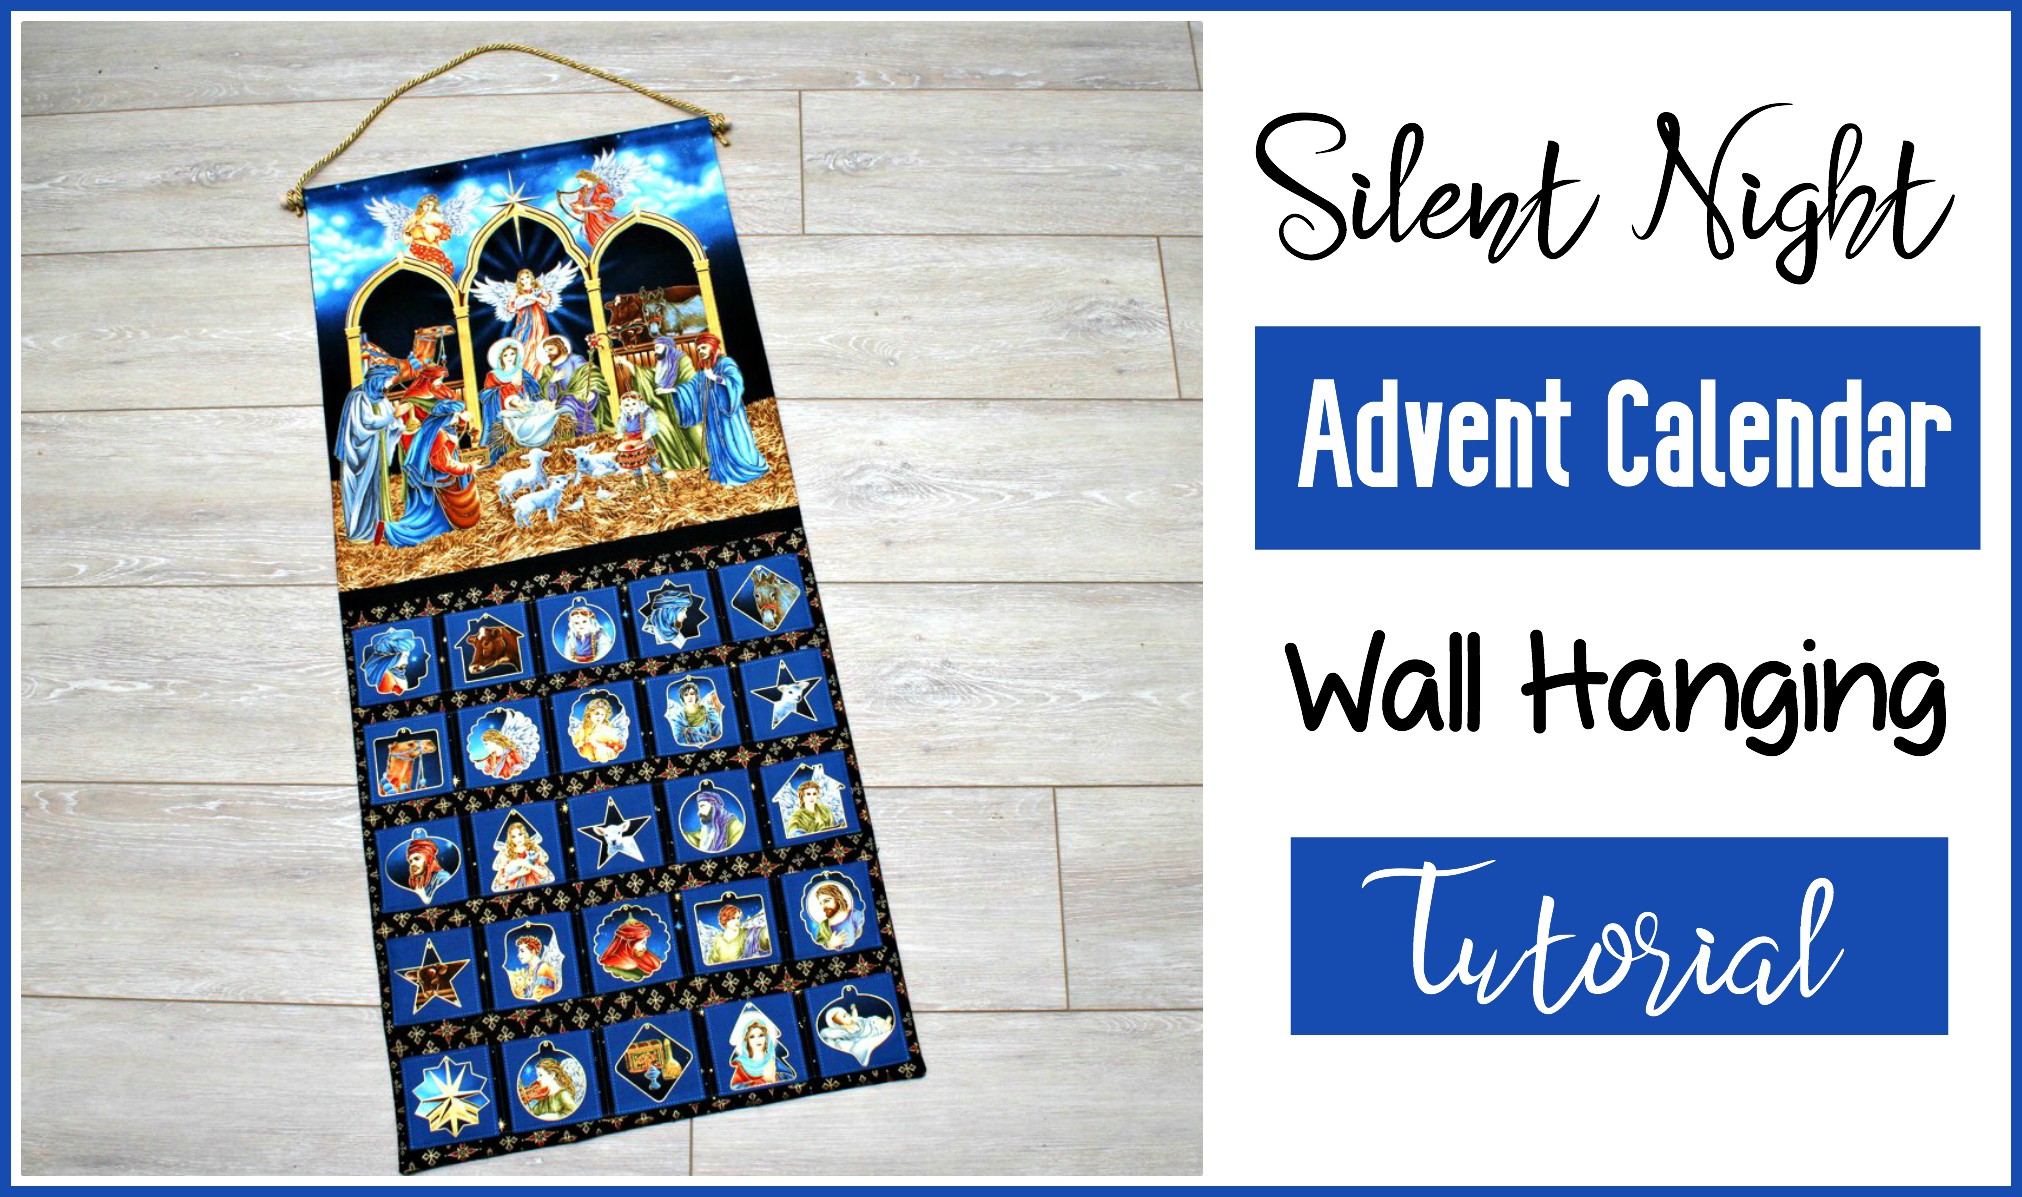
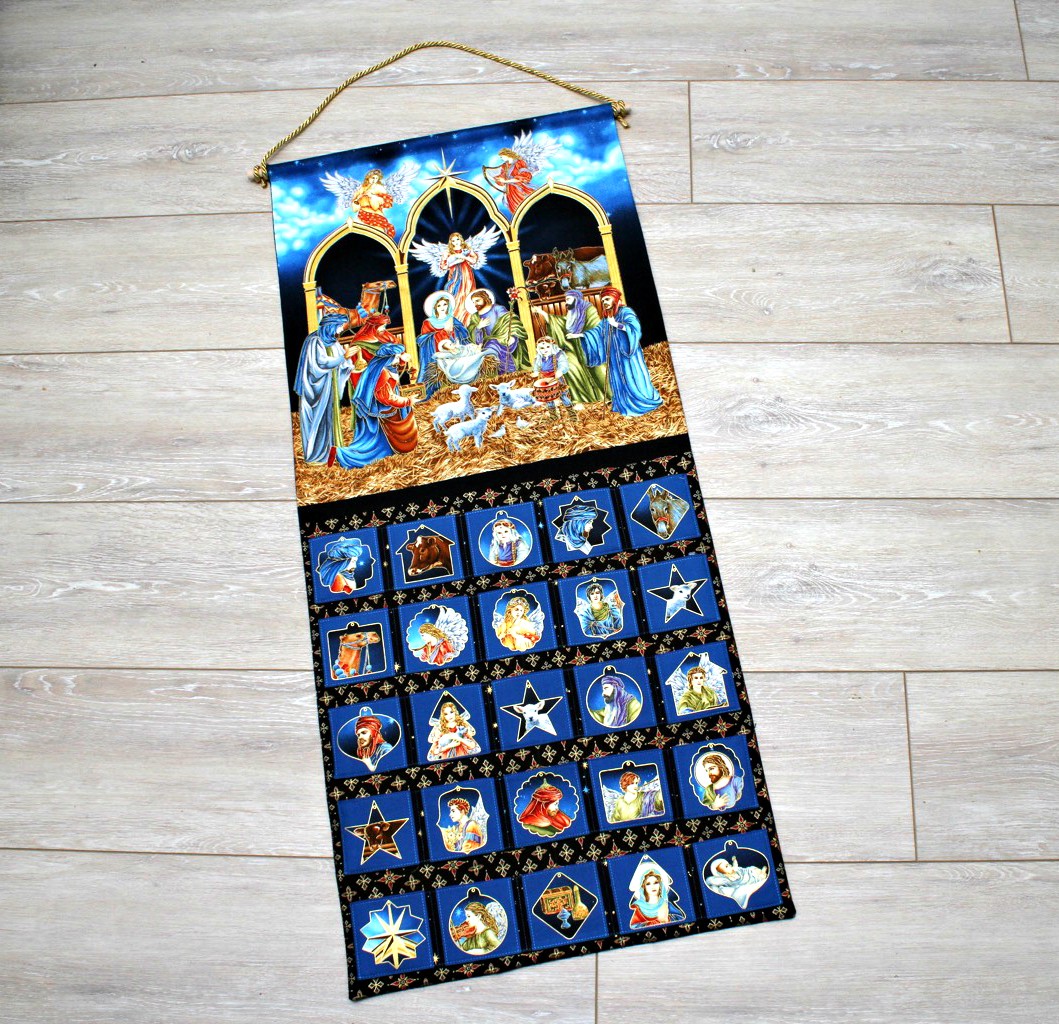
Silent Night Nativity Advent Calendar Wall Hanging


Countdown to Christmas with a beautiful Advent calendar you've made yourself!  This gorgeous Silent Night Nativity Advent Fabric Panel is designed as a quilt centerpiece, but with the easy steps below, it turns into a stunning wall hanging.
 
 
The padded pockets for each day of Advent are perfectly sized for treats, notes, chocolate coins or any little goodies.
 
 
Each pocket features an ornament style version of the Nativity figures in the triptych panel above it.  The metallic detailing gives it beautiful dimension too. 


The panel comes with easy-to-follow cut lines and directions on how to assemble the pocket section printed right on the panel.  The steps to turn it into a wall hanging are simple.
 

Materials:
- 1 1/2 yds coordinating fabric (Silent Night Star Foulard Black)
- 1/2 yd fusible fleece or fusible stabilizer
- 1/2 inch wide dowel rod
- 1yd cord or ribbon
 
All seam allowances are 1/4 inch unless otherwise stated.
 
After cutting each pocket strip from the panel, cut a strip from stabilizer that is 1/2 inch shorter (3 1/2 inches high) and fuse to the wrong side of each strip with iron.  Press top, bottom and side edges over to wrong side.
 
 
Top stitch the top edges in place.


Cut a 24 inch high by 21 inch wide piece from the coordinating fabric for the lower half of the calendar.  Mark the center vertically and horizontally.


Line up each calendar row, starting with the center along the center marking lines and placing the remaining rows an inch apart, pinning into place.  Stitch down the sides and bottoms of each row.


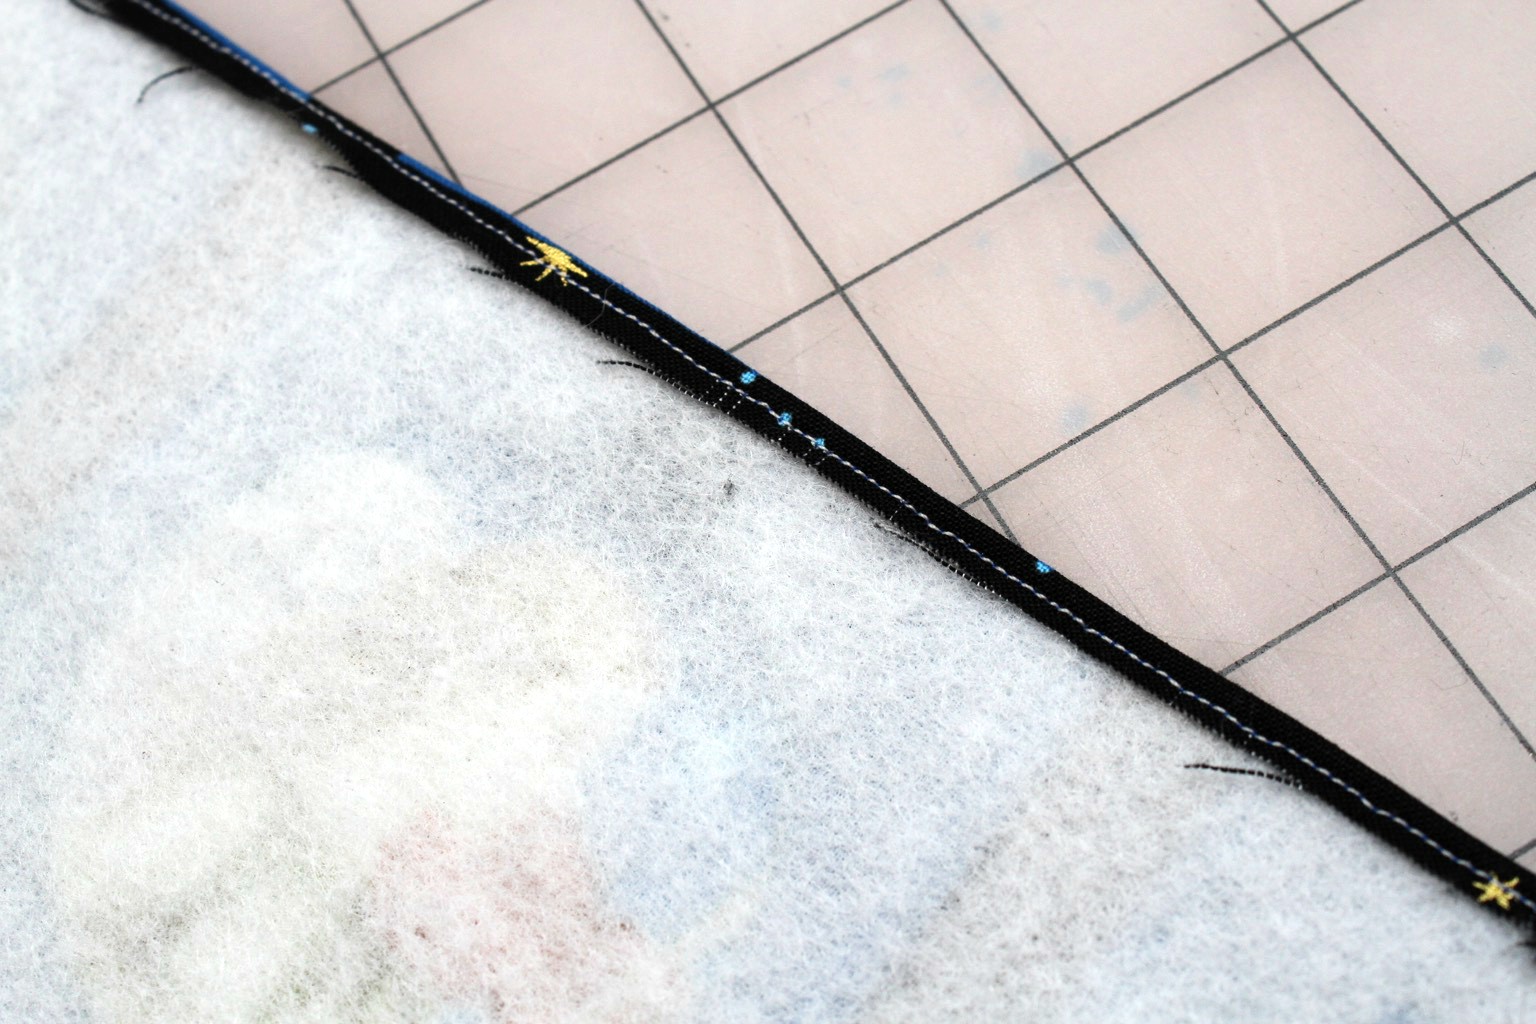
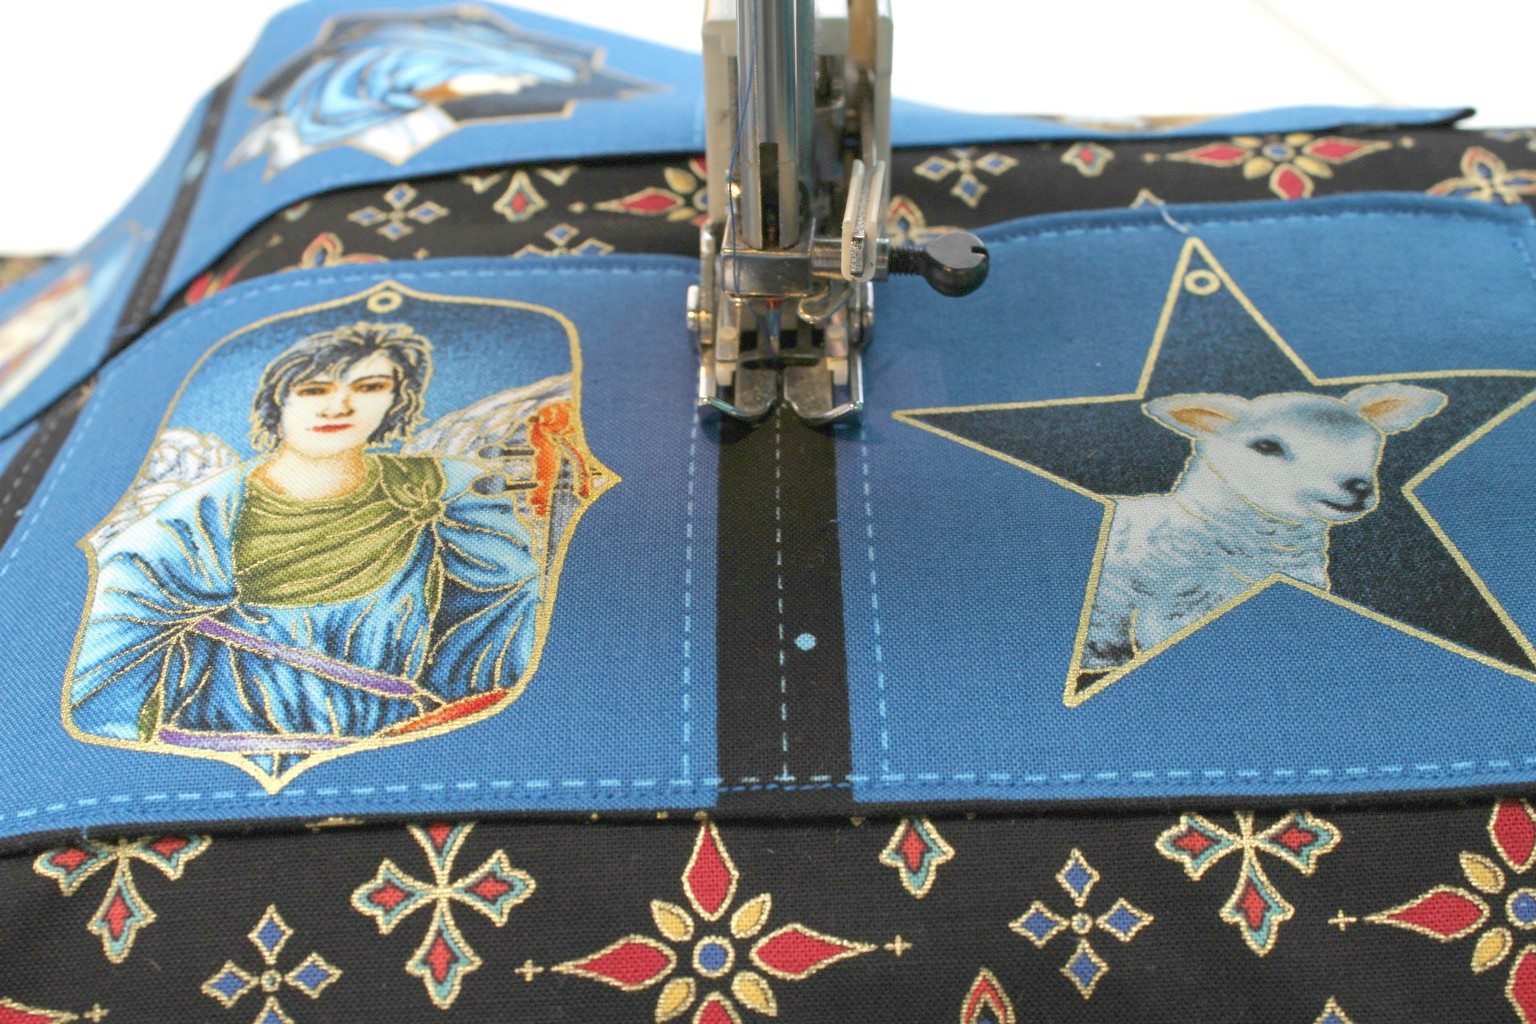
Stitch down the lines between each box to create the pockets.


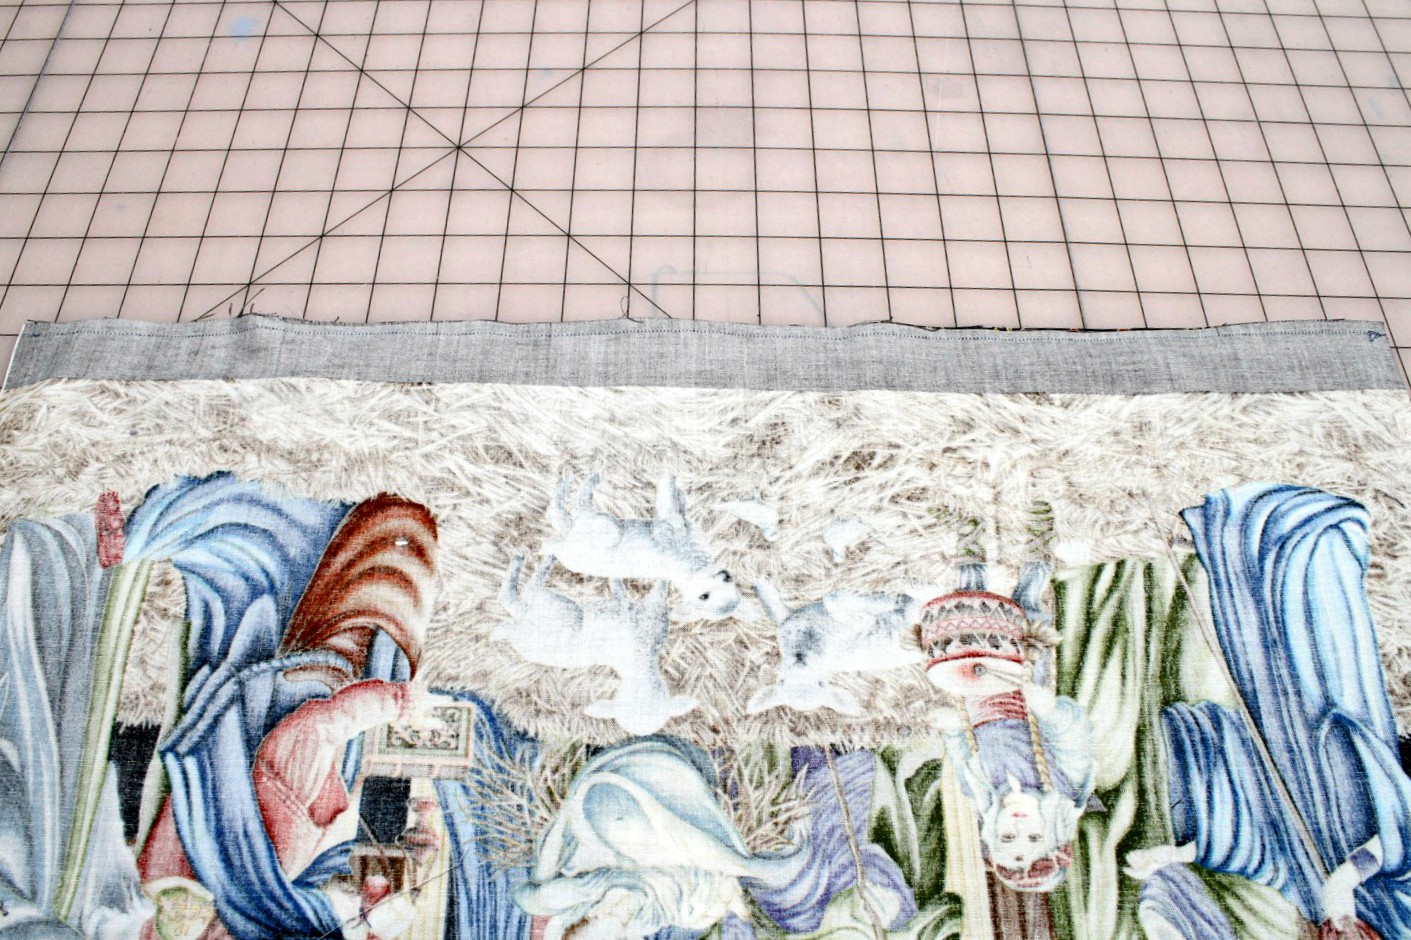
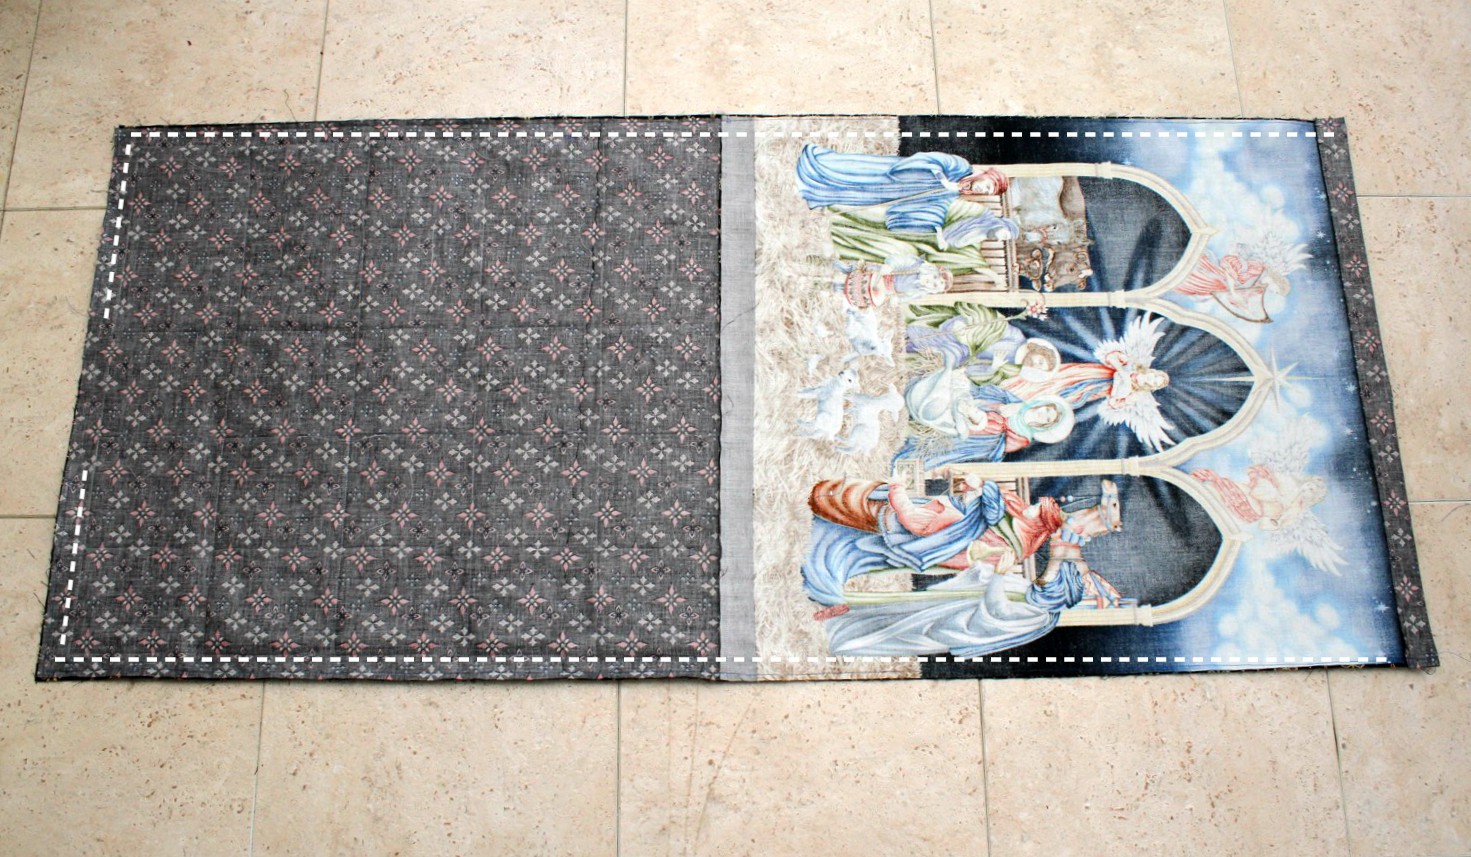
With right sides facing, stitch the bottom of the Nativity centerpiece to the top of the calendar piece.  Press open. 


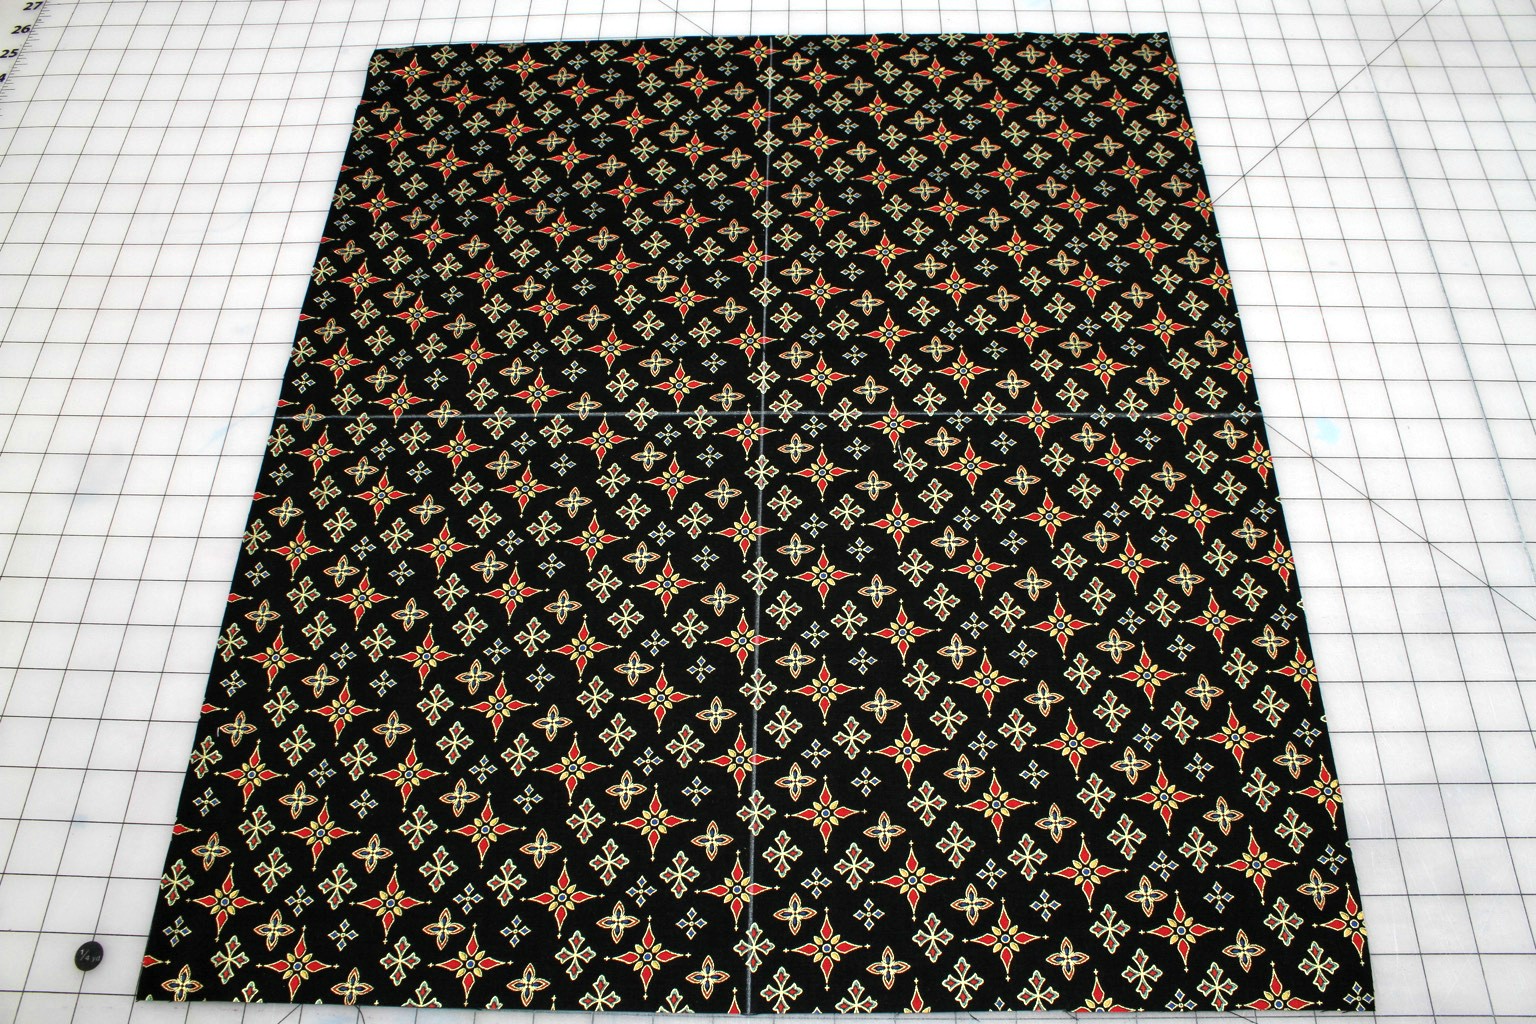
Cut a 49 inch long by 21 inch wide piece from the coordinating fabric.

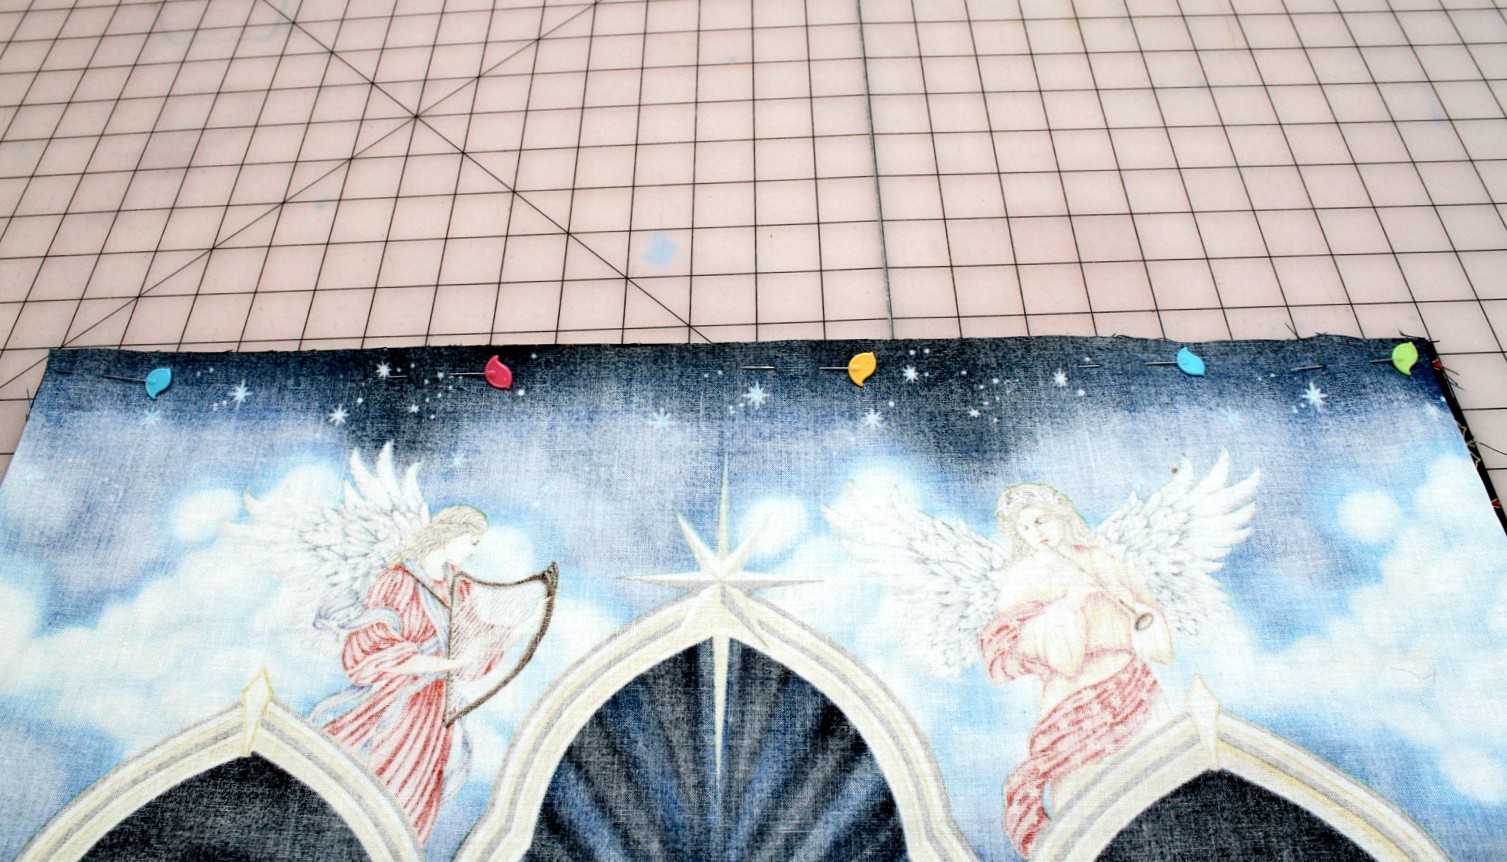
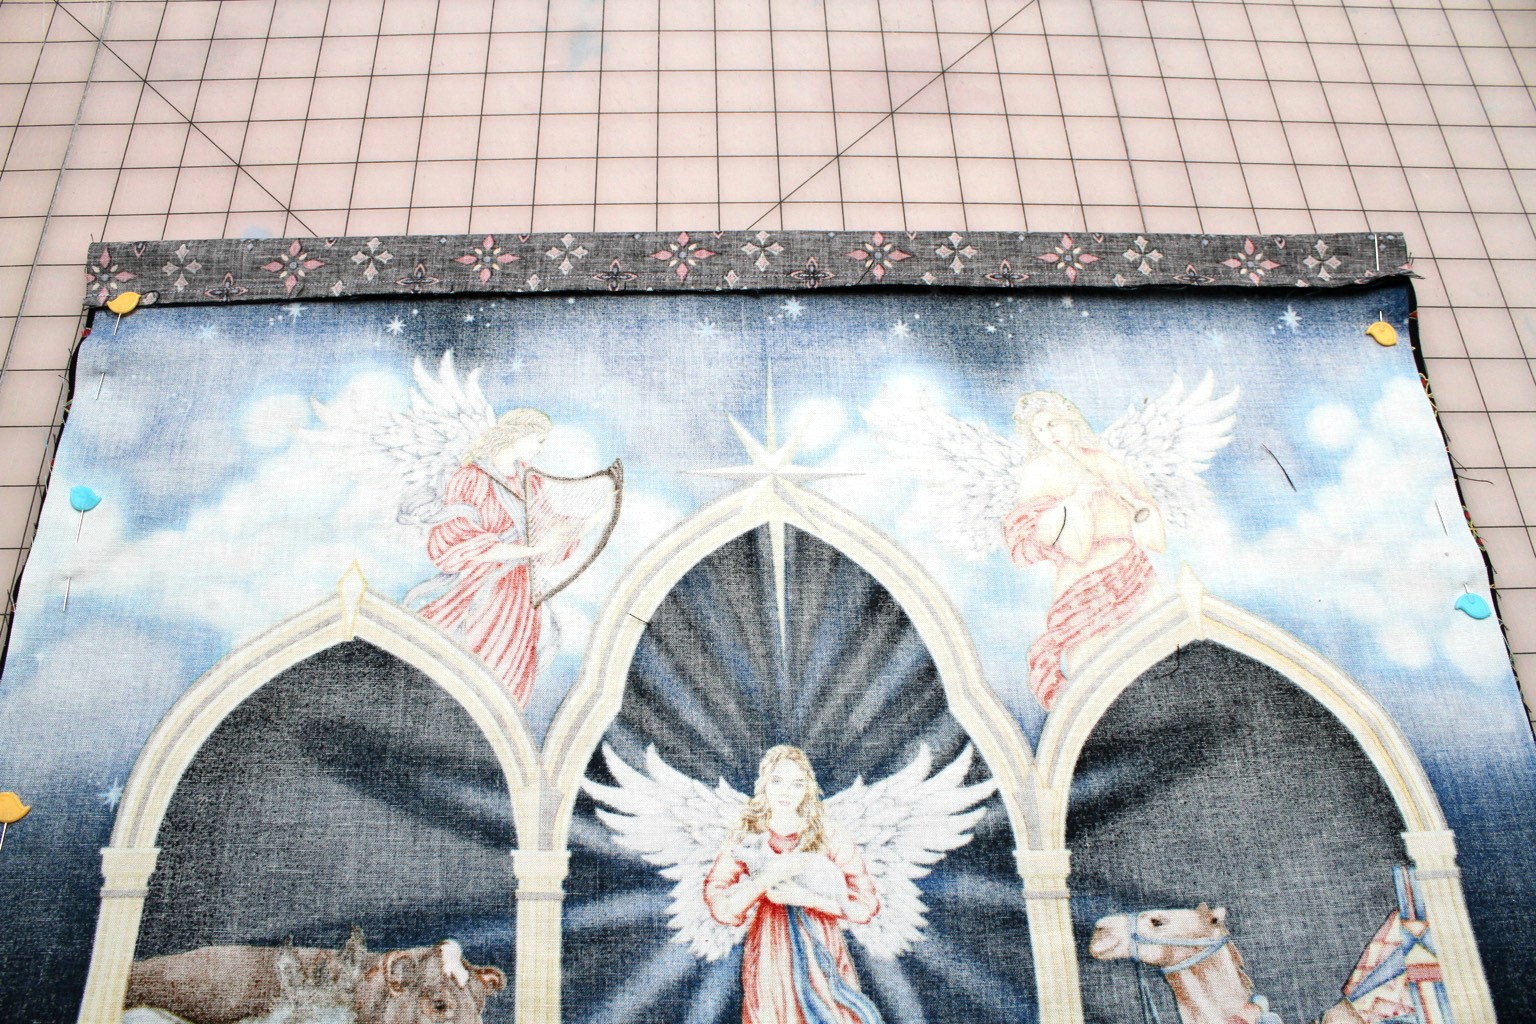
With right sides facing, pin, then stitch together the top end of the front to the backing.  


Bring the bottom ends together and begin pinning around the bottom and sides.  As the backing piece is longer than the front, it will wrap around to the front at the very top.


Stitch along sides and bottom, leaving a 3 inch gap at the bottom center for turning.  Turn right side out and press flat.


Slip stitch the bottom gap closed by hand.  Fold the top edge over to the backside 1 1/4 inches and stitch 1/8 inch from the edge.

Insert dowel rod (cut to 22 inches in length) into casing.  Attach cord or ribbon to create hanger at desired length.

Fill each pocket as desired.  Hang on the wall or door & count down the days to Christmas!


Leave a comment

Please note, comments must be approved before they are published