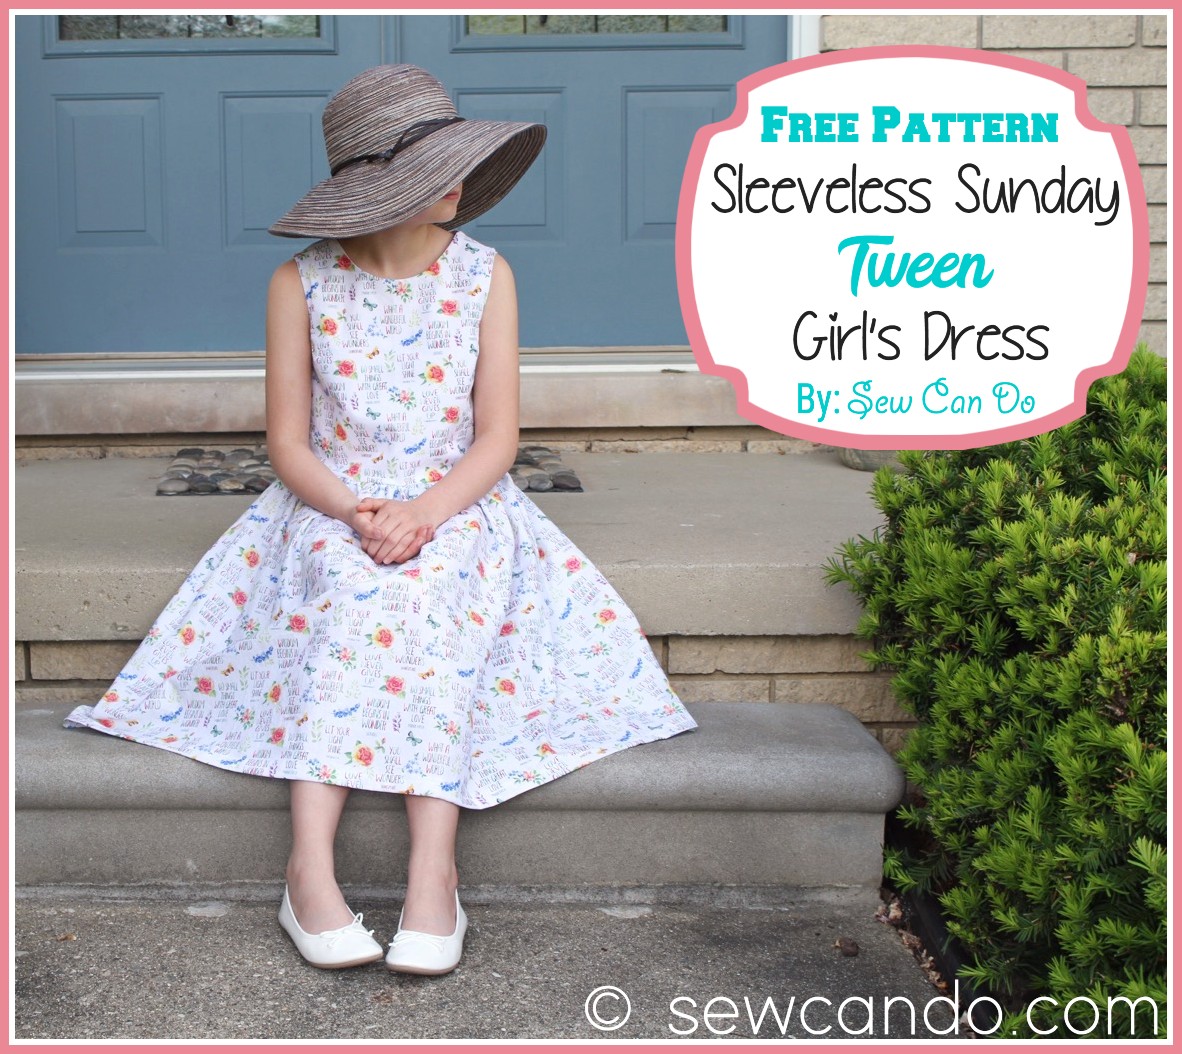
Make a versatile sleeveless dress that is nice enough for special events & church on Sunday, yet still casual for everyday with our
FREE PDF pattern Sleeveless Sunday Girl's Tween Dress!
It's been 2 years since we created our size 8-10 version and it's been so popular we wanted to provide the next size option for bigger girls. We know how hard it is to find dresses like these in stores. Or even find patterns for them. So many tween dress patterns have lots of fiddly, complicated details or take ages to sew. Not this one - and it's FREE!
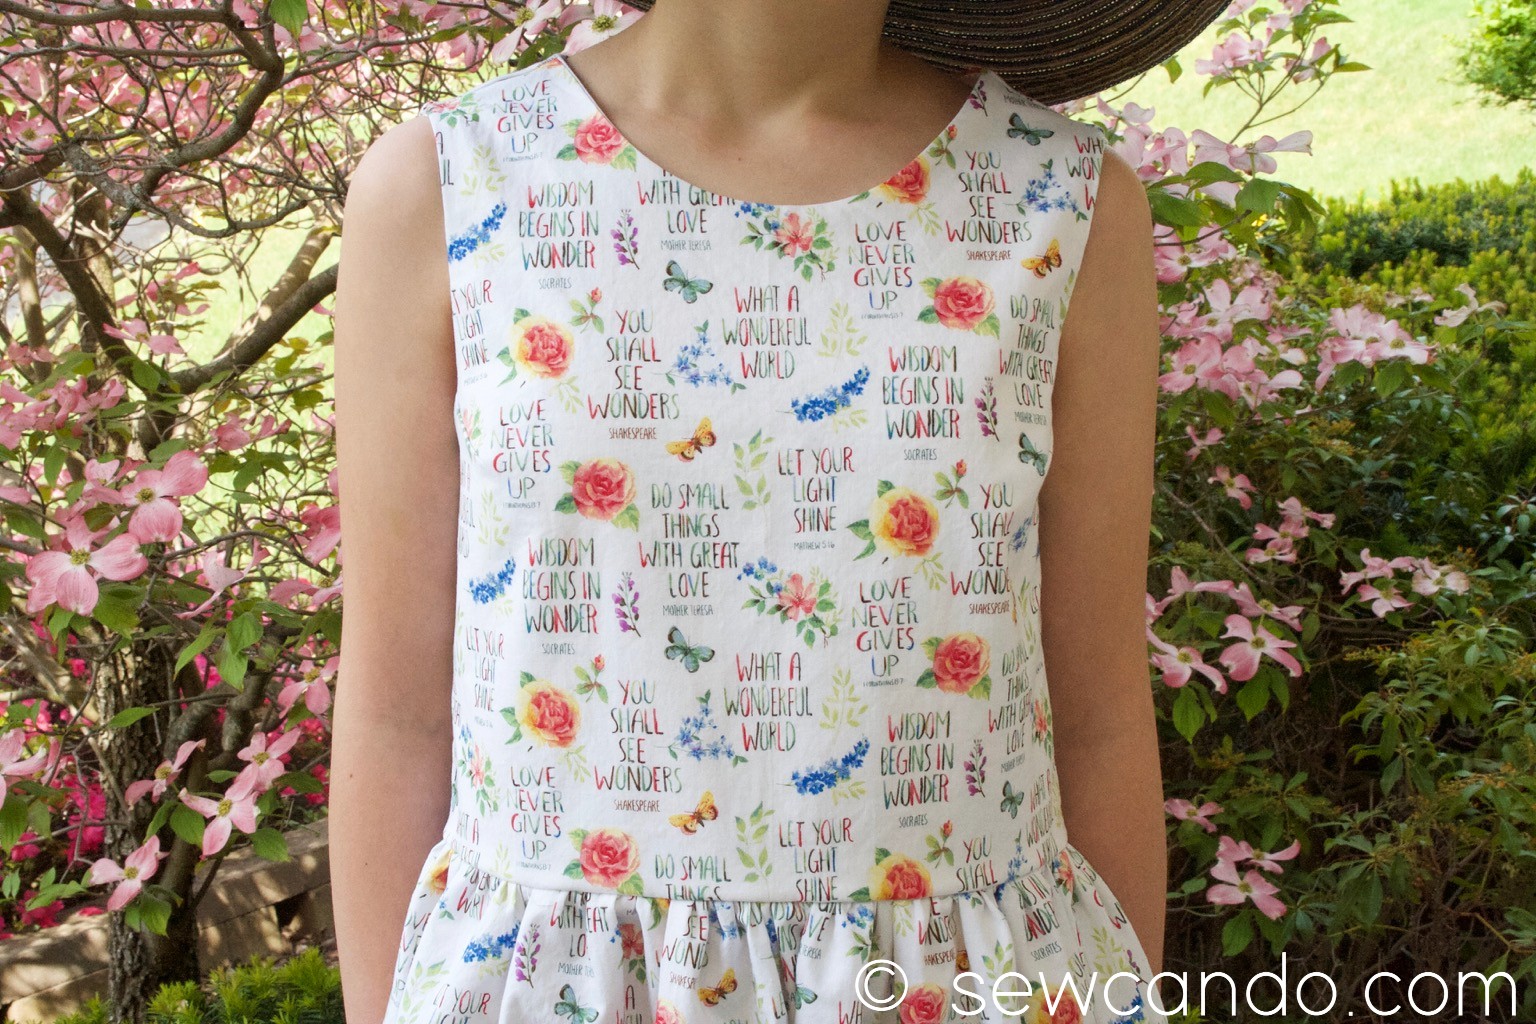
Most importantly, this size is designed to work with tween bodies that need more shaping to a dress bodice for the right fit. This pattern allows for that critical option:
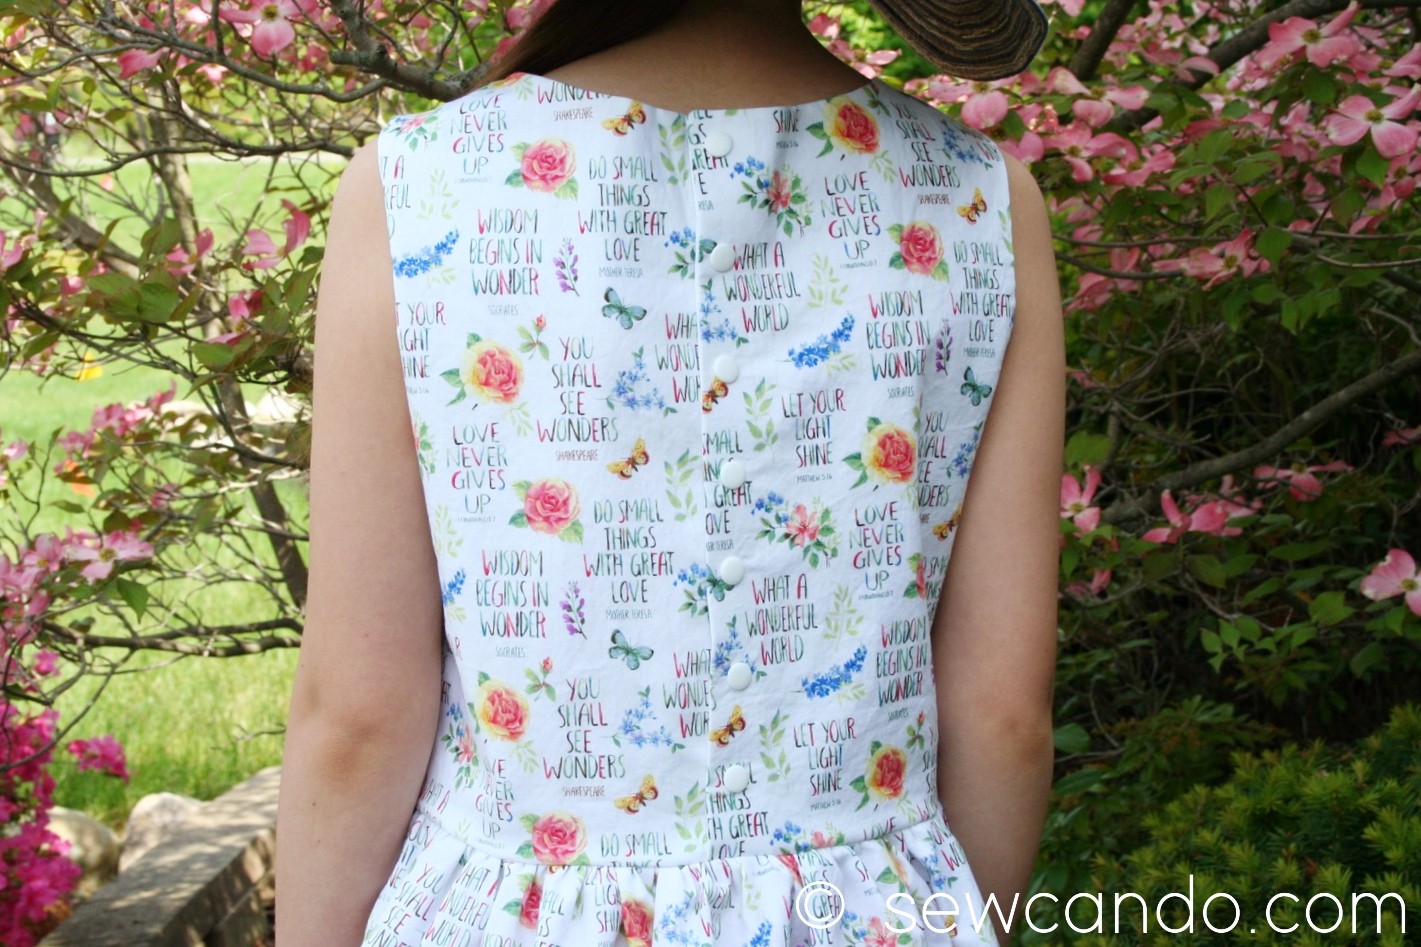
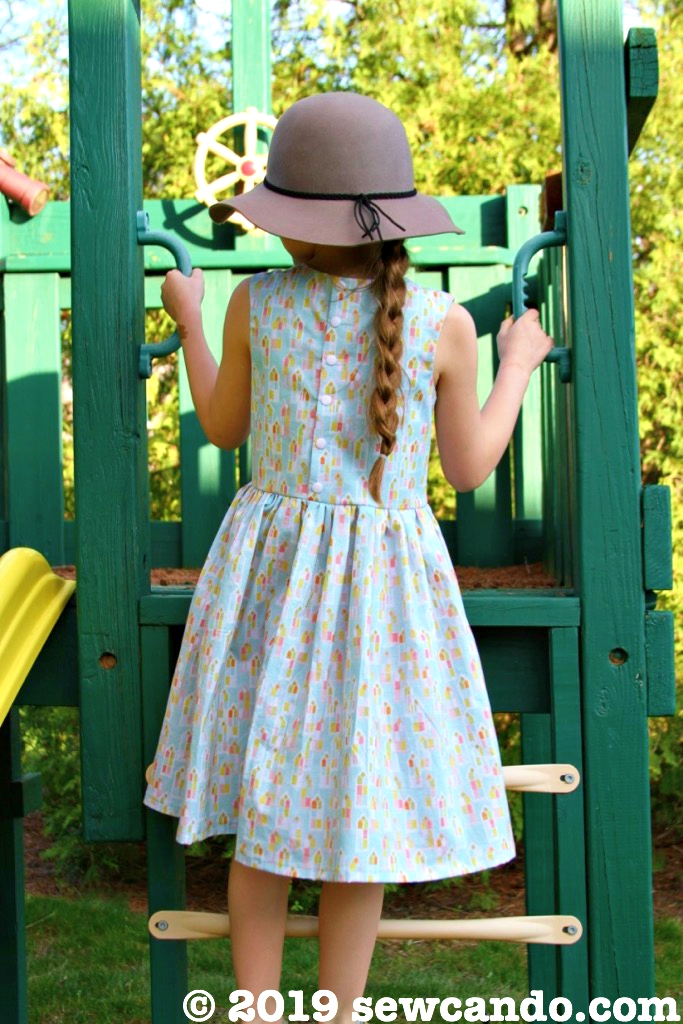
And just like our earlier version, the bodice is fully lined to give a nice finish, so no worries about any undergarments showing through! The snaps along the back center add a little detail and make it easy to wear too.
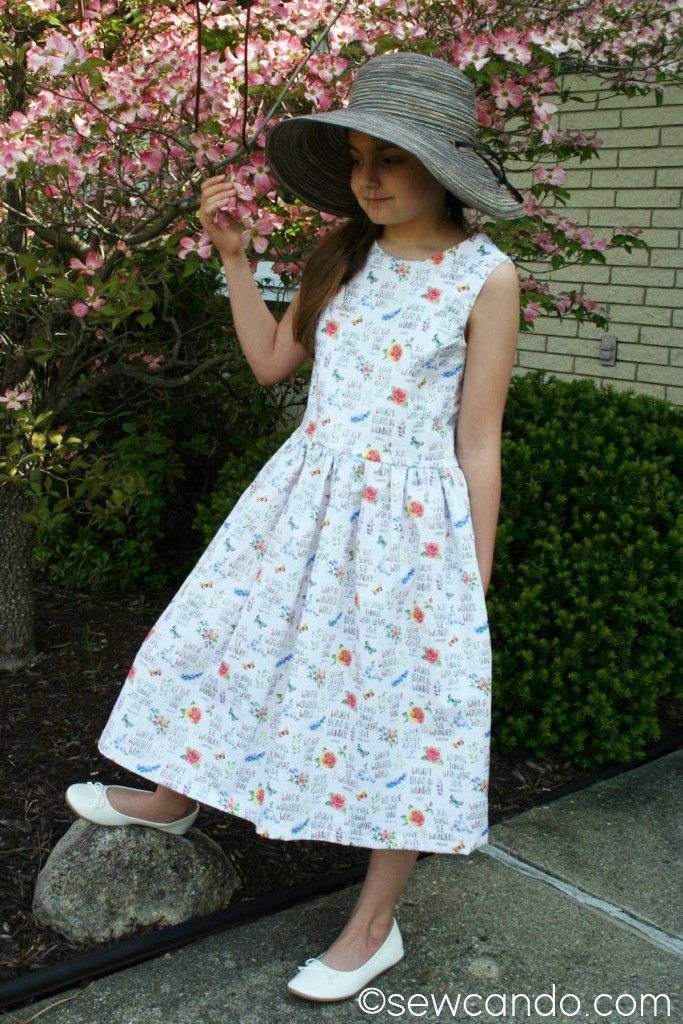
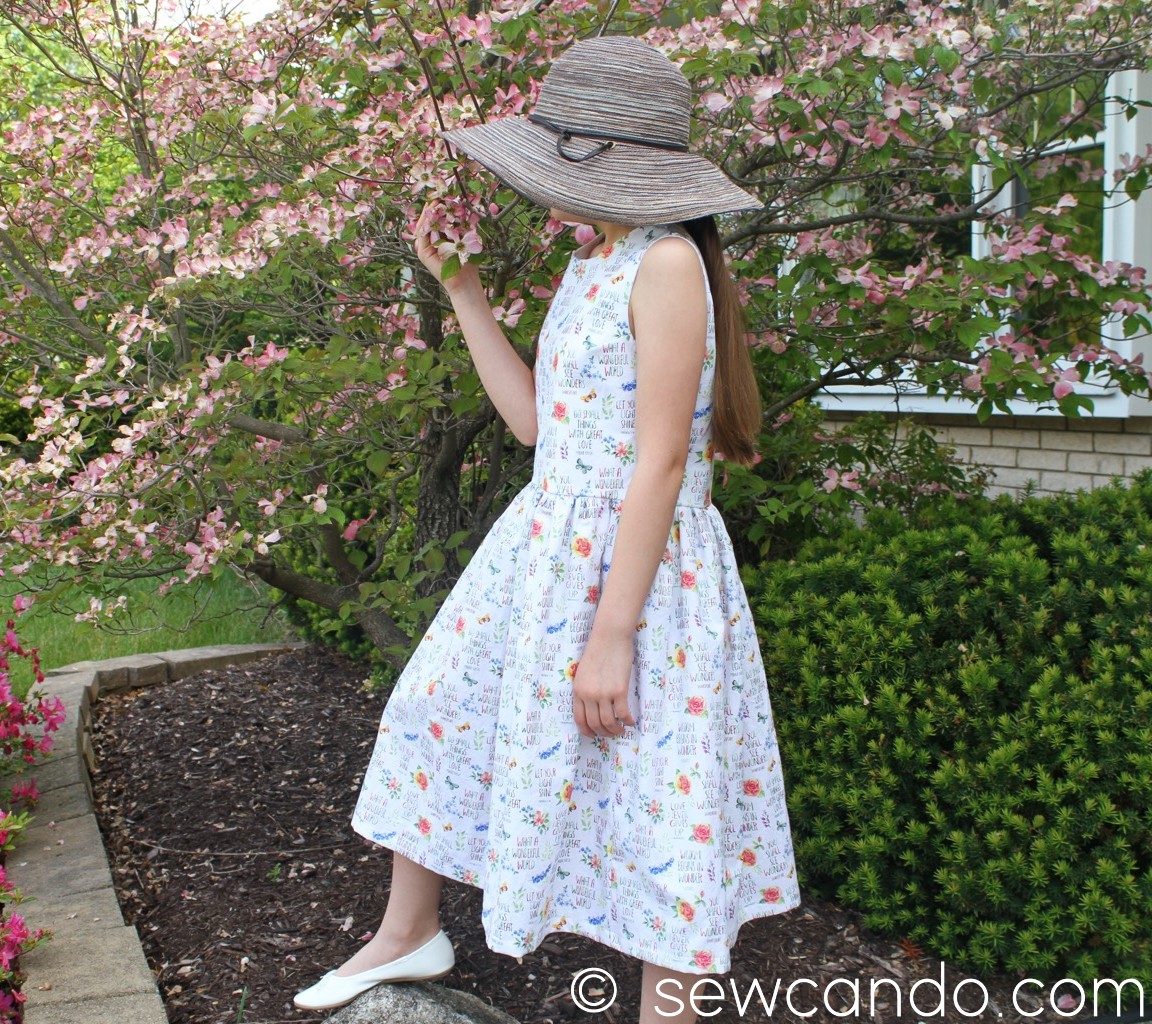
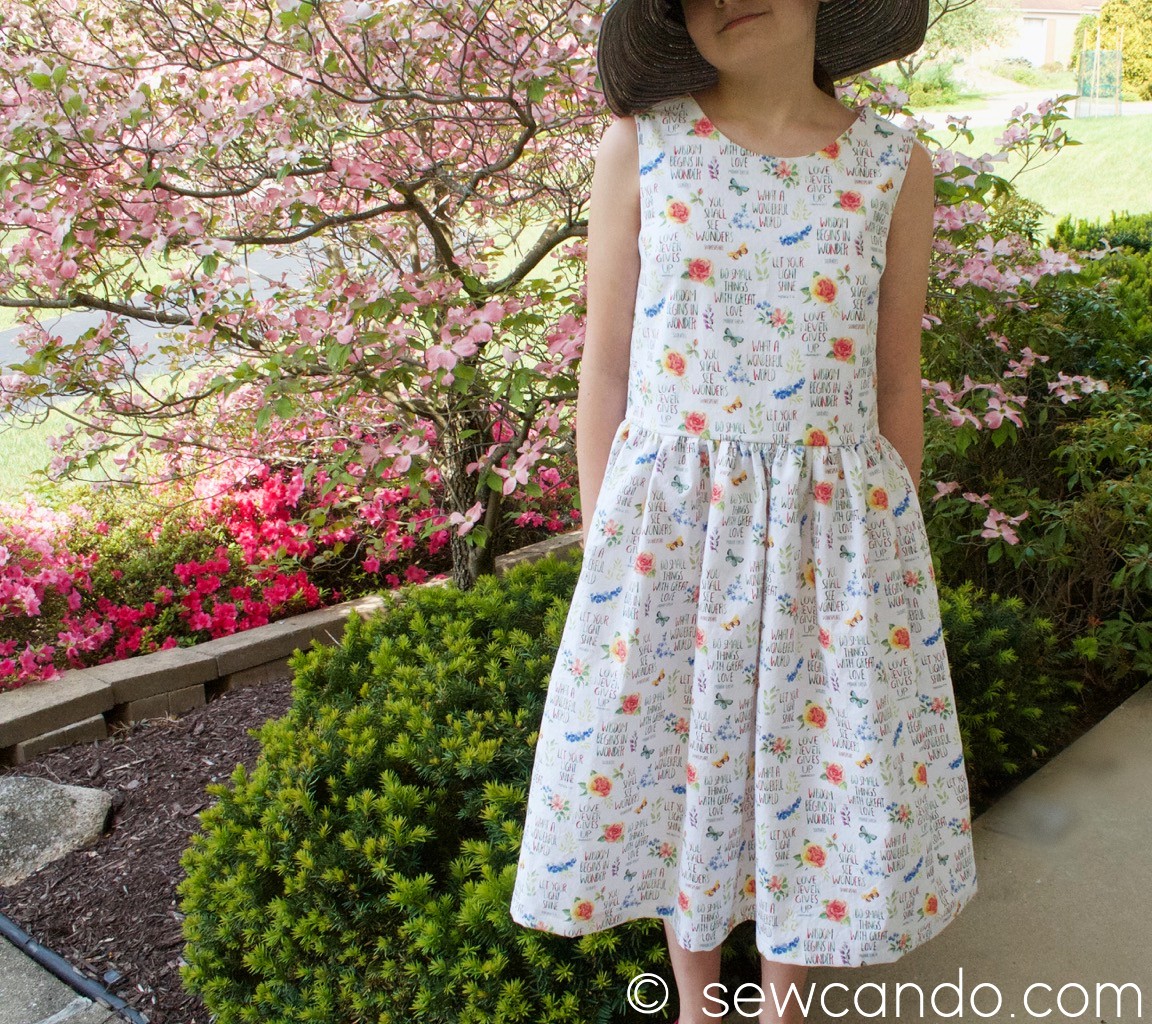
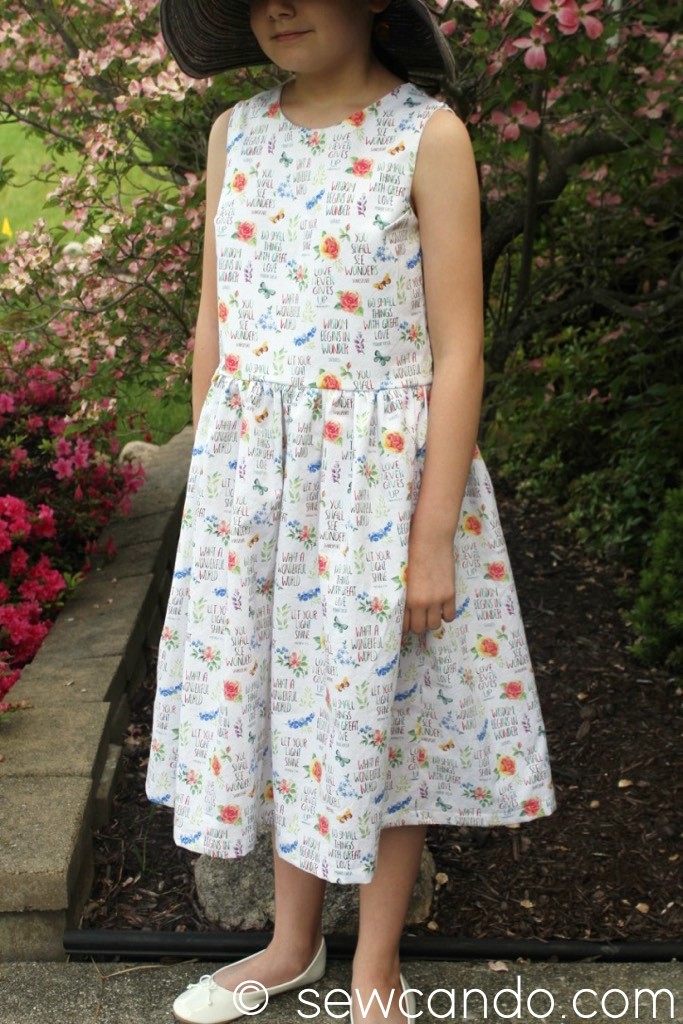
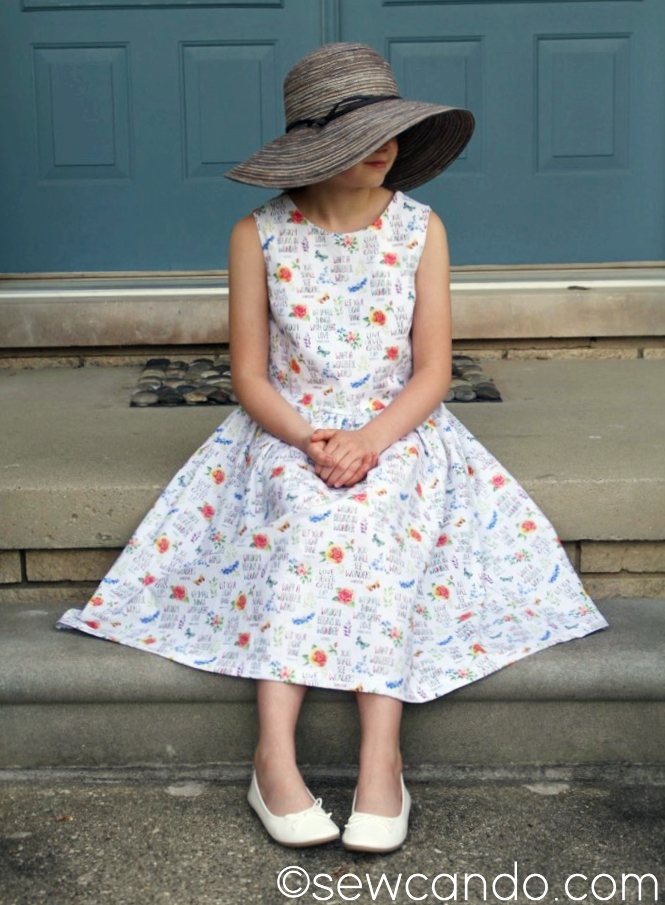
With a nice full skirt to be perfect on its own for those warm spring & summer days....
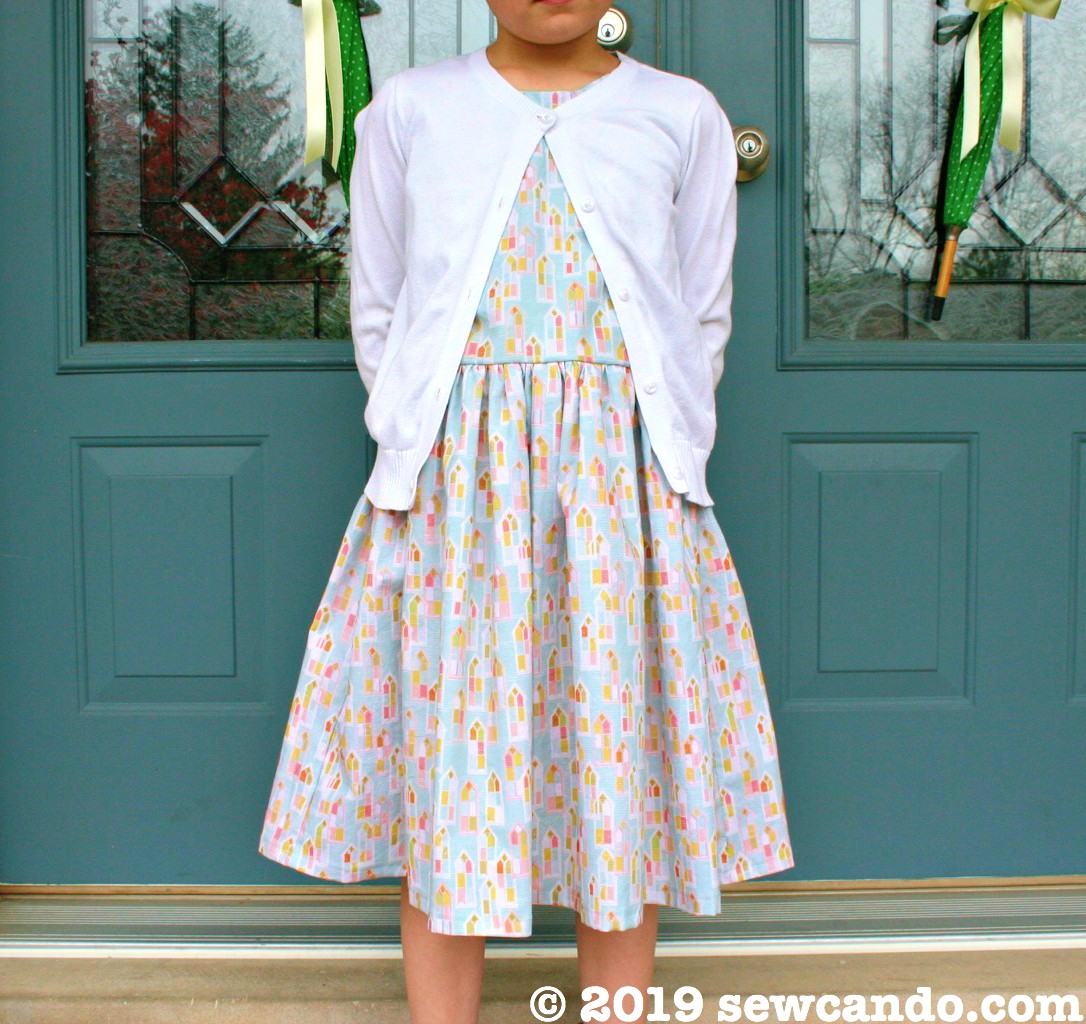
or paired with a little sweater for a nice outfit look.
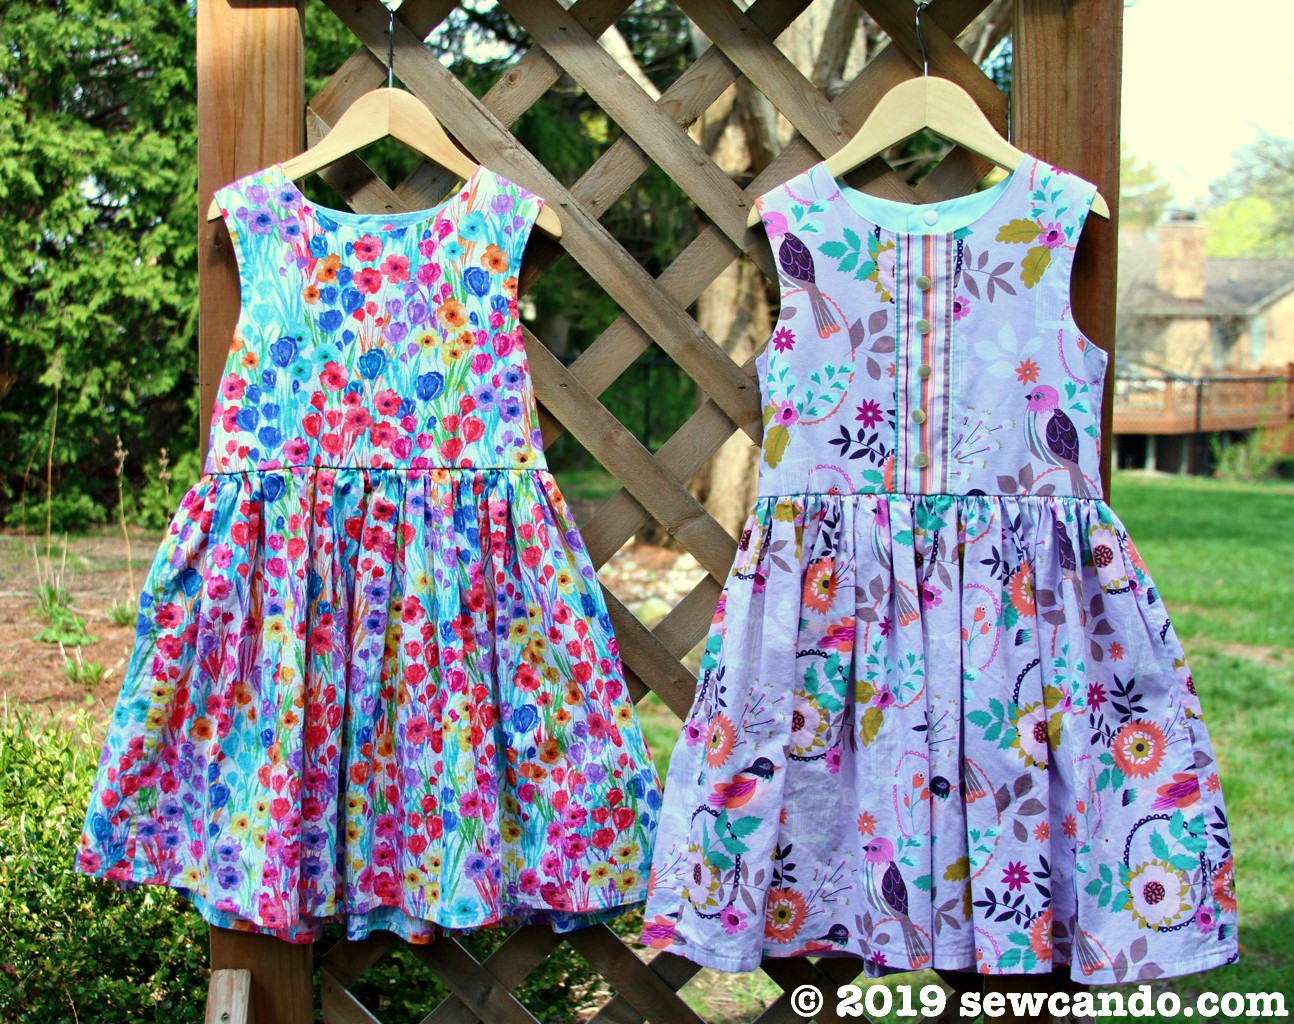
This pattern sews up so quick, it's easy to make a bunch of them. And now with multiple size options, you can have lots of cute dresses to choose from!
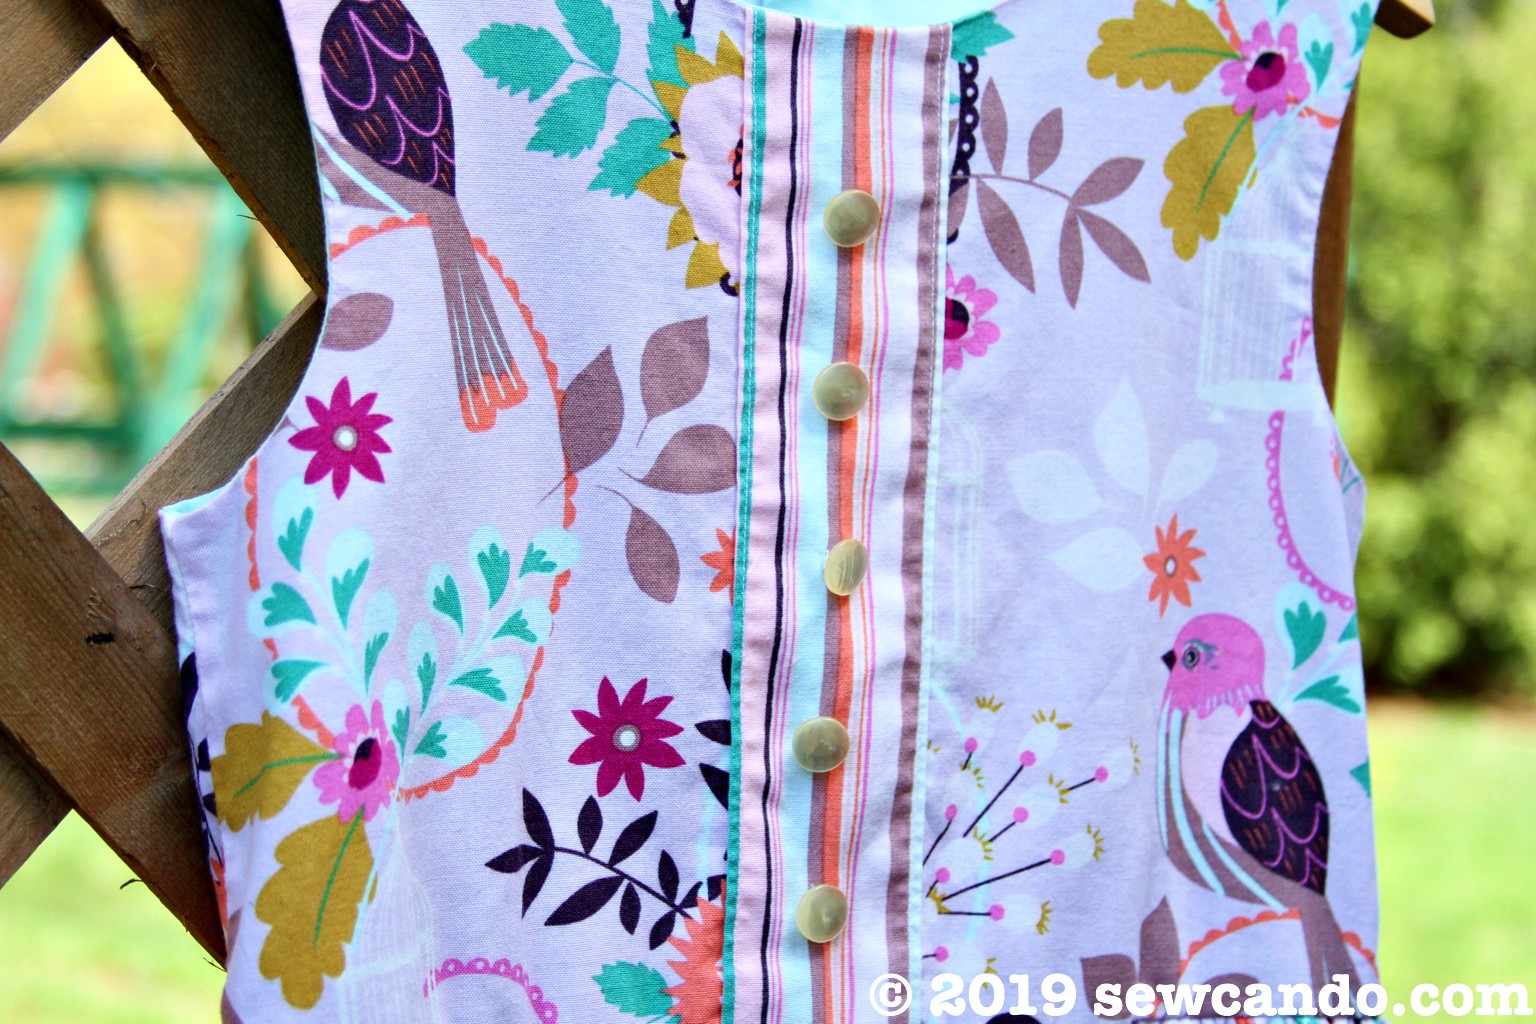
And it's still easy to modify like this version that included a little stripe fabric placket and decorative buttons down the front:
Our new FREE pattern is for US girl size 10-12 (and probably 14 too). The original can fit 6, 8,10. We know this style is pretty simple and there are similar patterns for it for toddlers & little girls, but there really aren't many for the girls between 8-14yrs that can be sewn up in an hour or two. This one meets both goals!
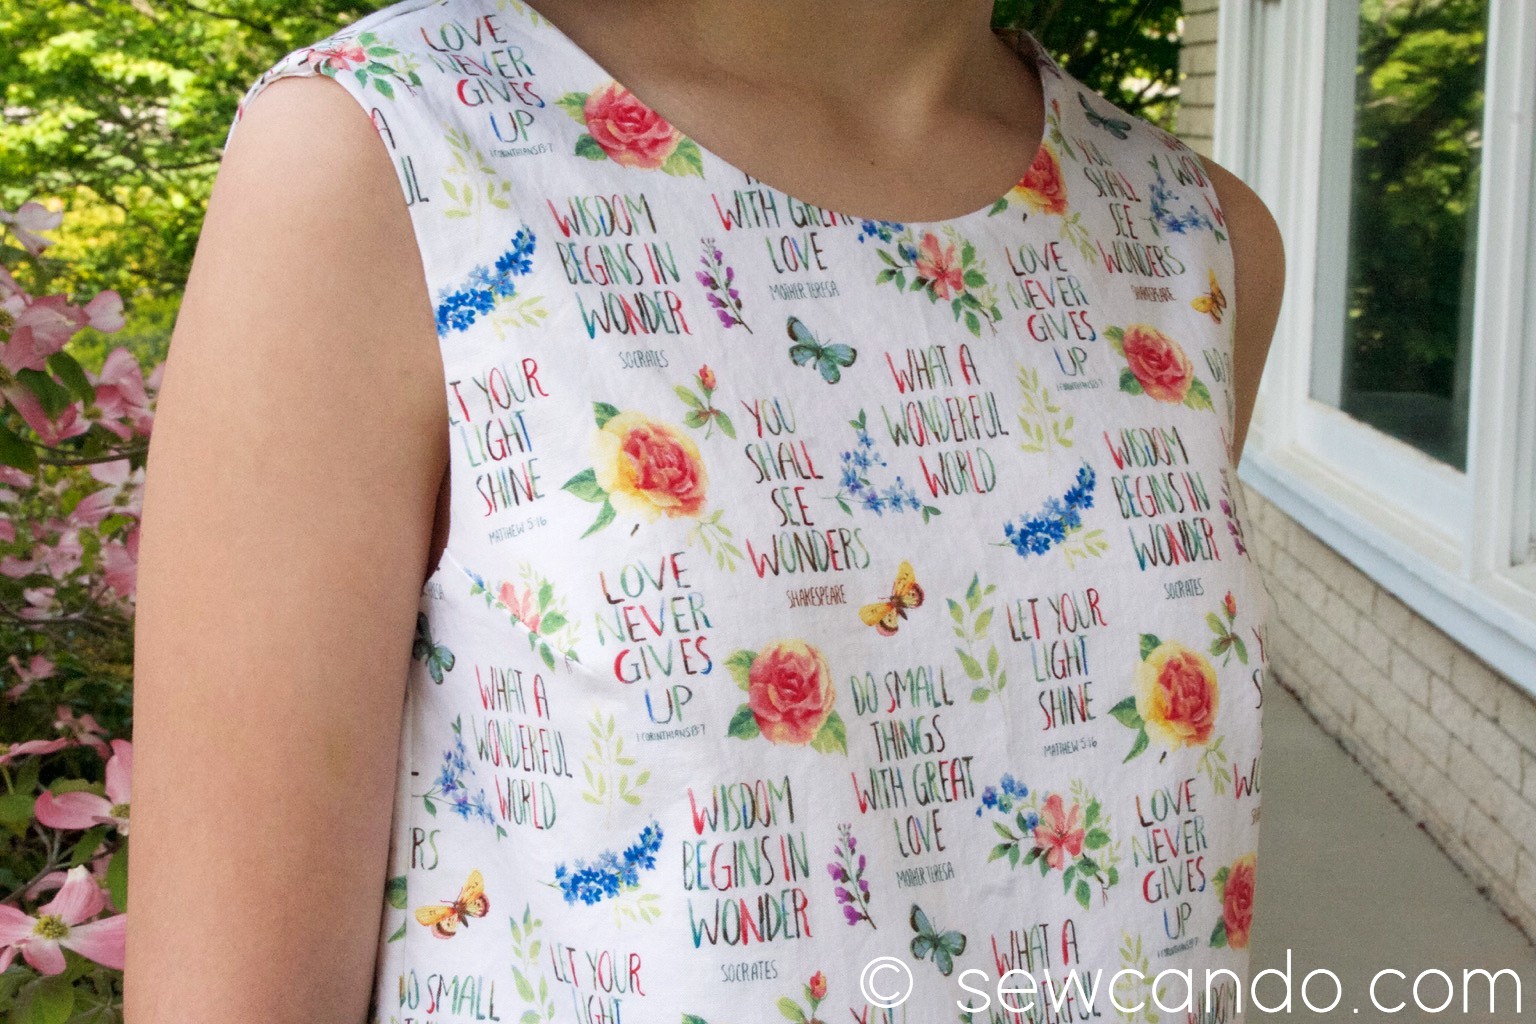
Using this design and cotton quilting fabric, it's easy to make a beautiful, durable, older girl dress, in whatever print you want, for under $30.
Our pattern is US girl size 10-12, but is meant to be a roomy style to get a longer wear life. With that design, and the dart option accommodating a blossoming body shape, if you use 1/4 inch side seam allowances, and lengthening the bodice by 1 inch and the hem by 1 1/2inches, it can scale up to a 14 too.
Materials:
- 2 yds cotton fabric
- 1/2 yd cotton fabric for lining
- Lightweight fusible stabilizer
- 7 snap sets (or buttons)
- Thin cord or string
- Our FREE PDF Sleeveless Sunday Tween Dress Pattern (get the Girl's Size 8-10 Pattern & Tutorial HERE)
Notions: Iron, yard stick, rotary cutter/shears, pins, tailor's marking pen or chalk, optional for bodice darts: tailor's ham
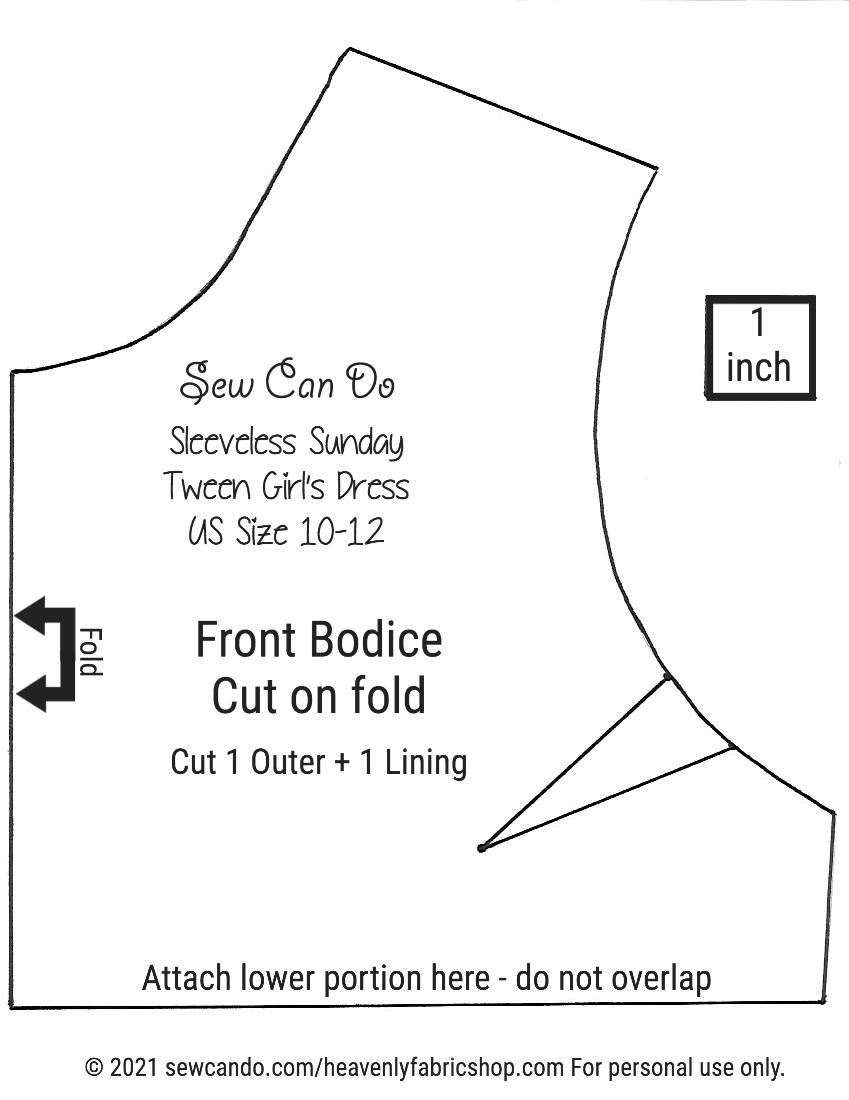
Printing the Pattern: Click HERE to download the PDF bodice pattern. Print at 99% with no scaling (so no lines get cut off, since these pieces run close to the edge of the paper). Measure with the test square to make sure the scale is correct. Cut out pattern pieces.
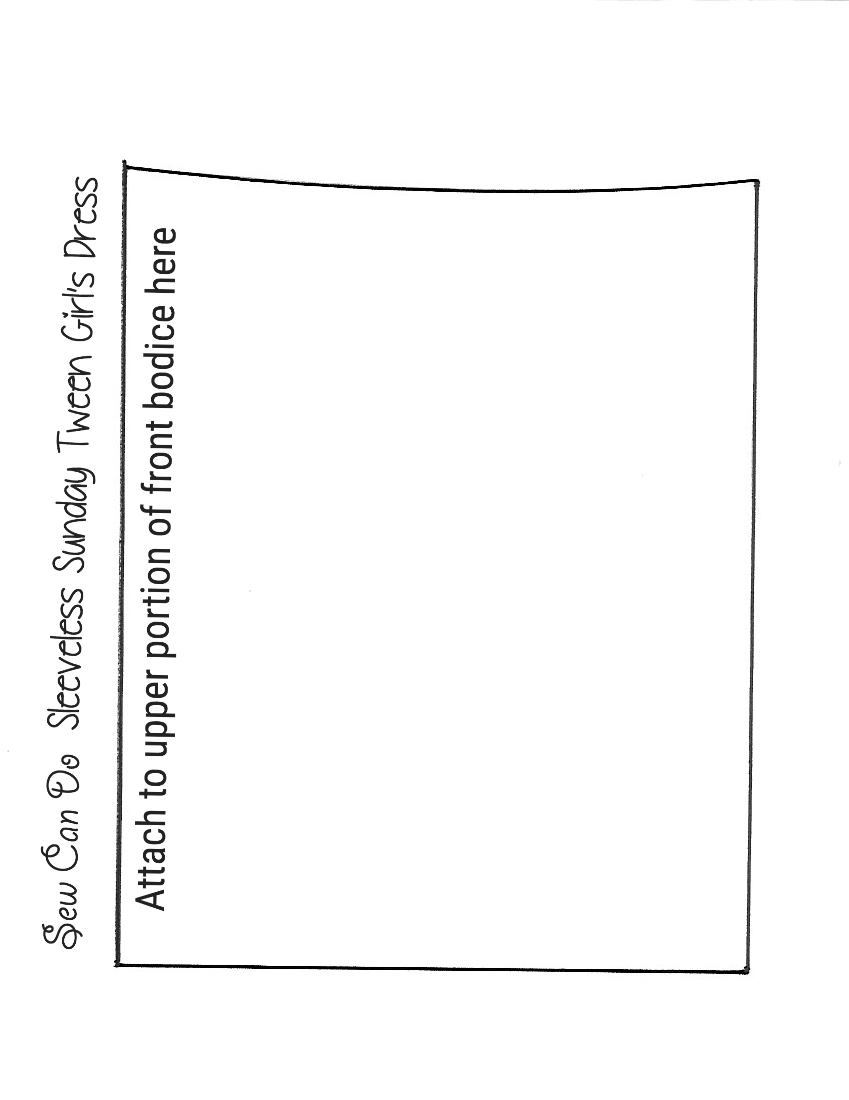
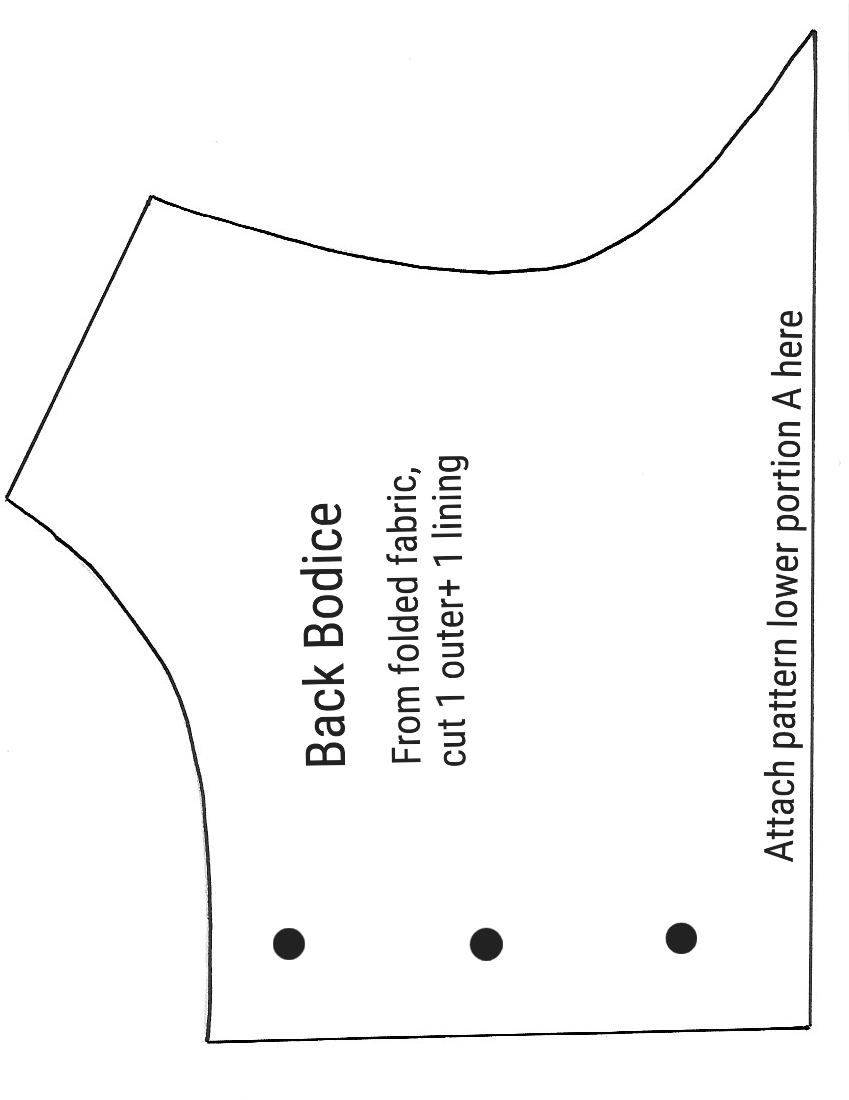
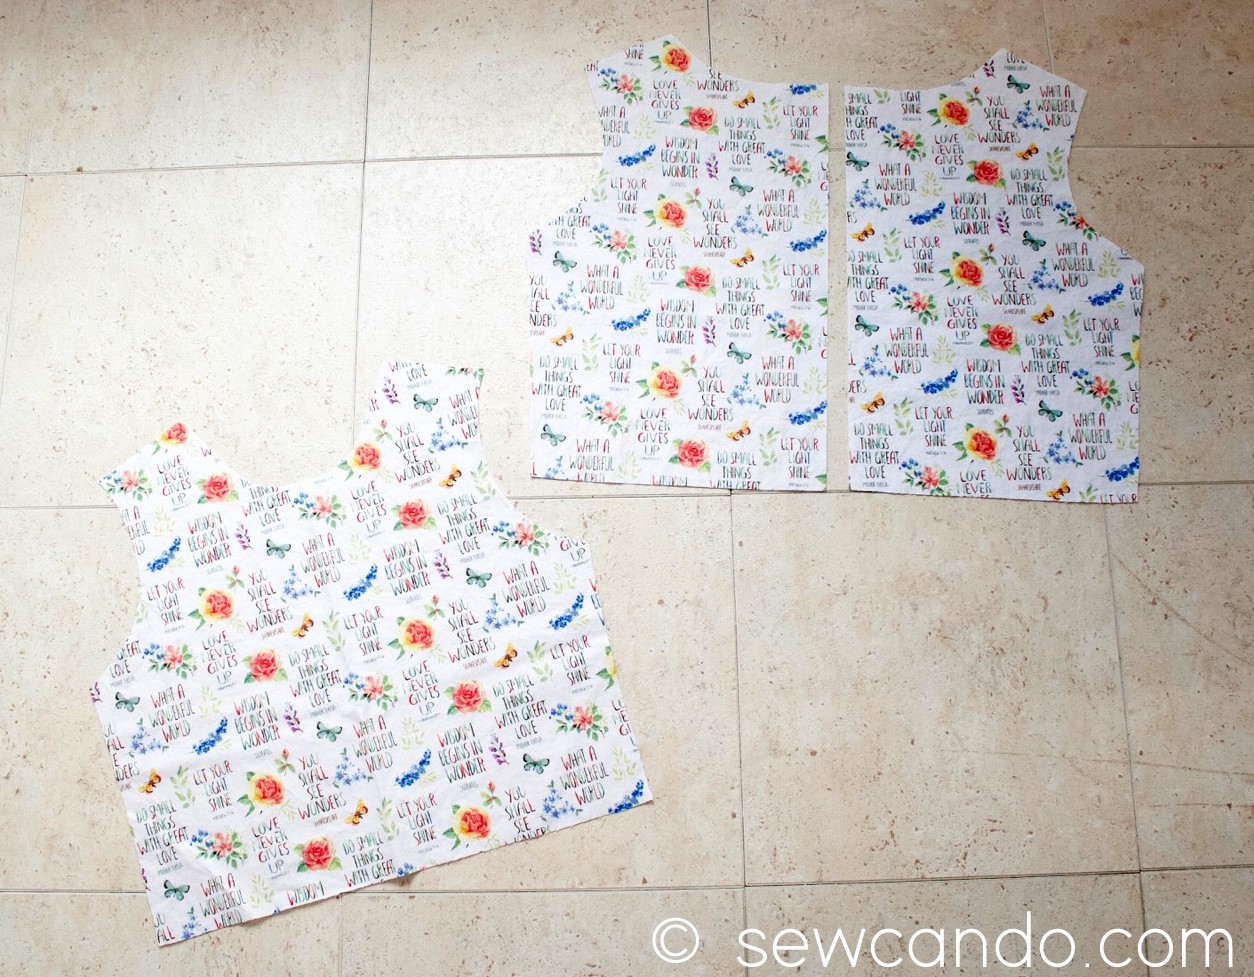
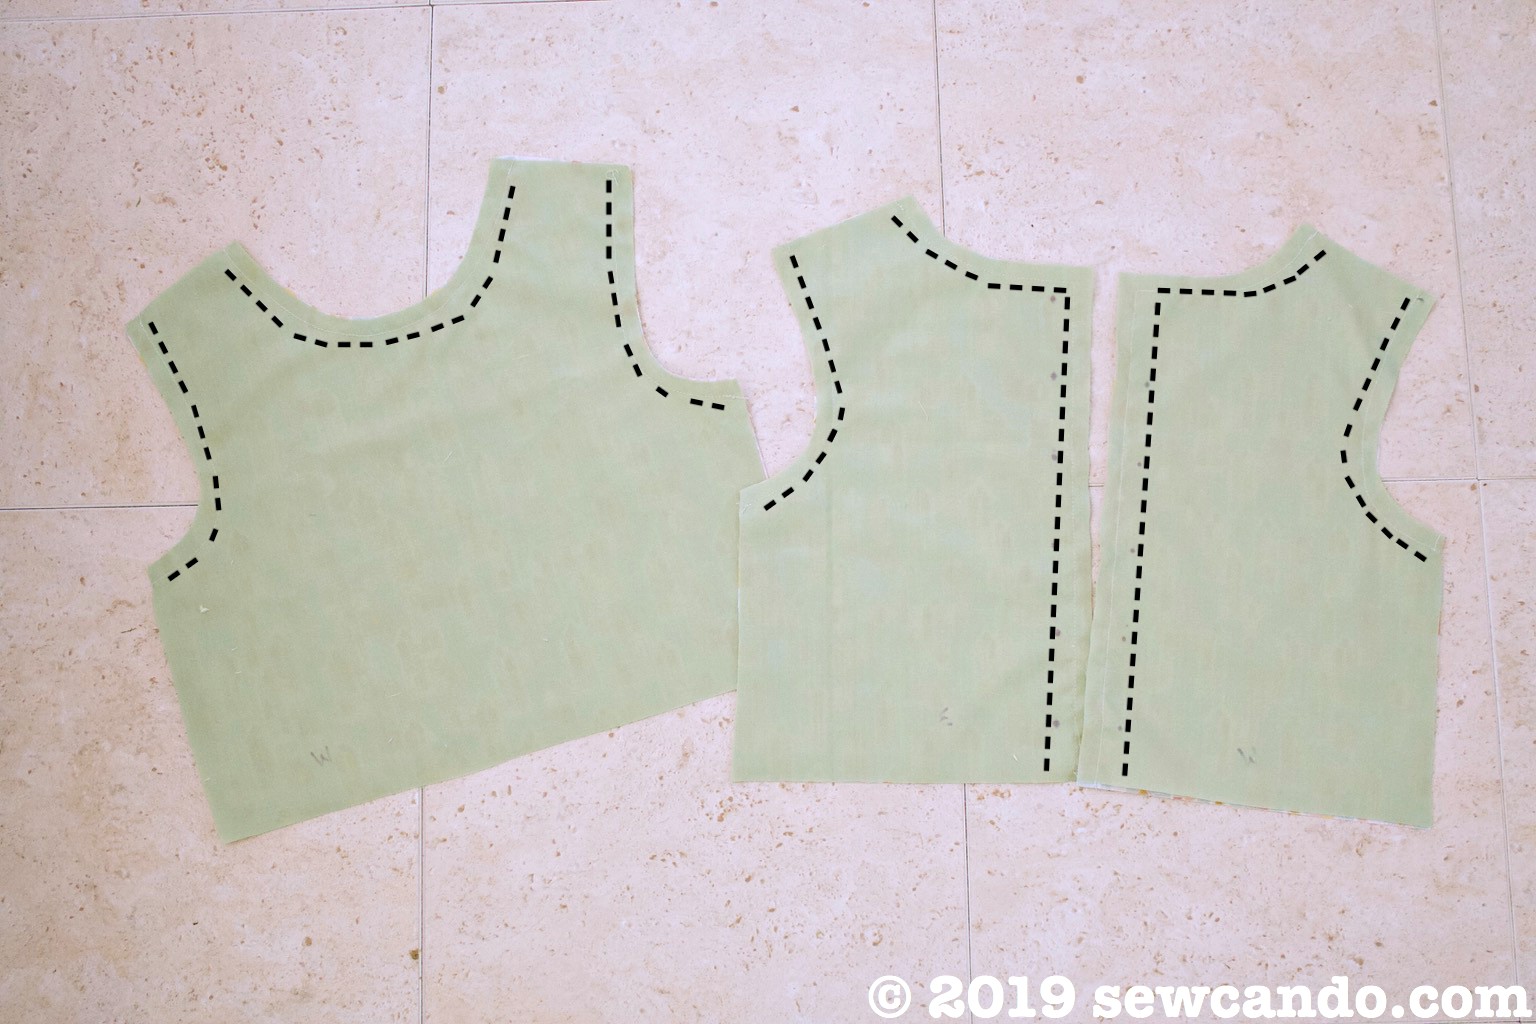
Start by cutting out the bodice front and back pieces from the outer and lining fabric. Transfer all bodice markings. For the skirt portion, cut two rectangles that are 25 inches long by the width of the fabric (usually 42-44 inches). Trim off the selvages. Mark the top center points of both pieces.
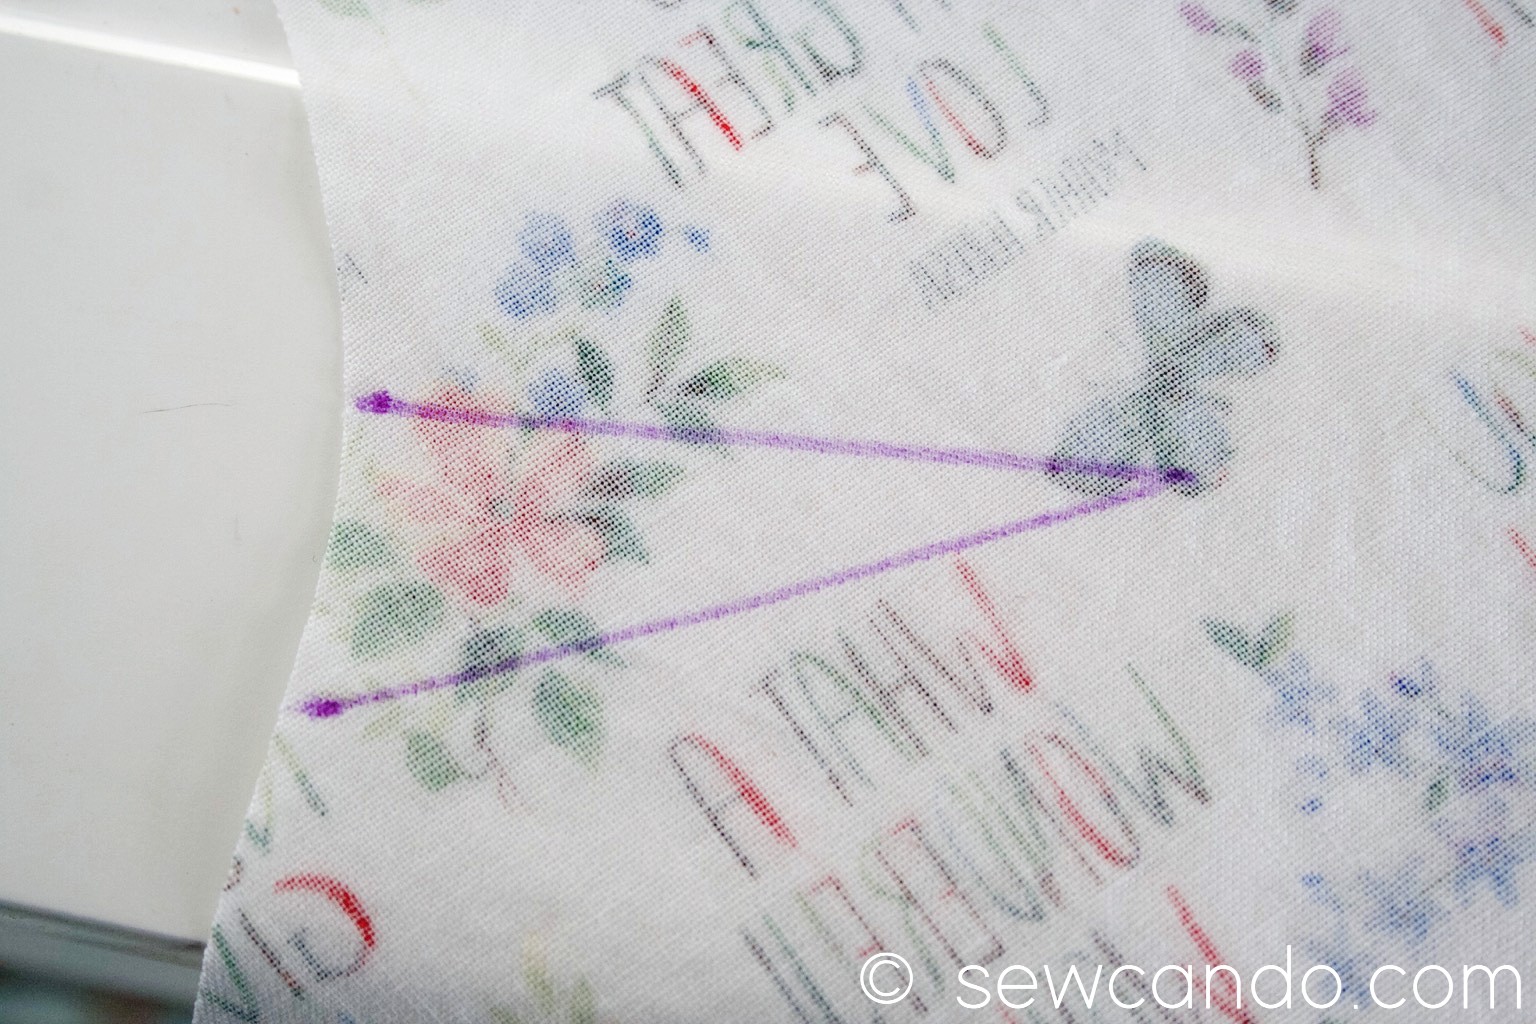
If darts are needed, this is the starting step. If not, just jump to the next one. On each side of the bodice, the dart markings form a triangle. Fold to match up the two points along the arm area to meet (right sides coming together).
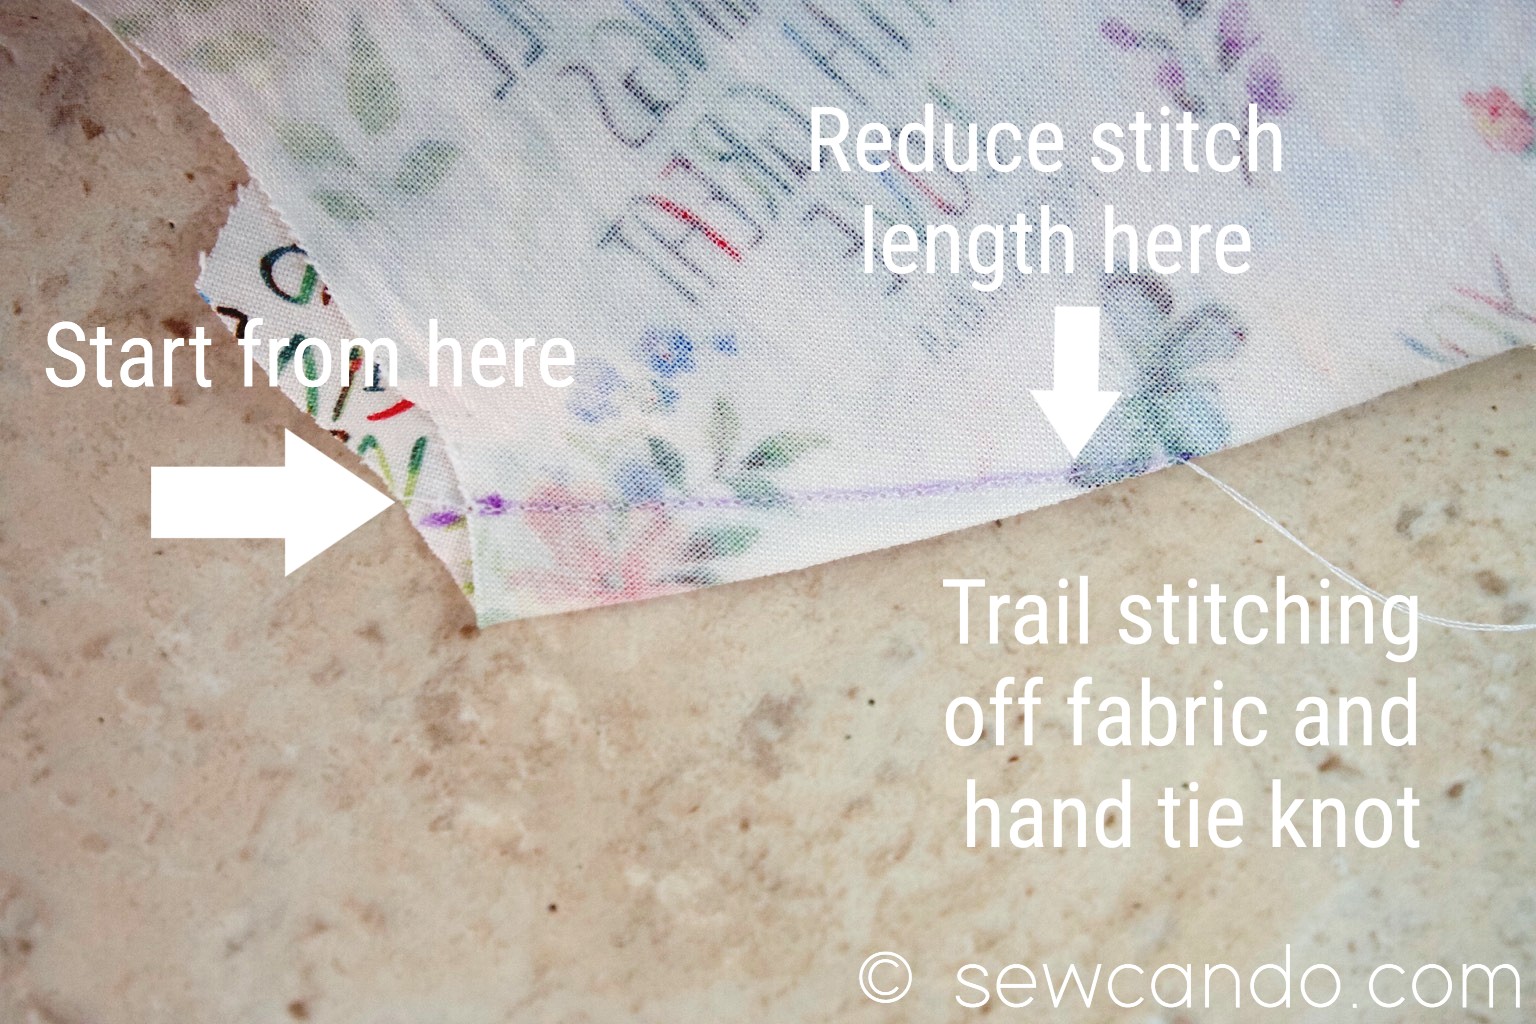
Starting from the arm area, stitch towards the point, reducing the stitch length to .75 about a quarter inch from the end and in that last quarter inch, stitching as close to the fold as possible, trailing off the fabric a few stitches. Leave a thread tail before cutting so there's enough to hand tie the knot. Repeat on other side of bodice.
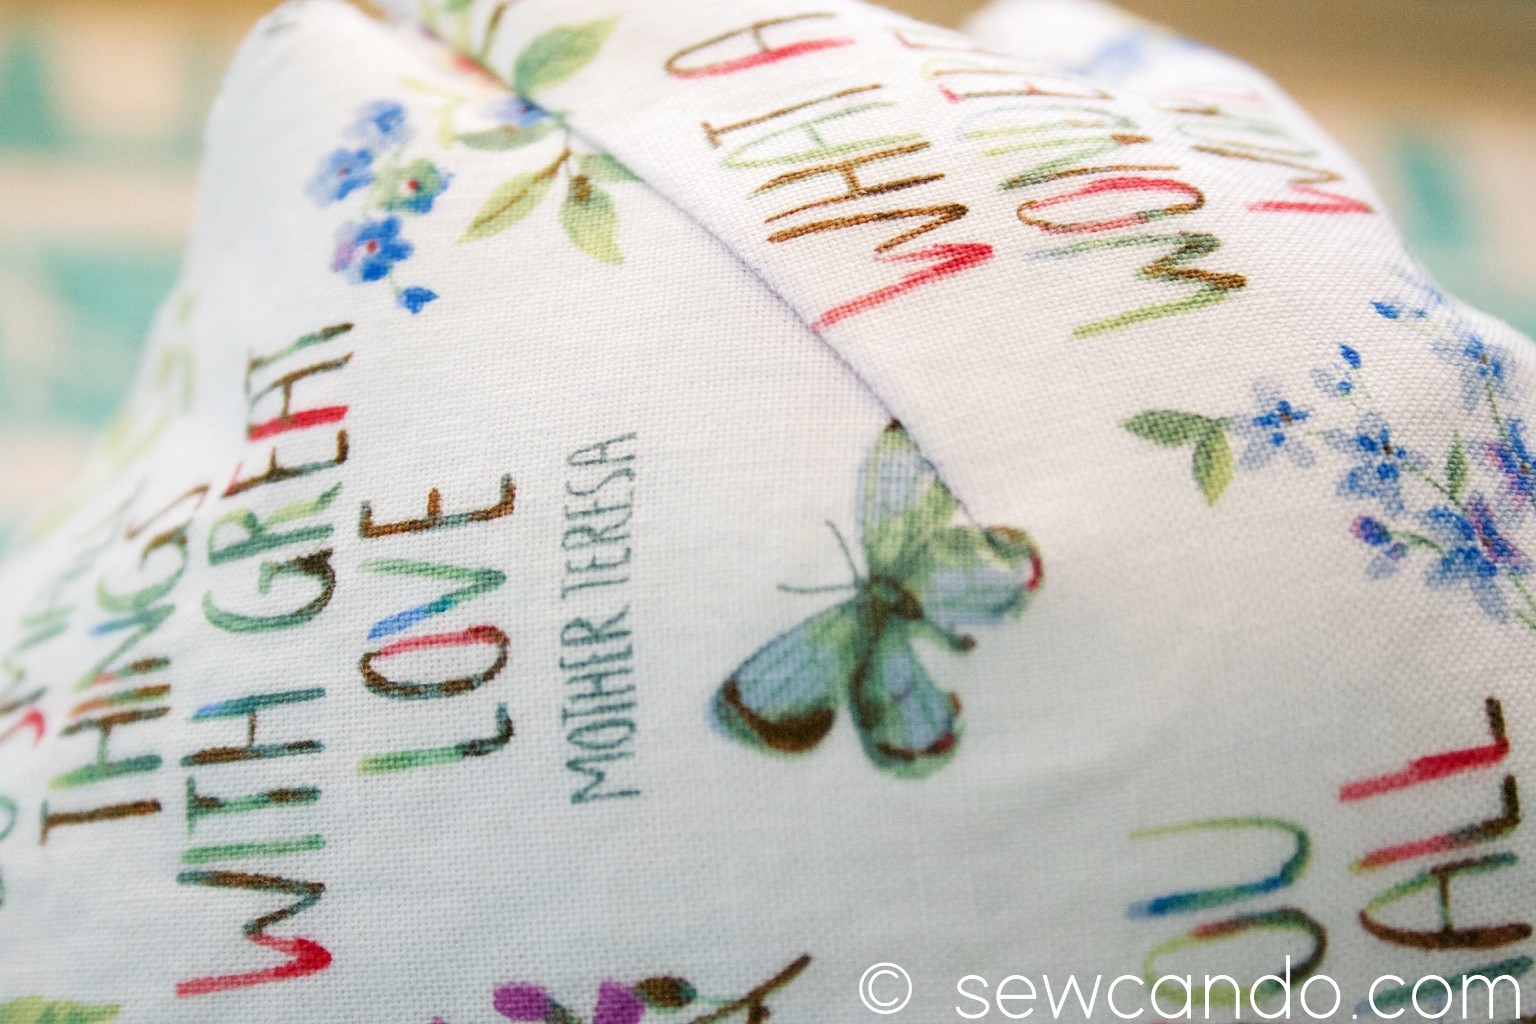
Press the darts downward on the wrong side of the fabric. Using a tailor's ham to press along the right side of the fabric afterwards helps to give the fabric a little curve to ease the shape:
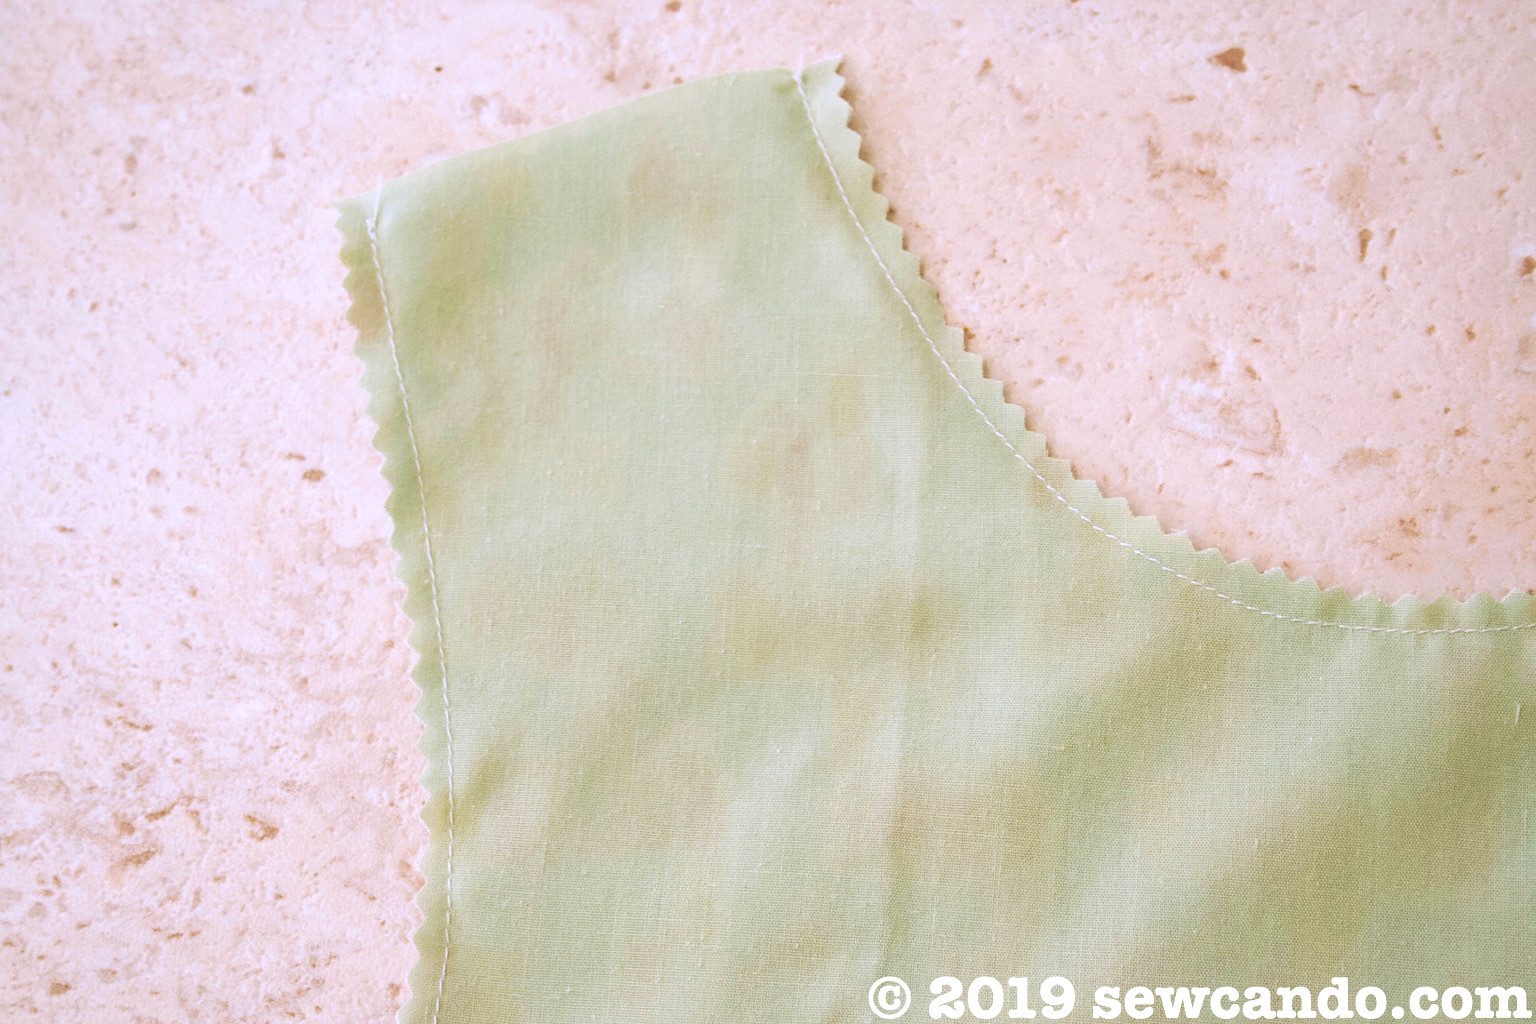
With right sides facing, pin together the front bodice outer and lining around the neckline and the arm scythe. Stitch together using a 3/8 inch seam allowance. Do the same on the back bodice pieces, also stitching down the straight center sides.
Trim down the seam allowances of all the seams.
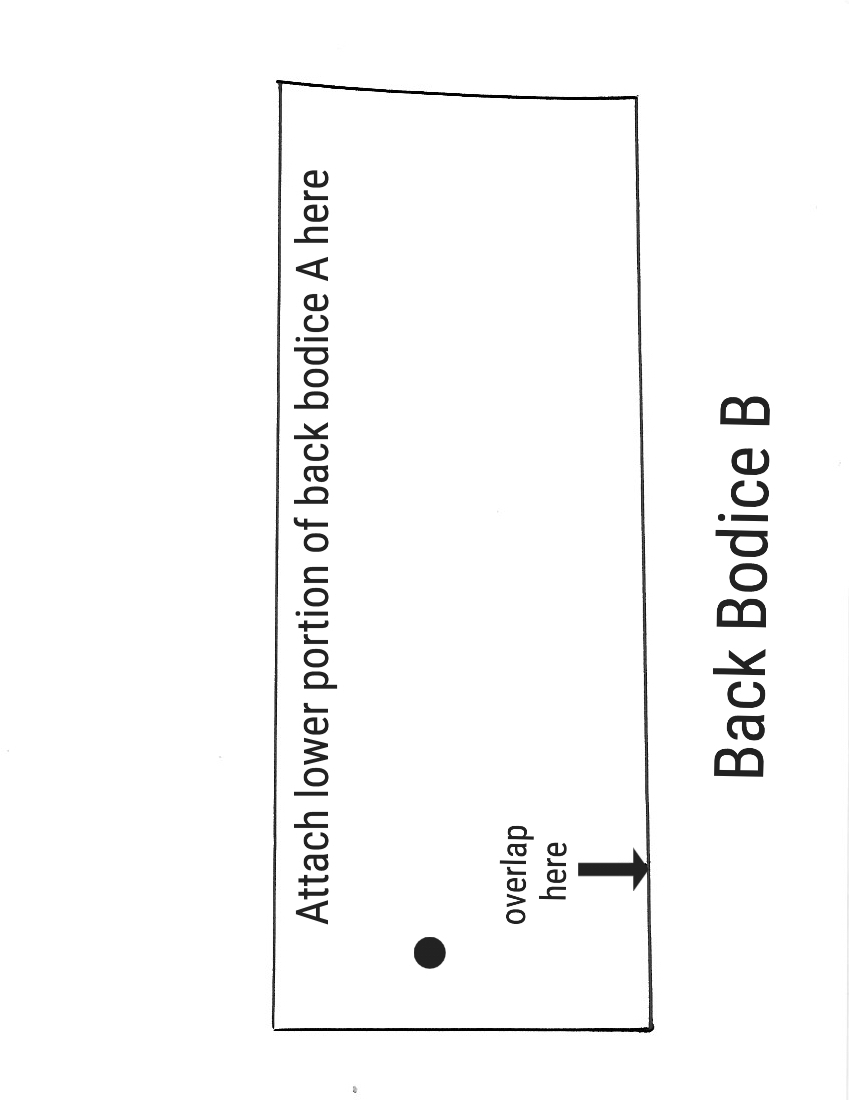
Cut two pieces of fusible stabilizer that are 1 inch wide by 12 inches long and fuse to the wrong side of the back pieces, just next to the newly sewn straight side seams. This will be to stabilize where the snaps/buttons will be.
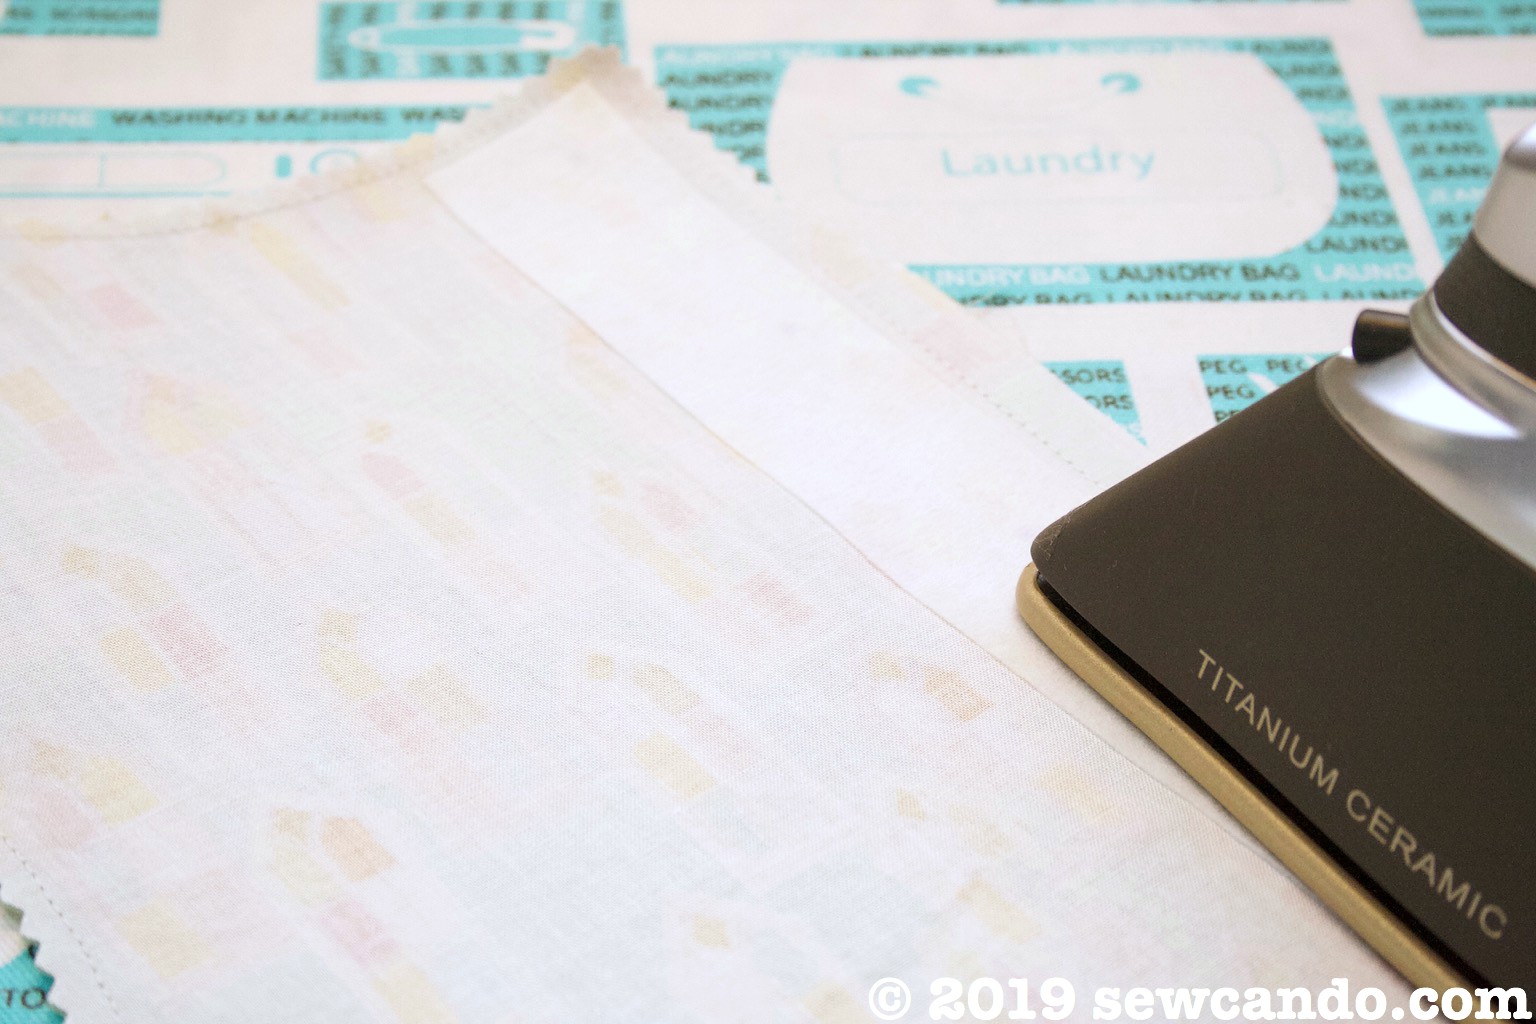
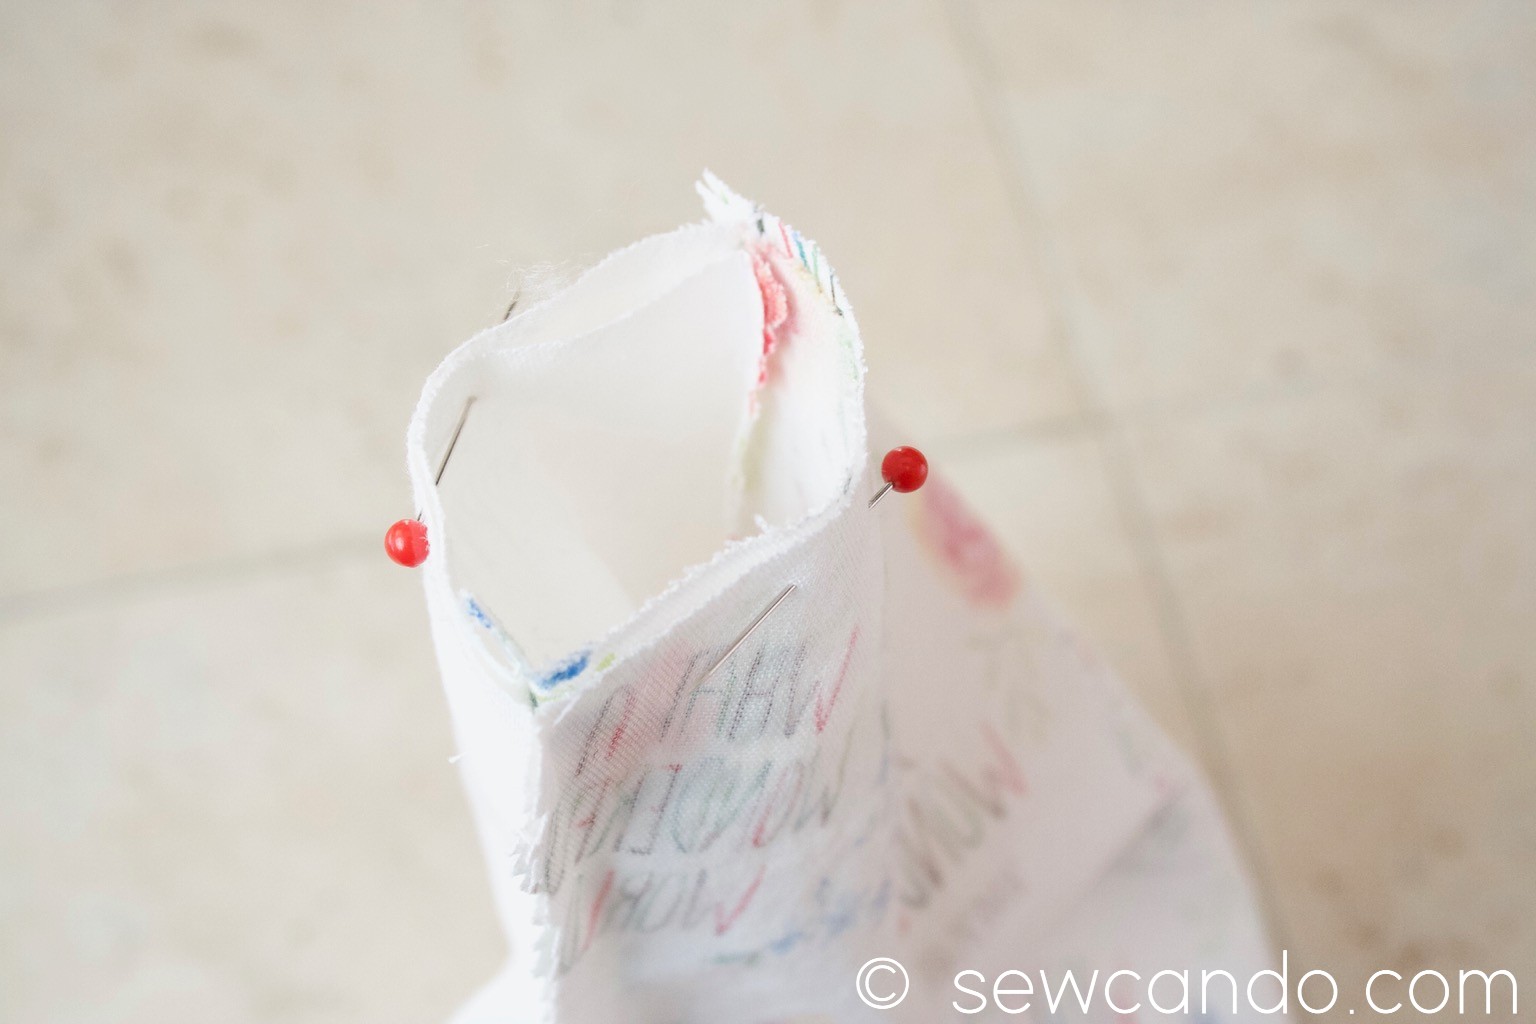
Turn the front bodice piece right side out and press around the seam to get them nice and flat. Insert the shoulder sections into each of the shoulder sections of the back bodice pieces, matching up the fabrics and seams.
Pin so that each shoulder will be a little tube and stitch all the way around.
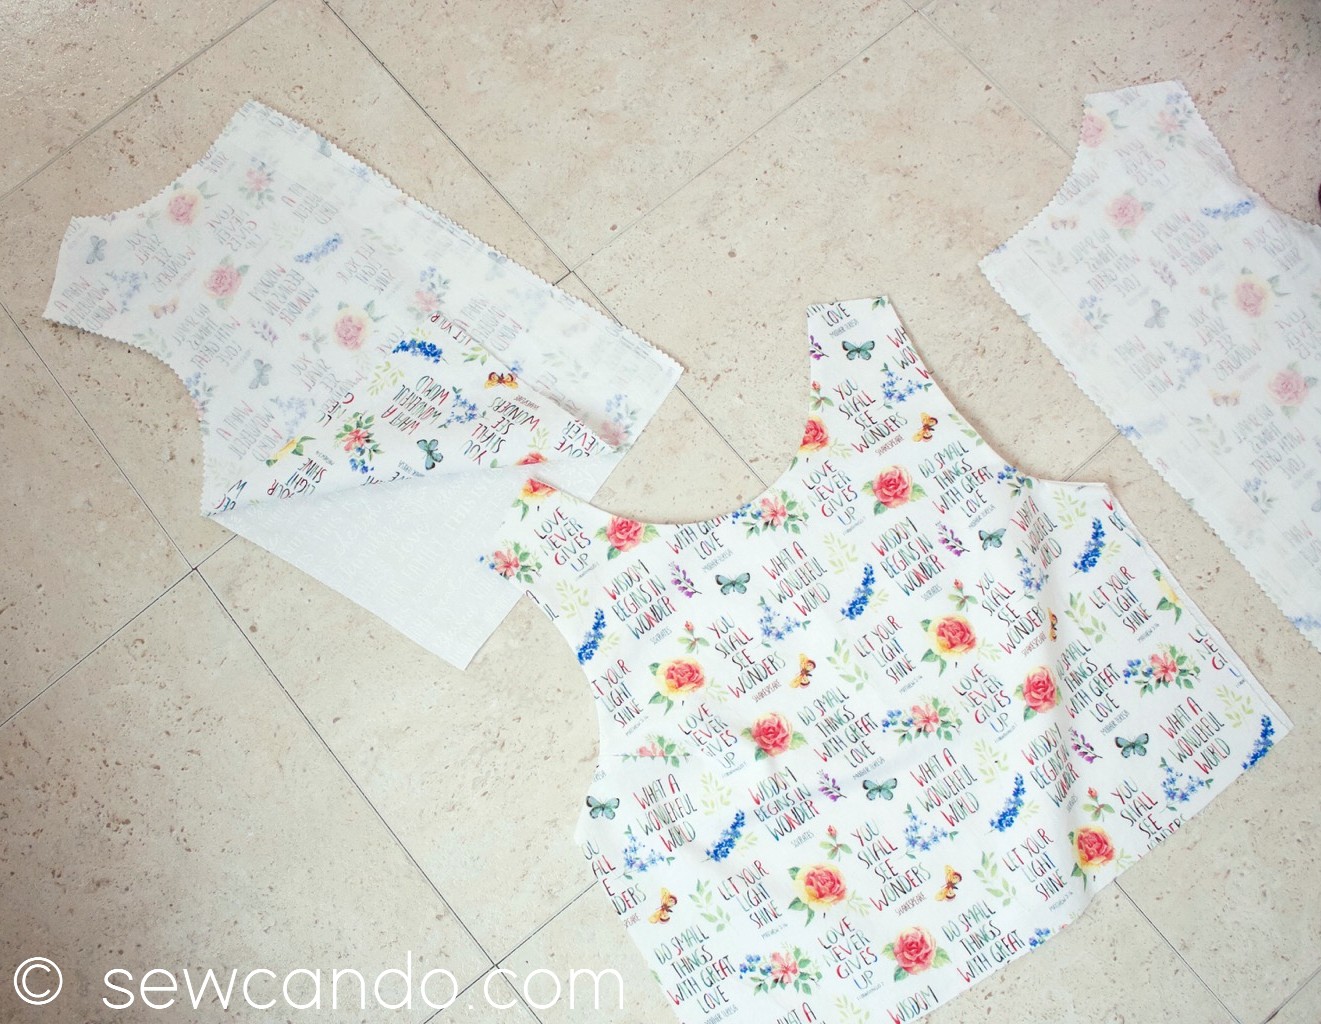
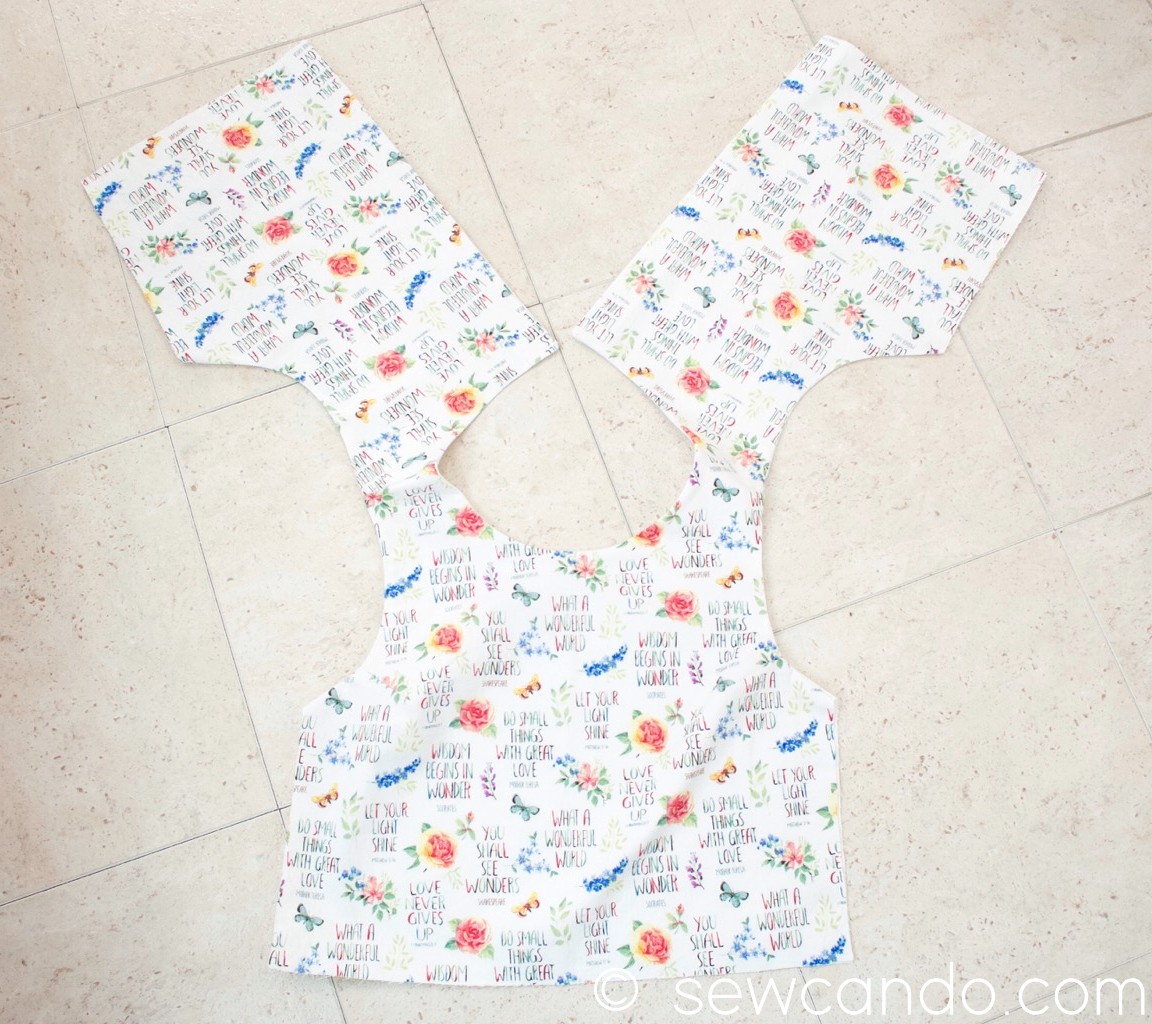
Turn right side out and press entire bodice flat.
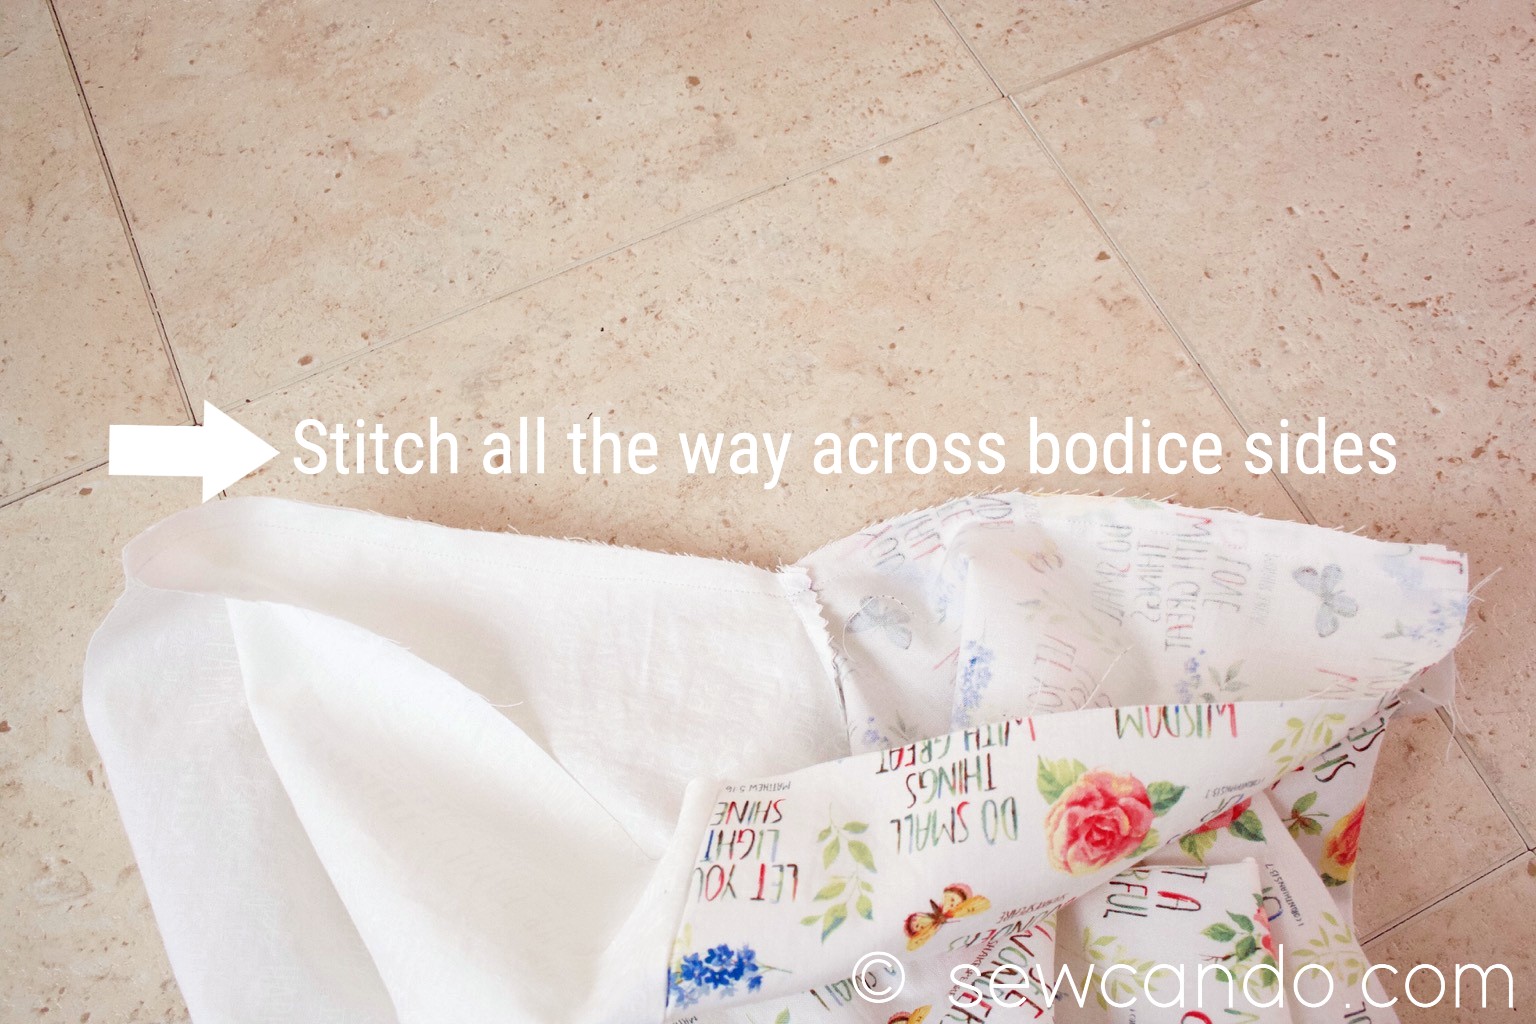
Now, take the open sides and match up the raw edges and sew across from the outer to the lining on each side of the bodice. Trim seam allowance. Turn right side out and press layers flat. If doing button closure, do button holes now.
Overlap the back center of the bodice by 1 inch and baste layers together along the bottom as shown. Mark the bodice front and back centers. Set aside.
With right sides facing, pin the short sides of the skirt rectangles together and stitch. To easily gather the skirt, with fabric still turned wrong side out, use a wide and long zig-zag stitch and stitch along the top raw edge with the thin cording/string between the stitching.
Do this all the way around, careful to keep the string in between the stitching since that needs to be able to slide.
Pull up the string ends and spread gathers evenly. Insert bodice, right side out, into the skirt, matching up the raw edges at center markings and side seams. Adjust gathering as needed and pin. Stitch together with a 1/2 inch seam allowance. Serge or zig-zag over the raw edges.
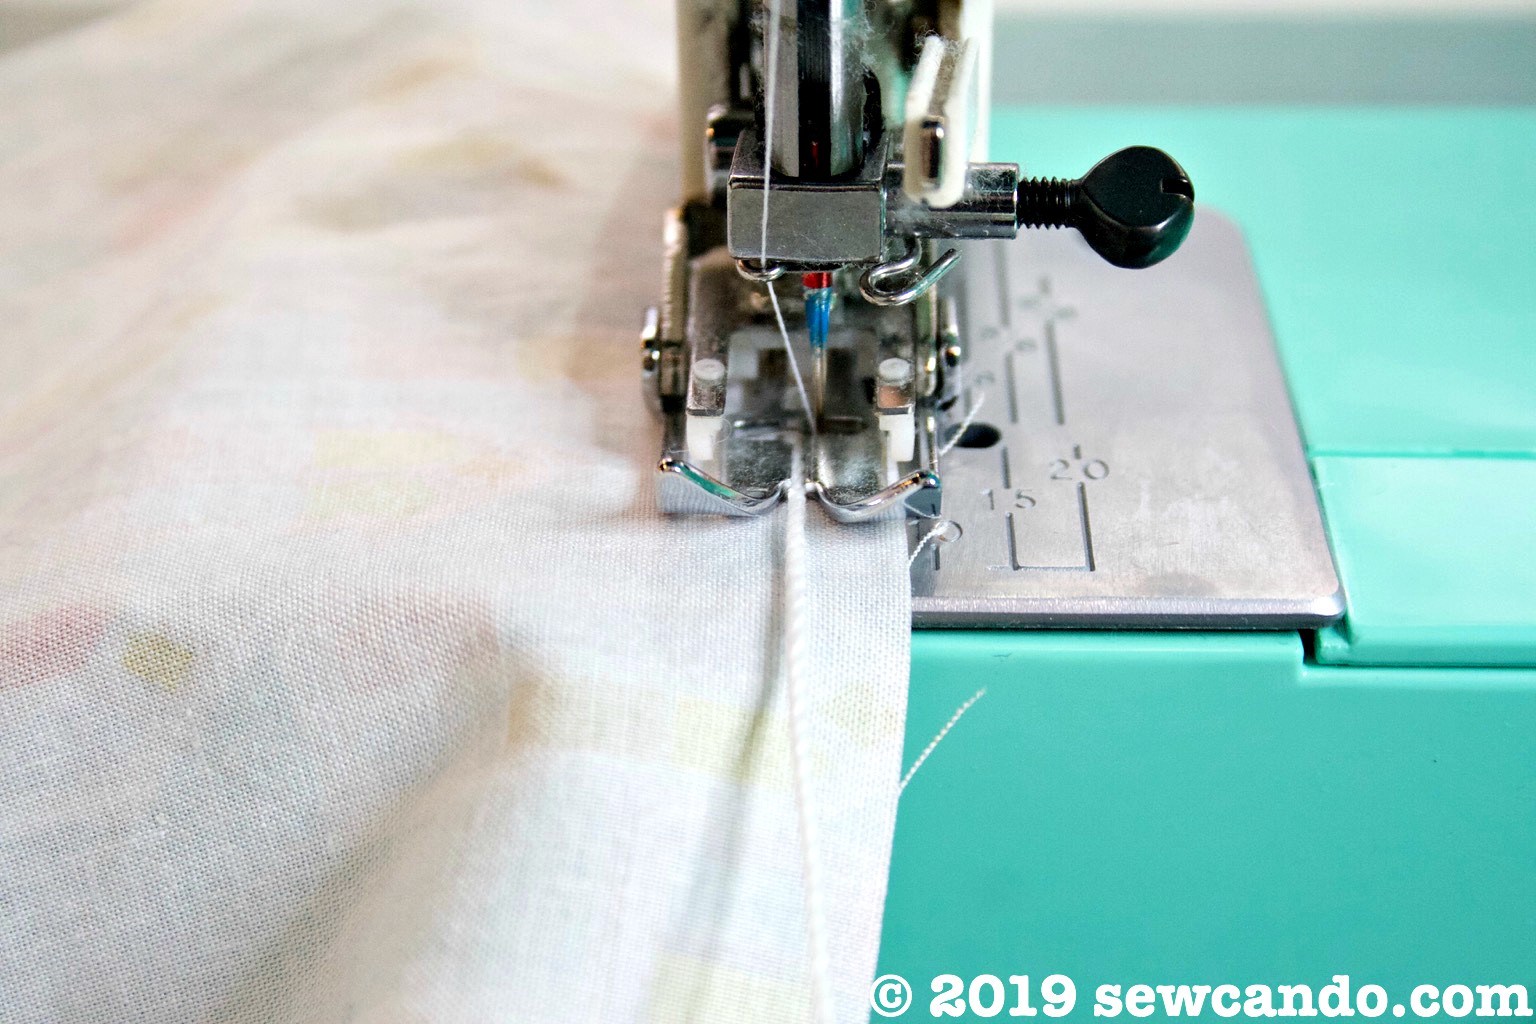
Try on to determine desired length of hem and finish as desired. We preferred double folding the hem up 1 in (for 2 inches total) and then topstitching. We made this dress mid-calf length, but you could trim a few inches if that's too long - totally up to you. Set the snaps along markings and enjoy your pretty new dress!