
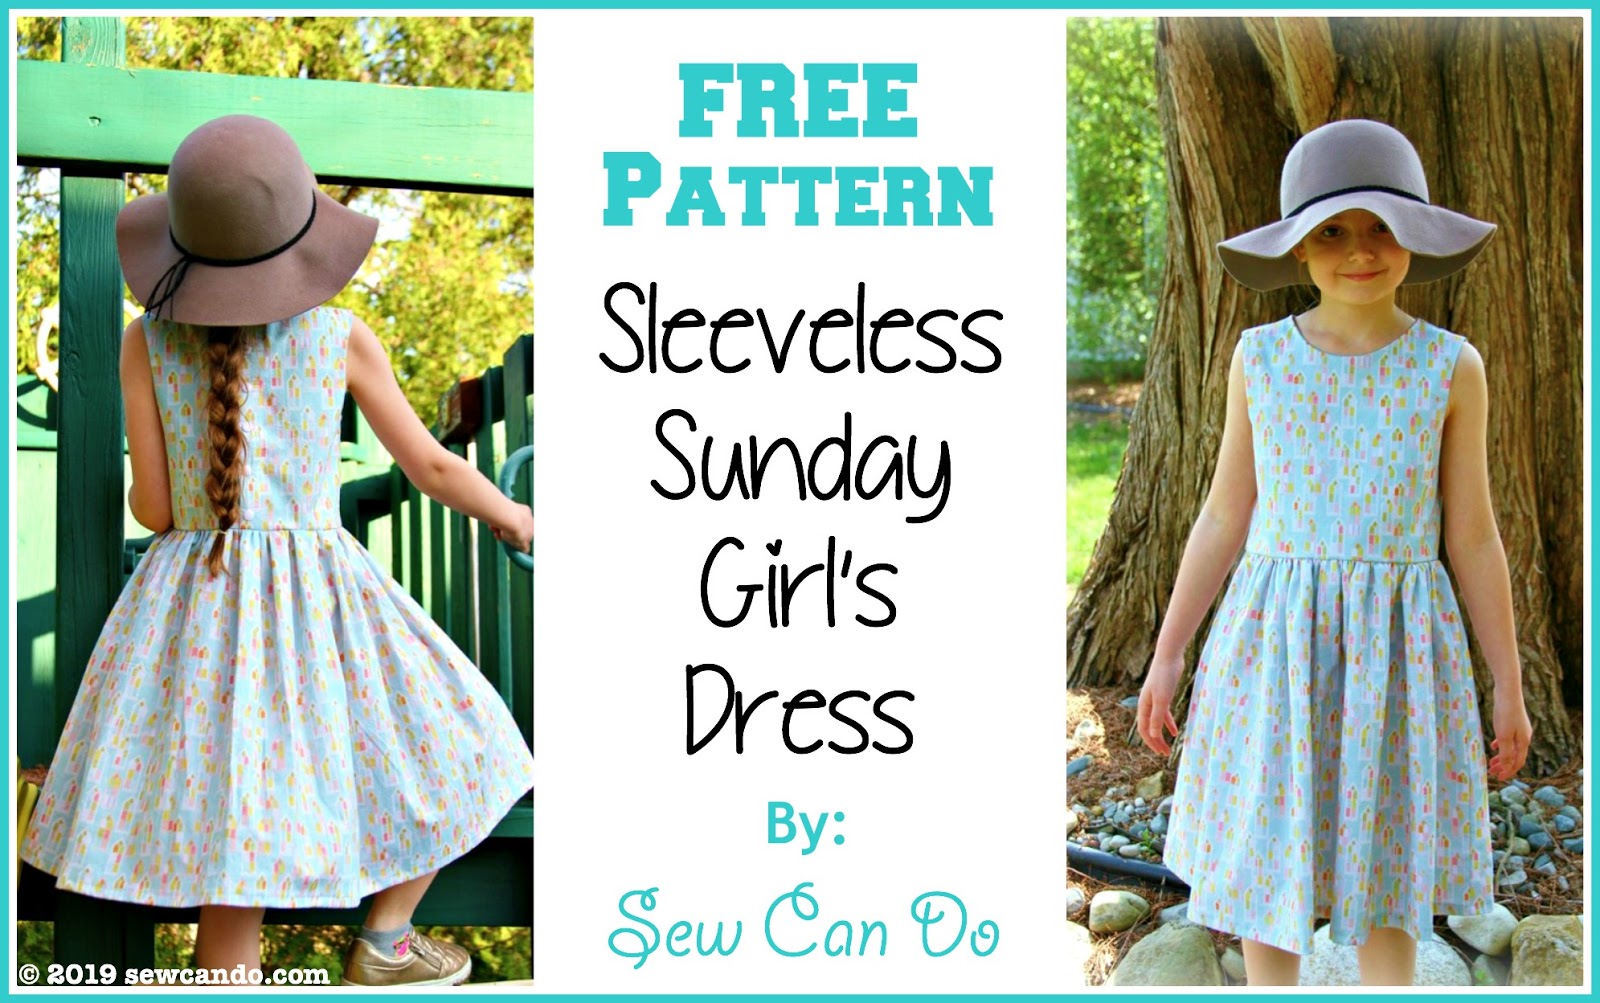
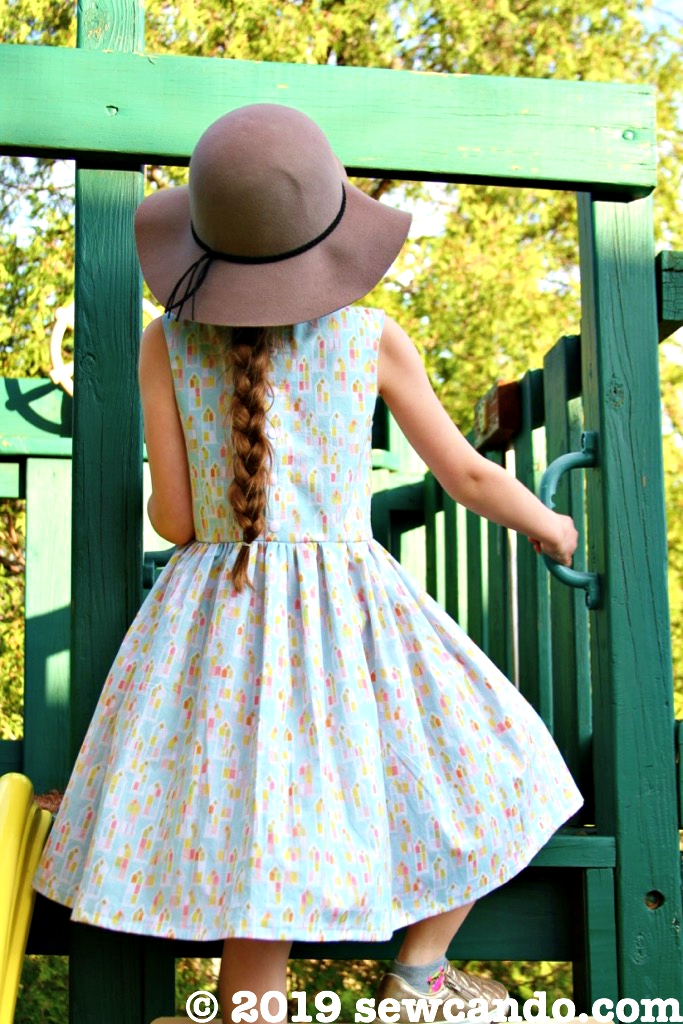
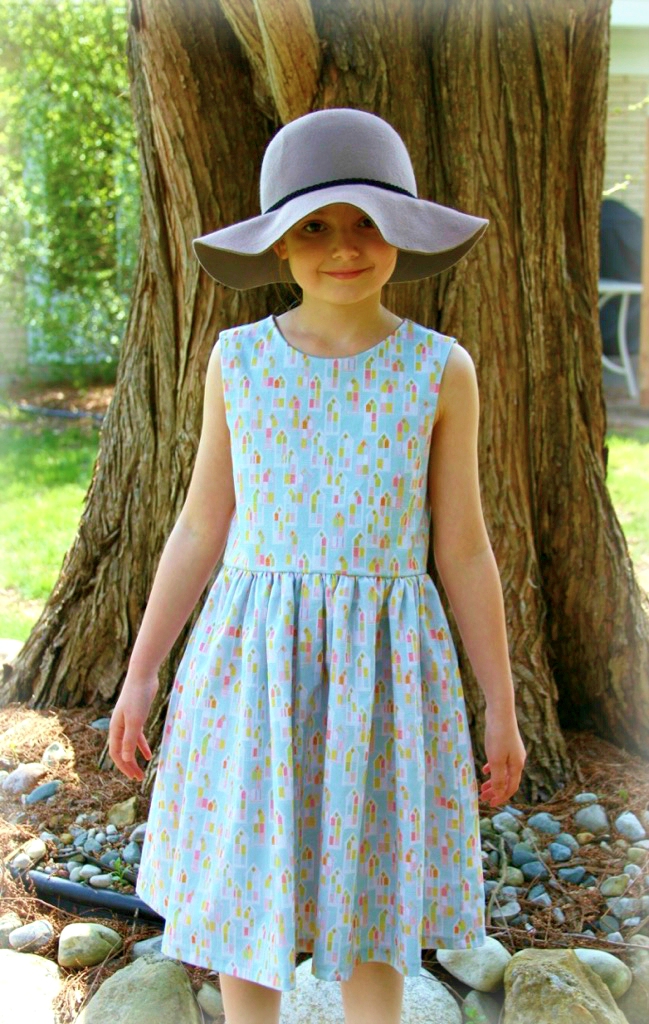
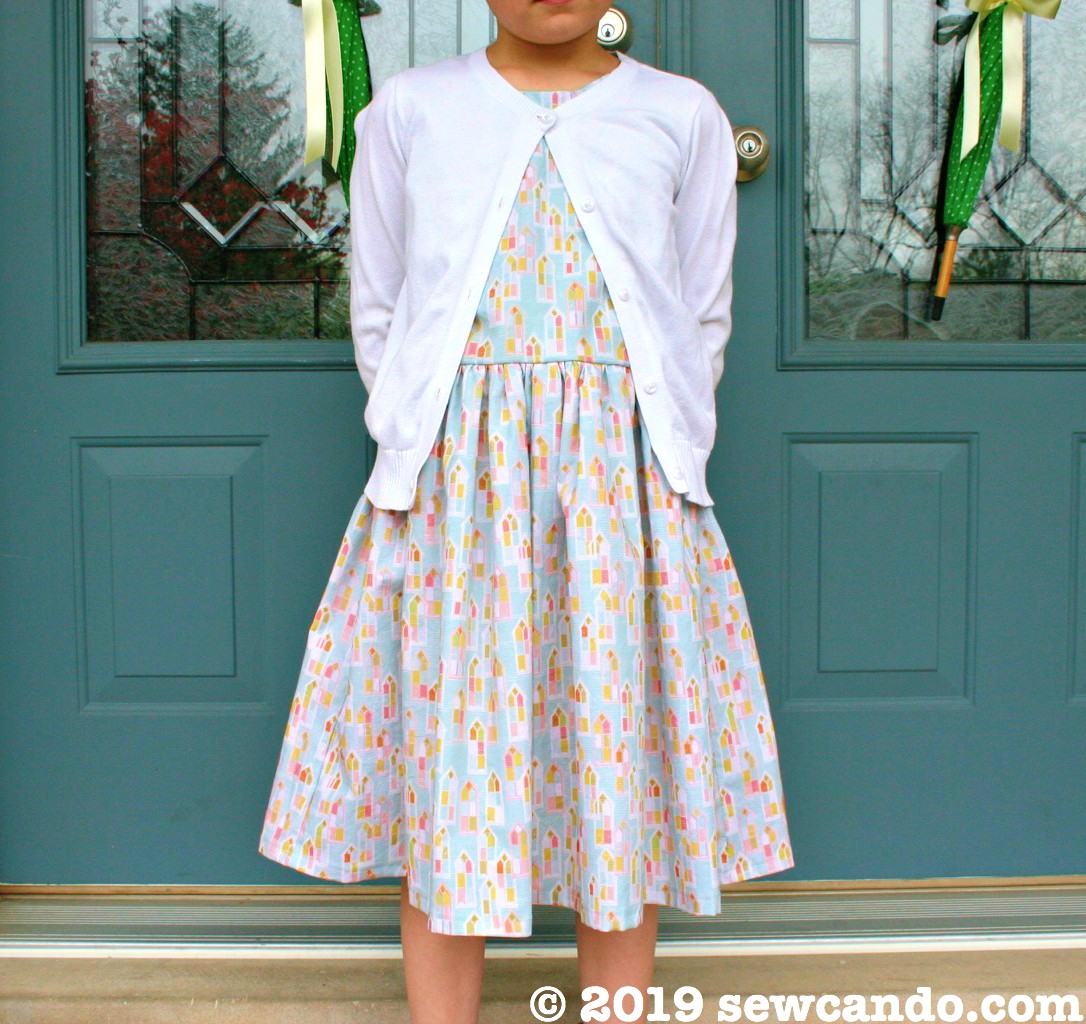
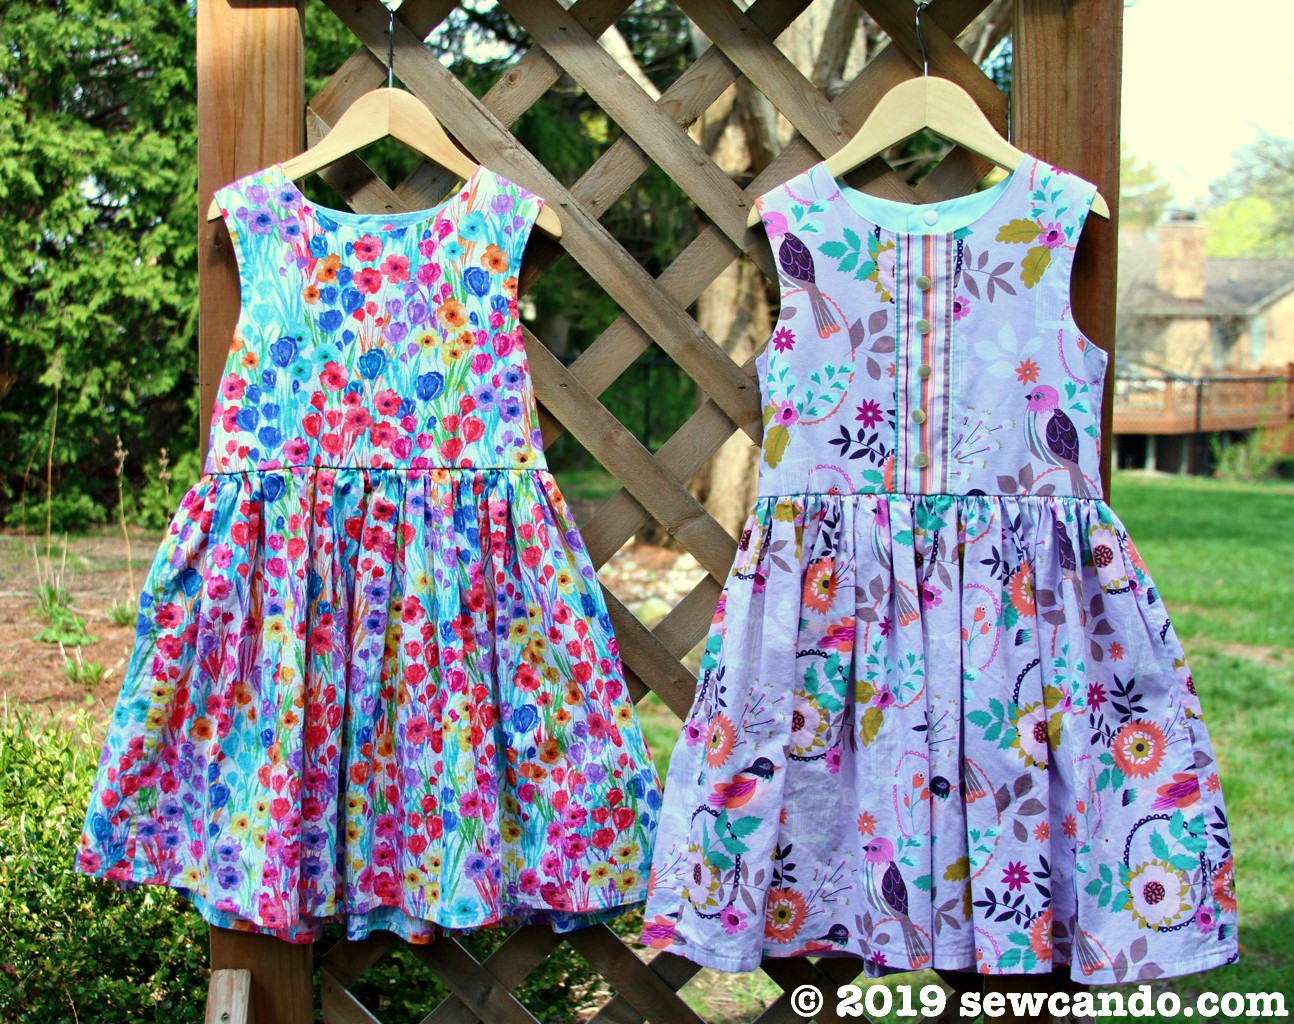
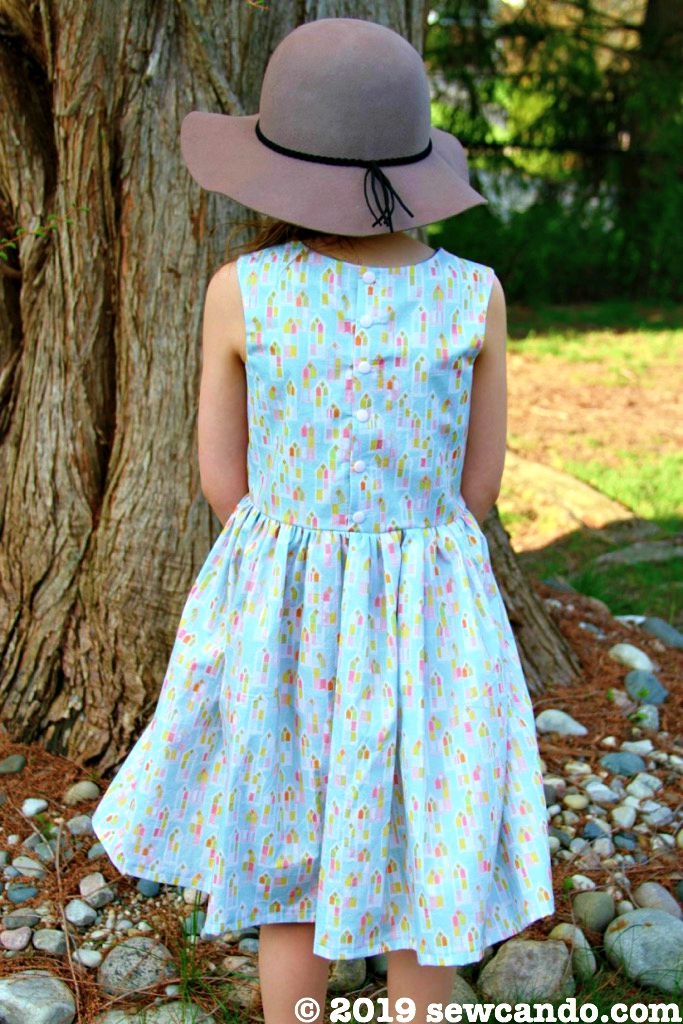
FREE Pattern: Sleeveless Sunday Girl's Dress


Materials:
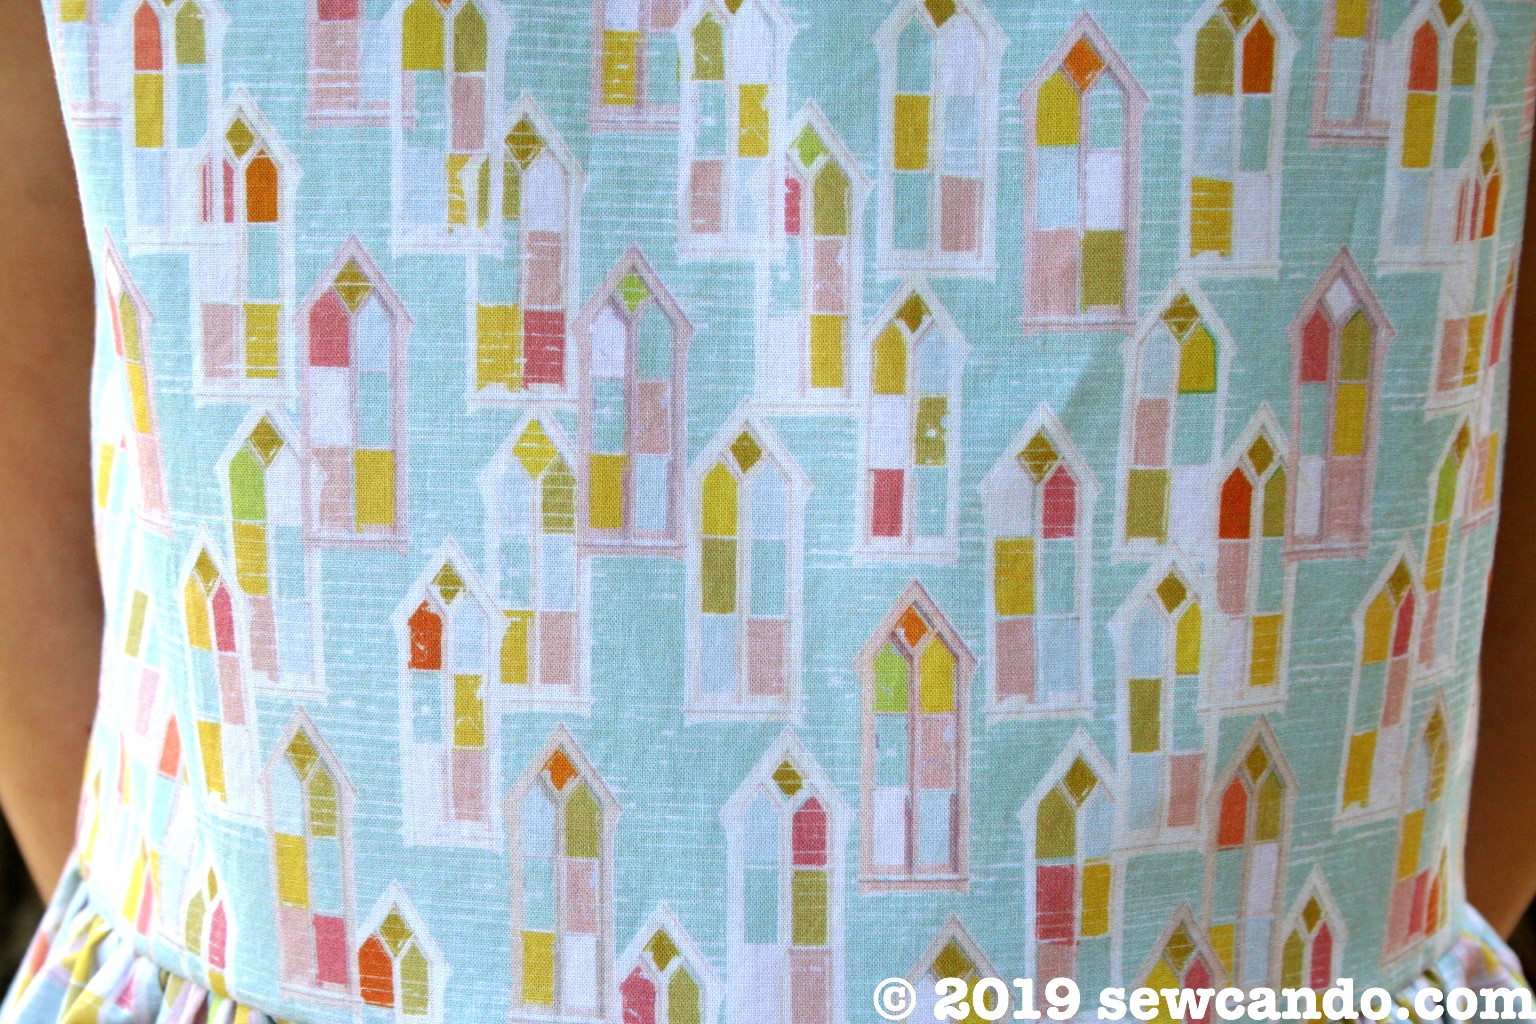
- 1 1/2 yds Church Windows cotton fabric (1 7/8 yds if self lining)
- 3/8 yd cotton fabric (only needed if using lining fabric)
- Lightweight fusible stabilizer
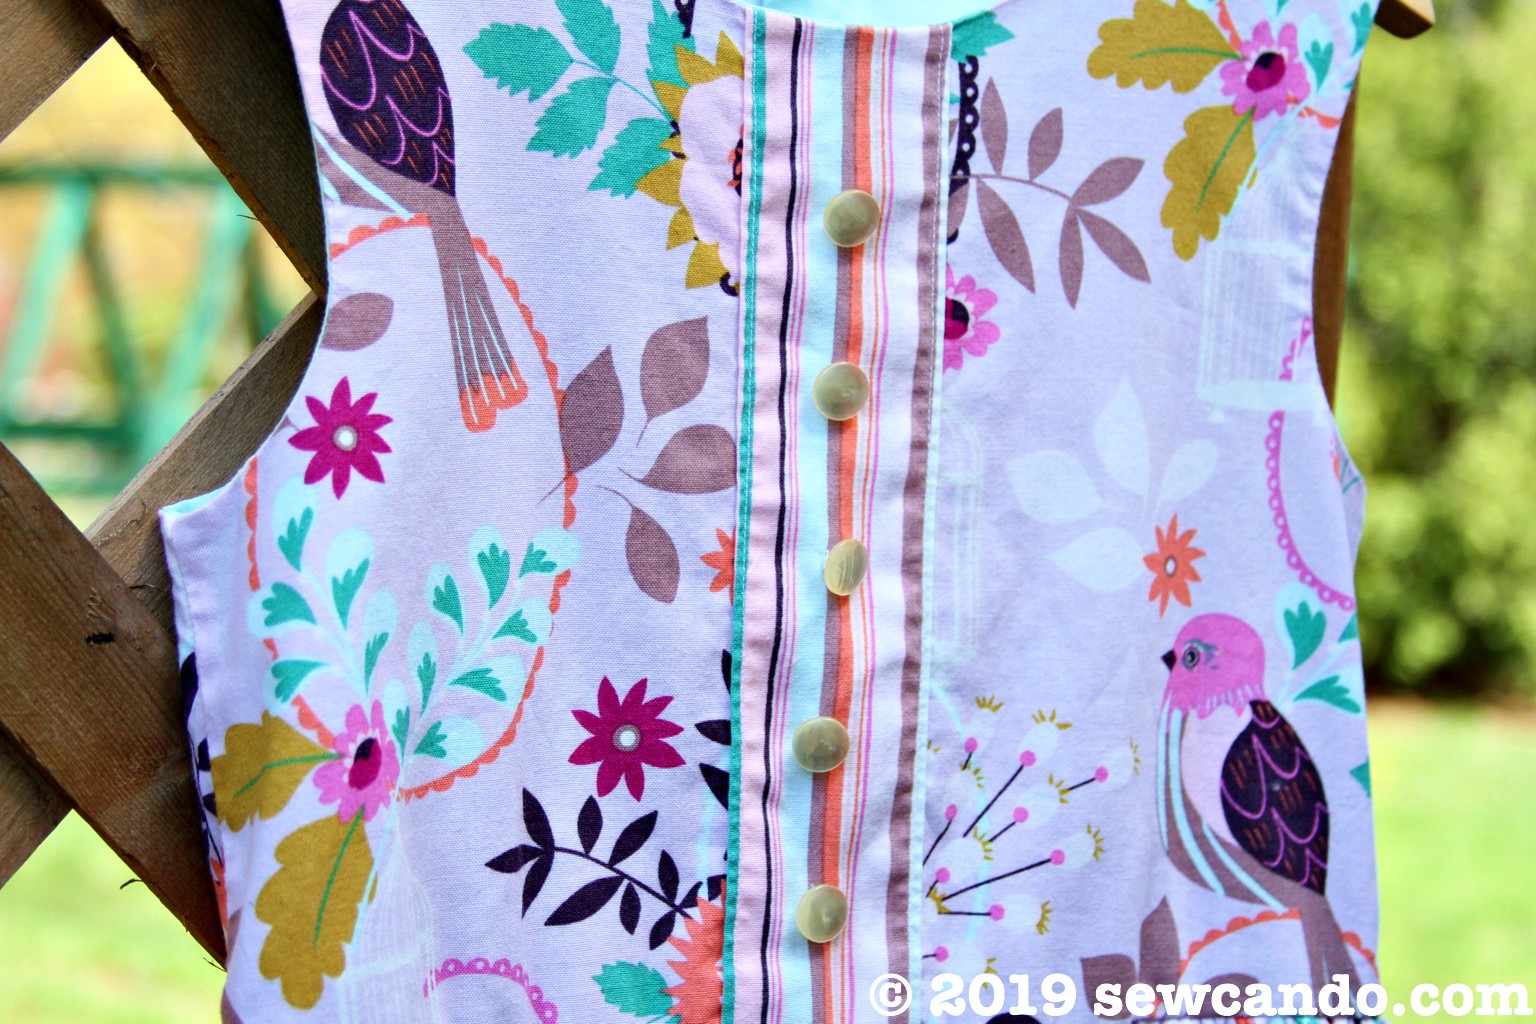
- 6 snap sets (or buttons)
- Thin cord or string
- Our FREE PDF Sleeveless Sunday Dress Pattern
Notions: Iron, yard stick, rotary cutter/shears, pins, tailor's marking pen or chalk
Printing the Pattern: Click HERE to download our PDF bodice pattern. Print at 100% (actual size) no scaling. Measure with the test square to make sure the scale is correct. Cut out pattern pieces.
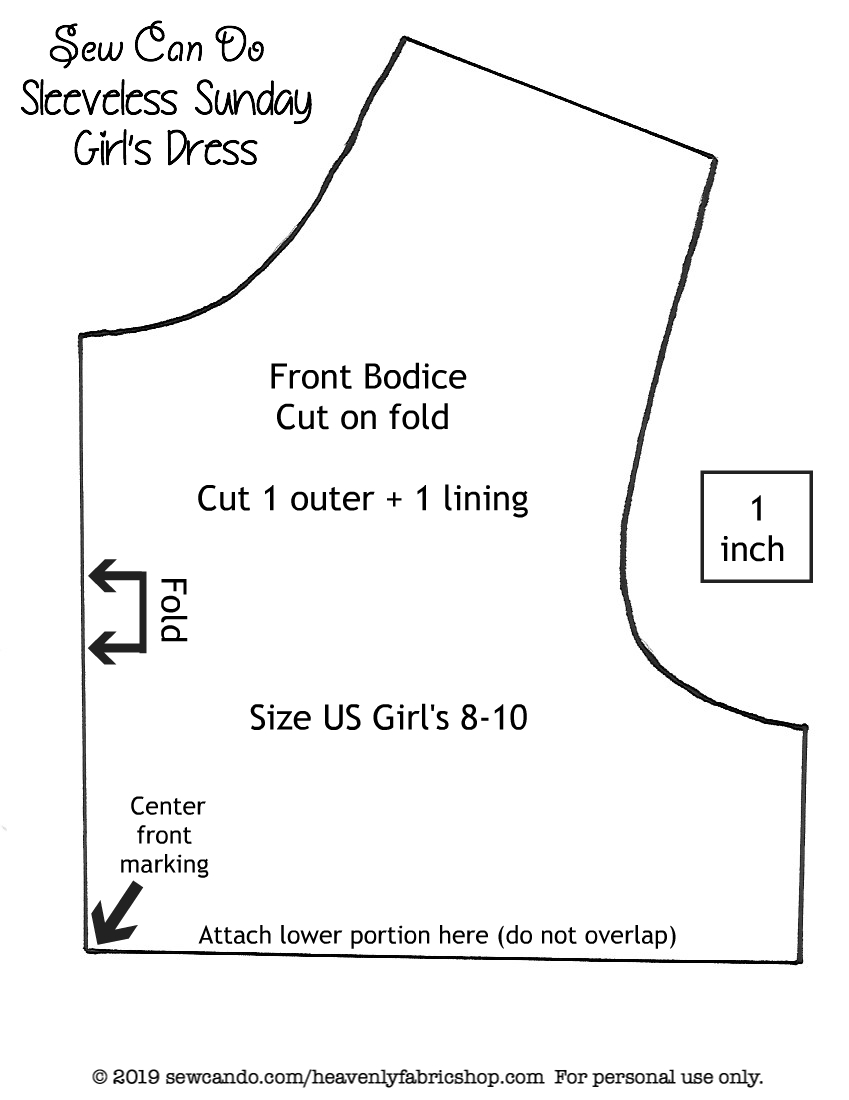
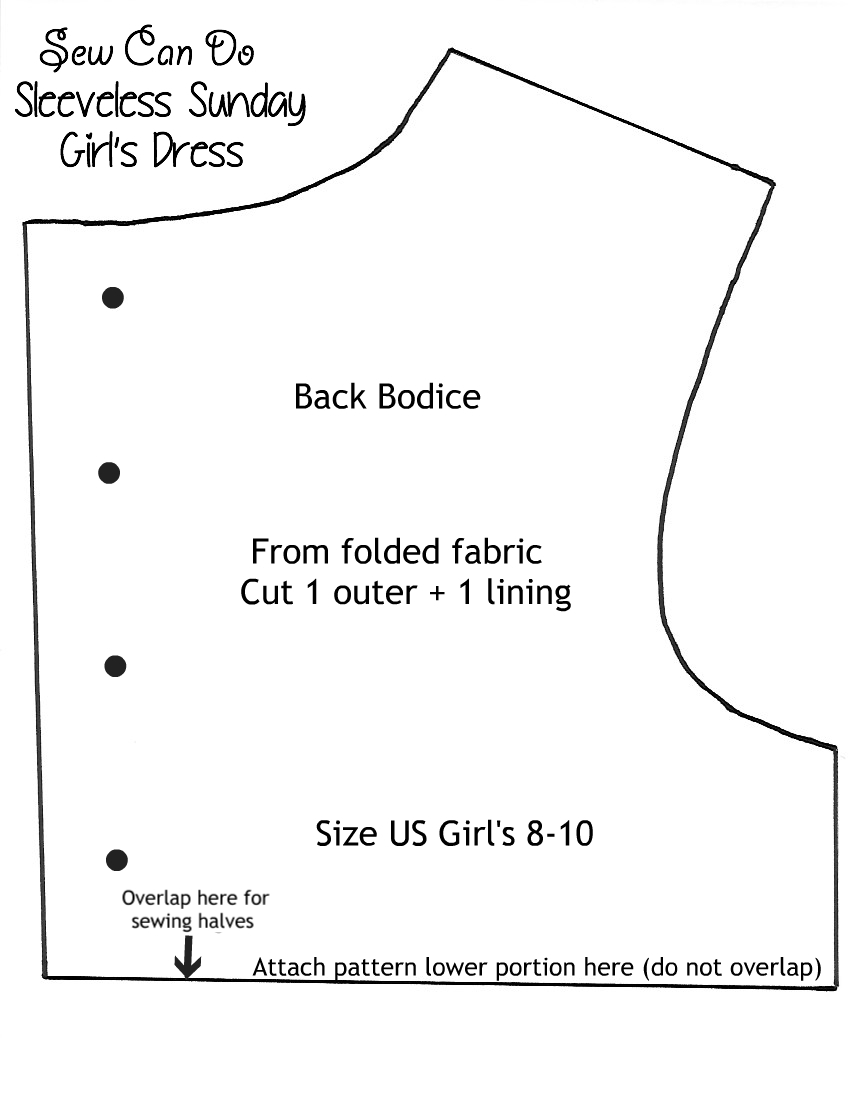
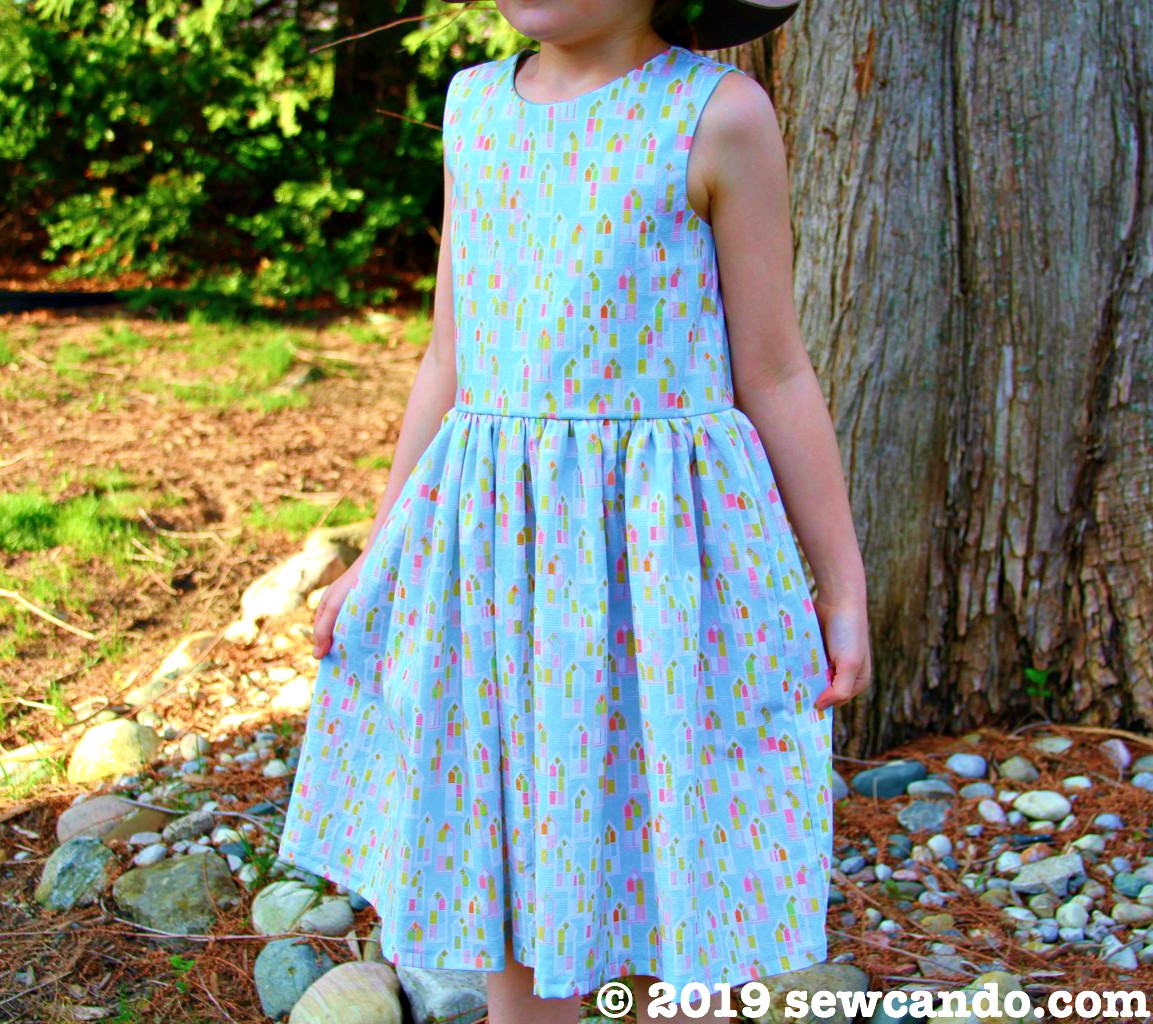
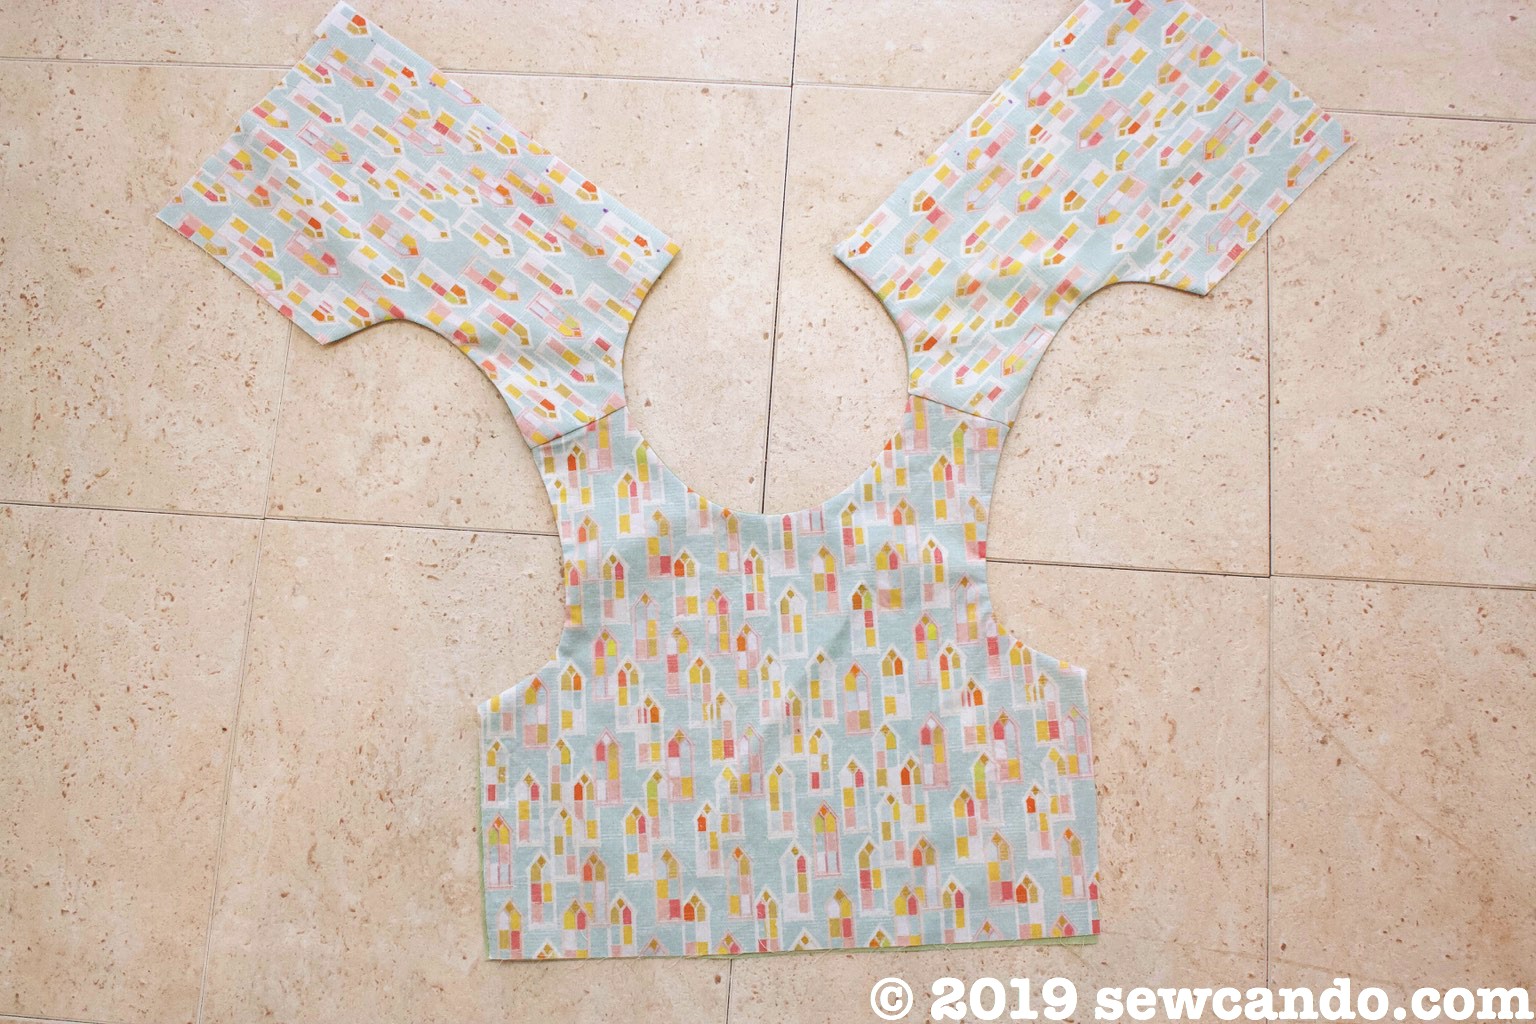
Start by cutting out the bodice front and back pieces from the outer and lining fabric. Transfer all markings. For the skirt portion, cut two rectangles that are 20 inches long by the width of the fabric (usually 42-44 inches). Trim off the selvages. Mark the top center points of both pieces.

Start with the bodice. With right sides facing, pin together the front bodice outer and lining around the neckline and the arm scythe.
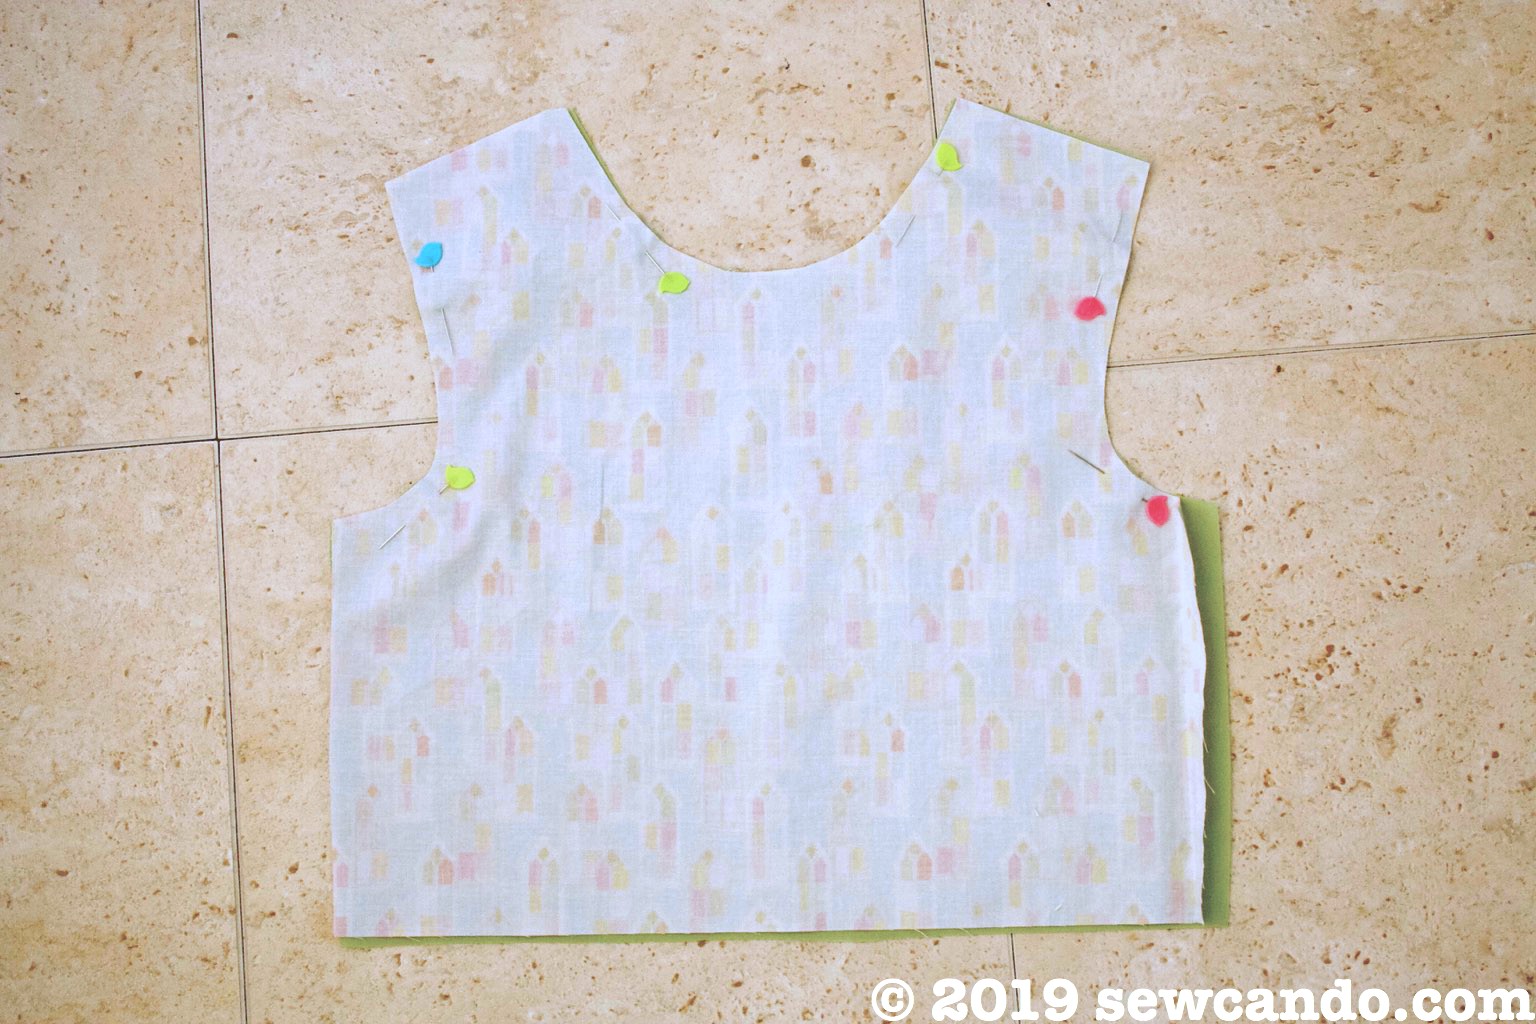
Stitch together using a 3/8 inch seam allowance. Do the same on the back bodice pieces, also stitching down the straight center sides.
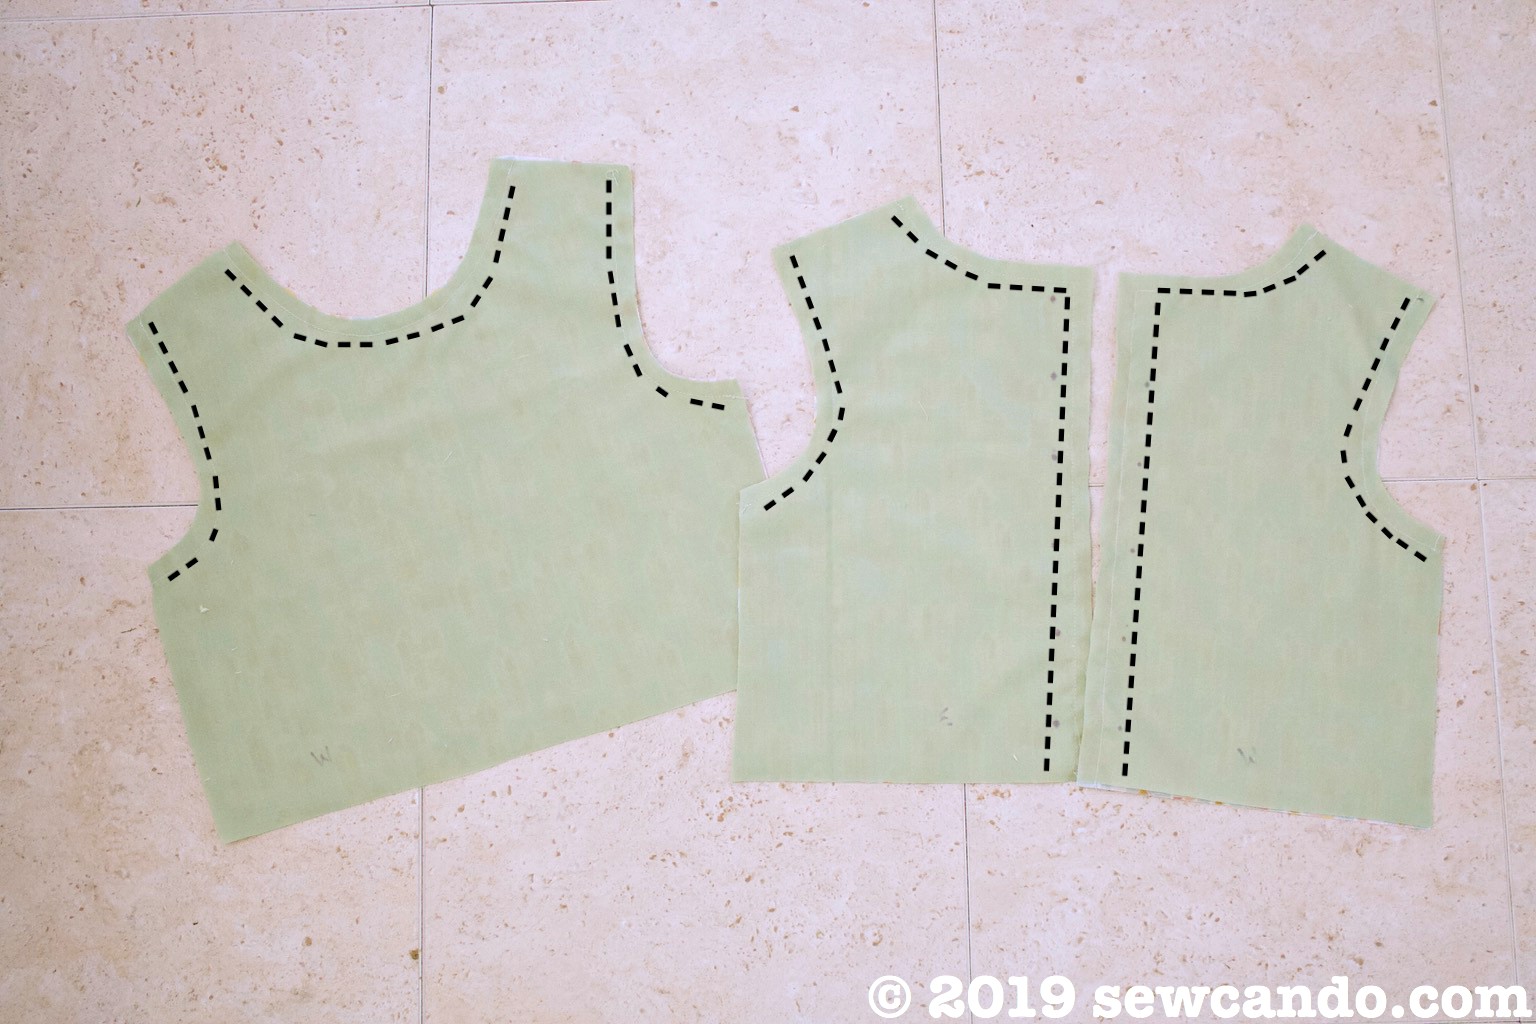
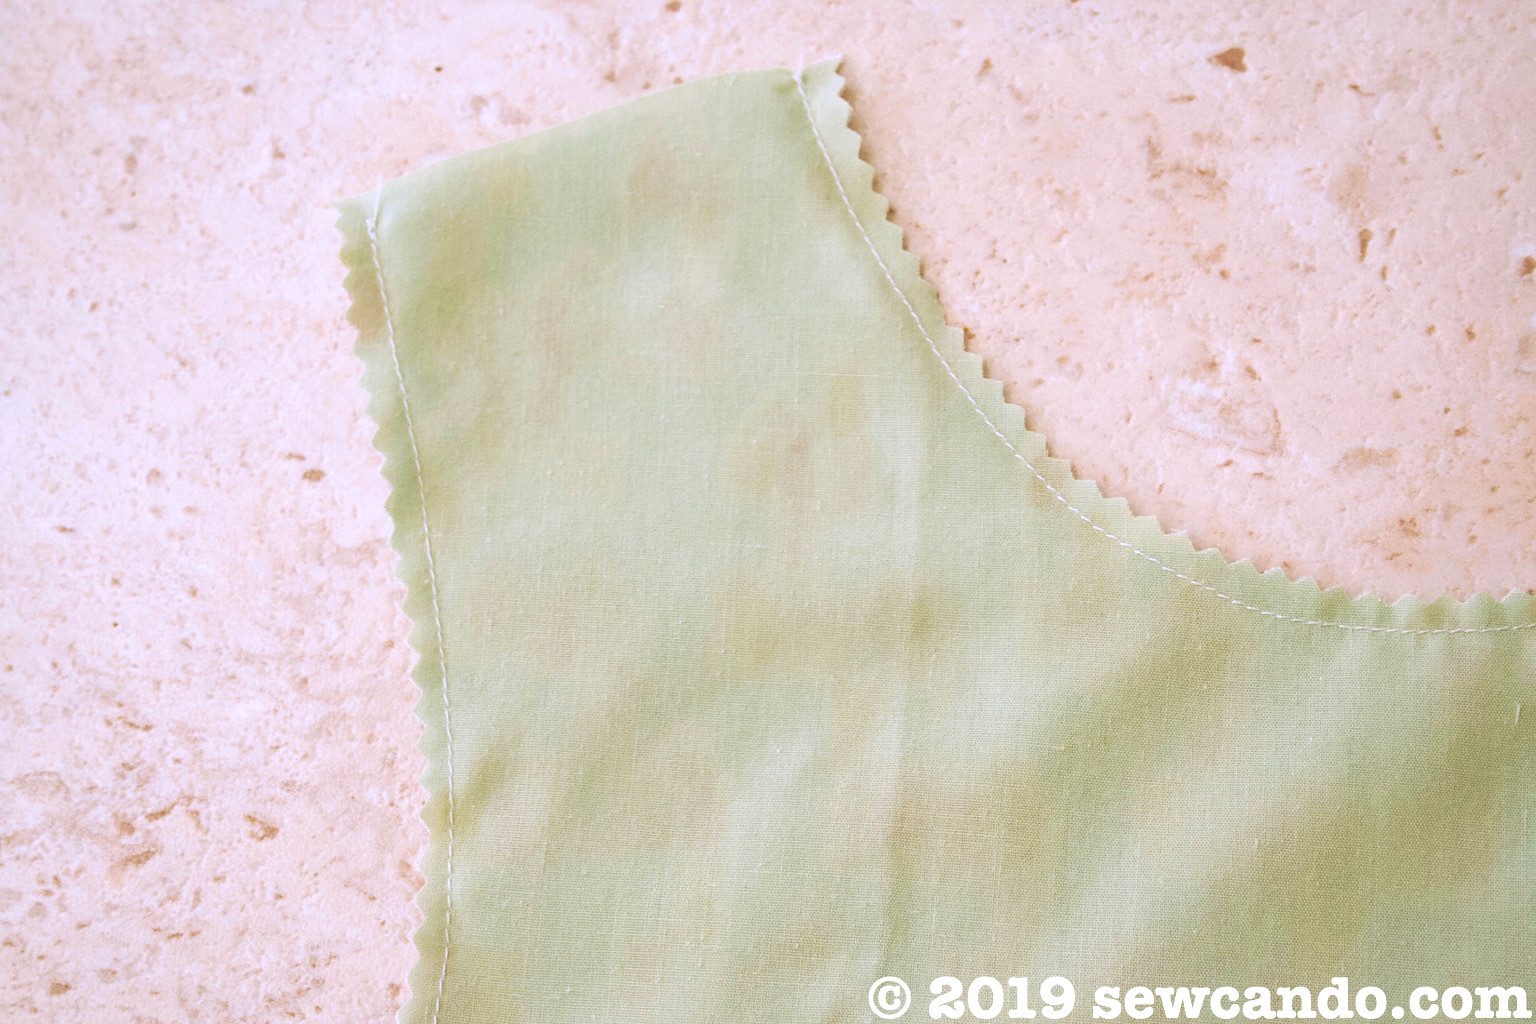
Trim down the seam allowances of all the seams.
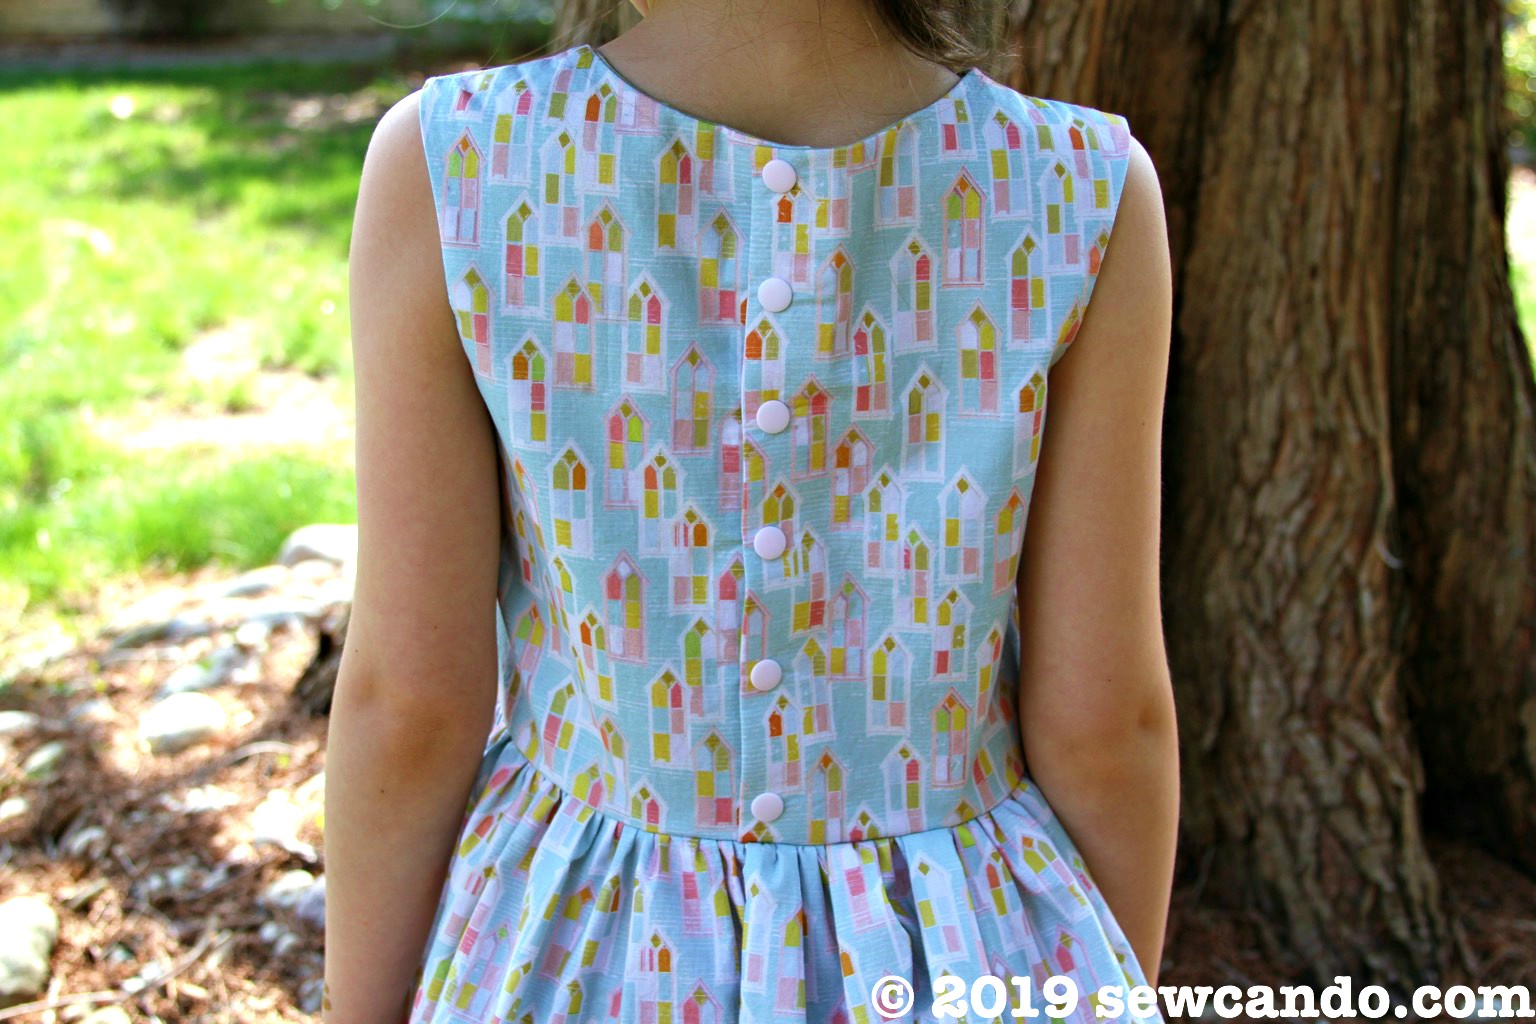
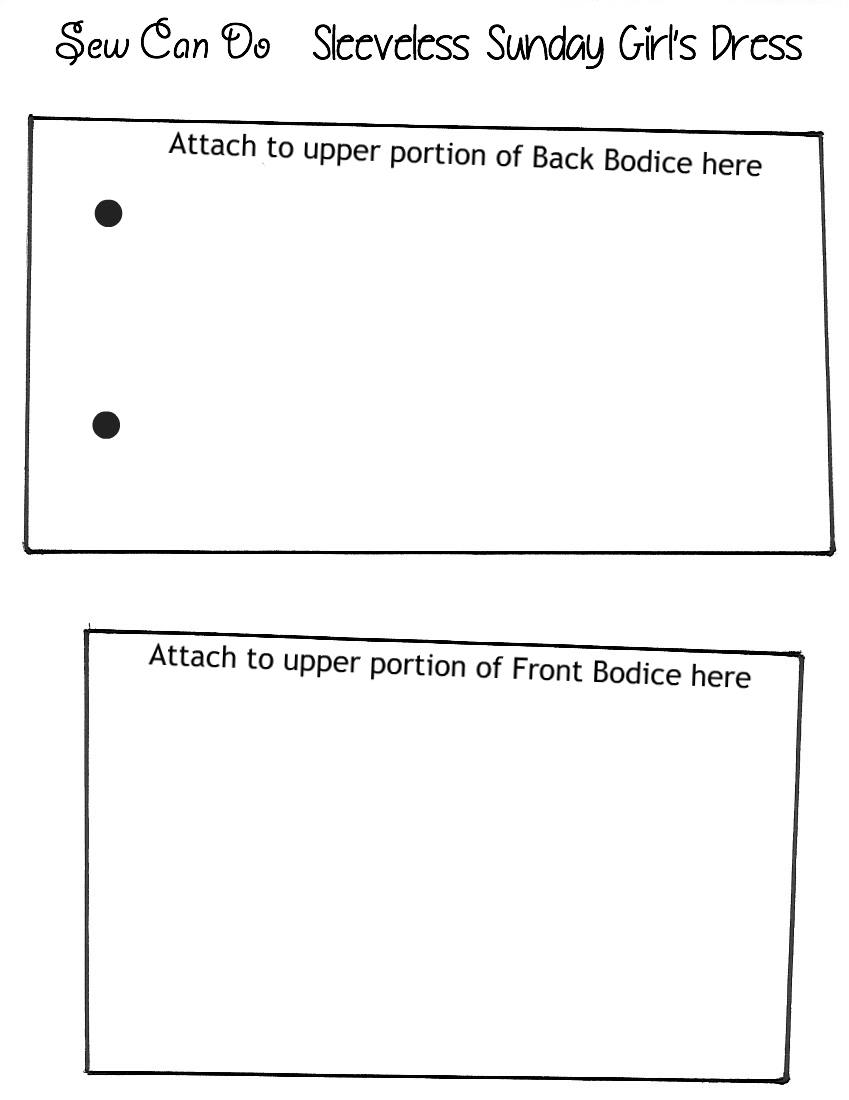
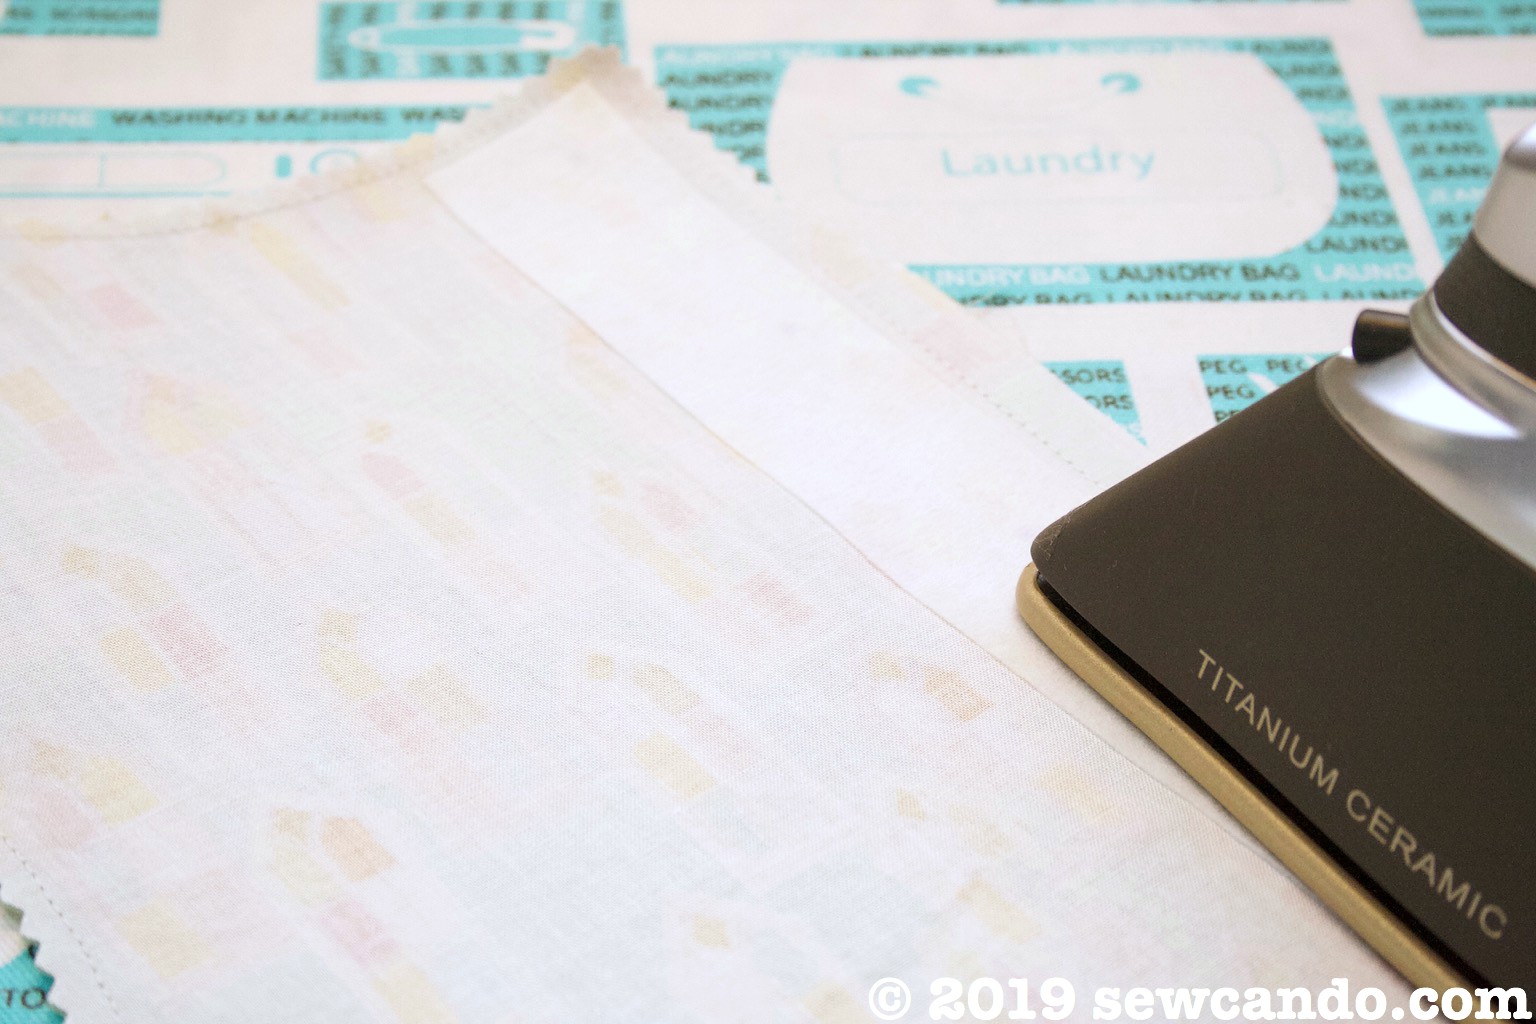
Cut two pieces of fusible stabilizer that are 1 inch wide by 11 inches long and fuse to the wrong side of the back pieces, just next to the newly sewn straight side seams. This will be to stabilize where the snaps/buttons will be.
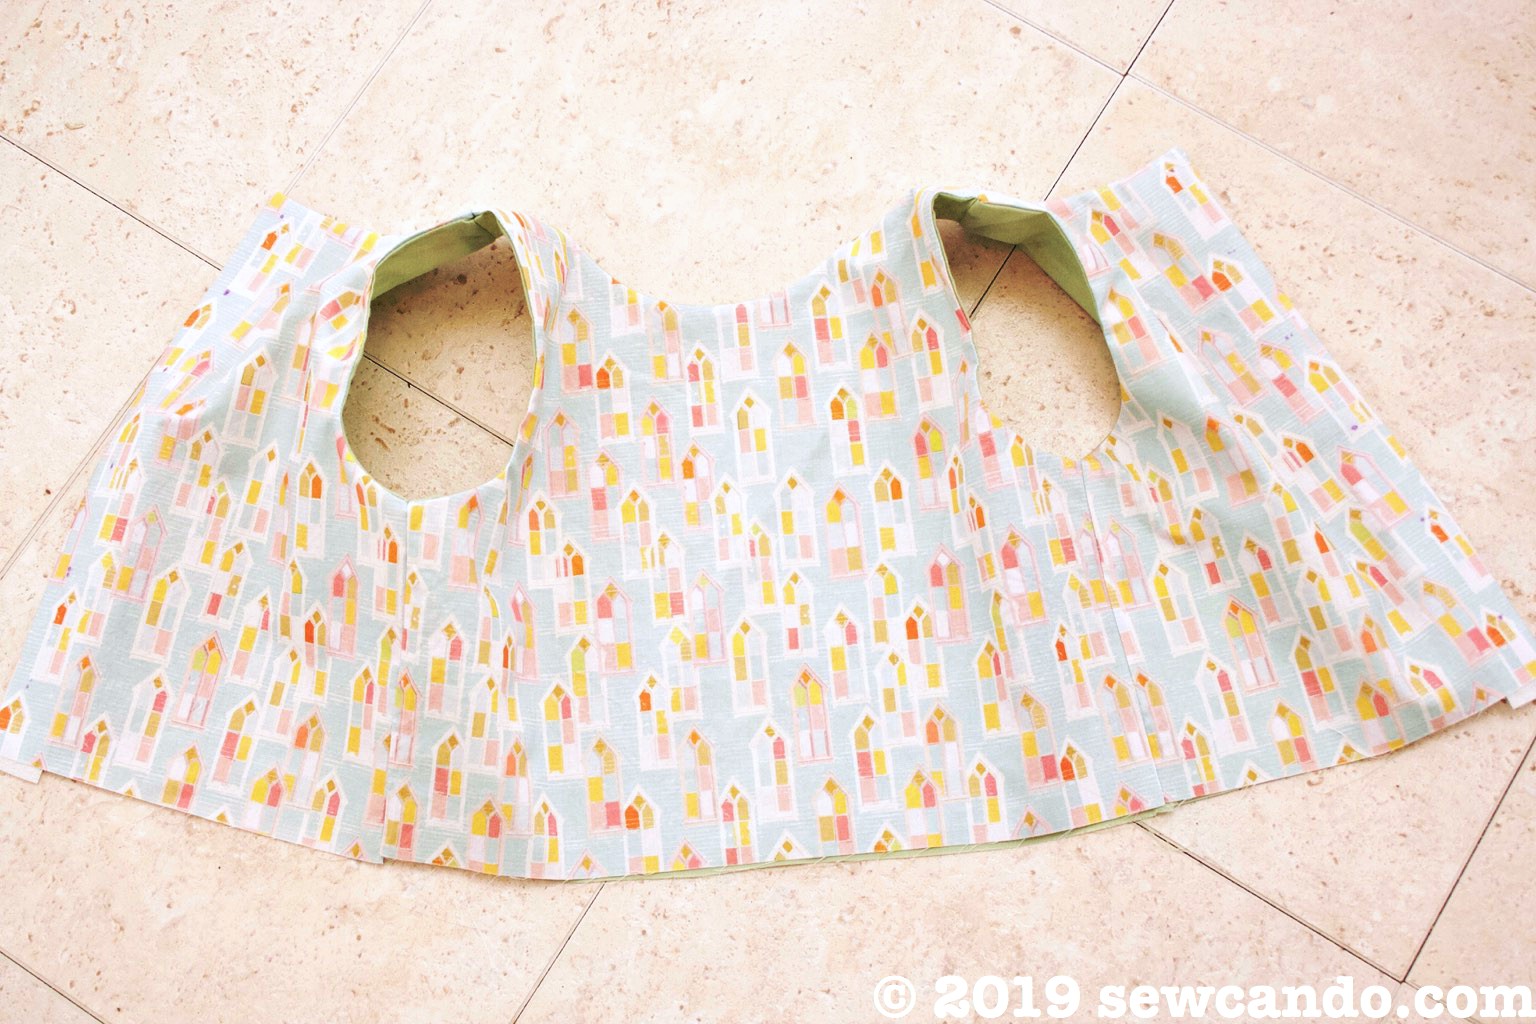
Turn the front bodice piece right side out and press around the seam to get them nice and flat. Insert the shoulder sections into each of the shoulder sections of the back bodice pieces, matching up the fabrics and seams.
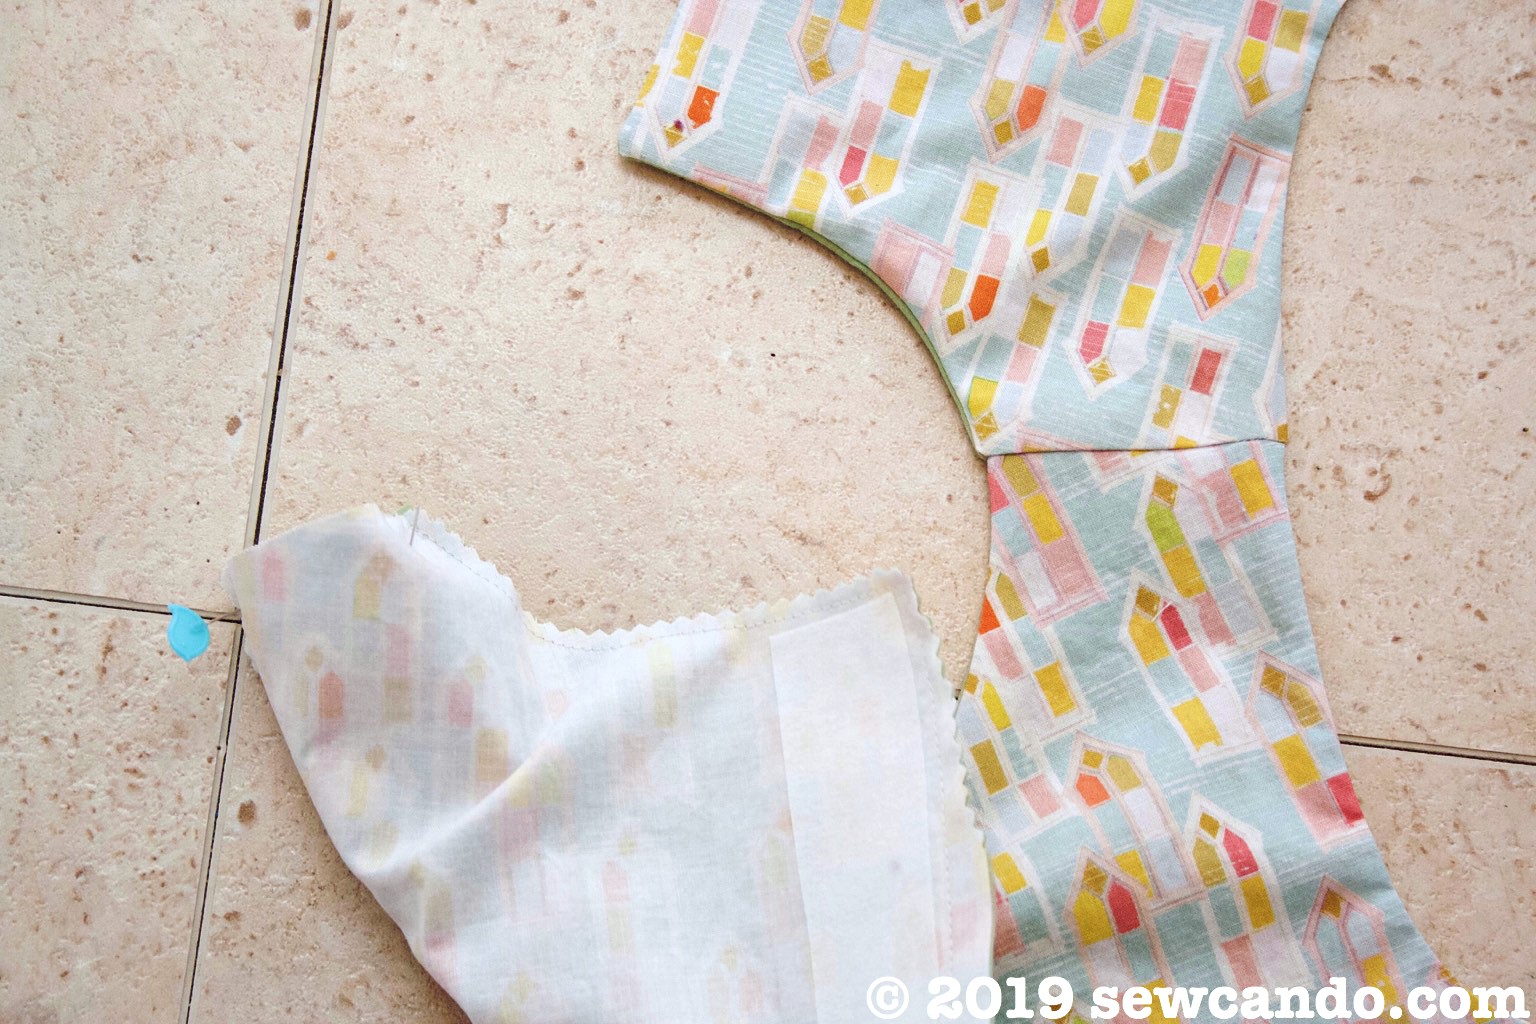
Pin so that each shoulder will be a little tube.
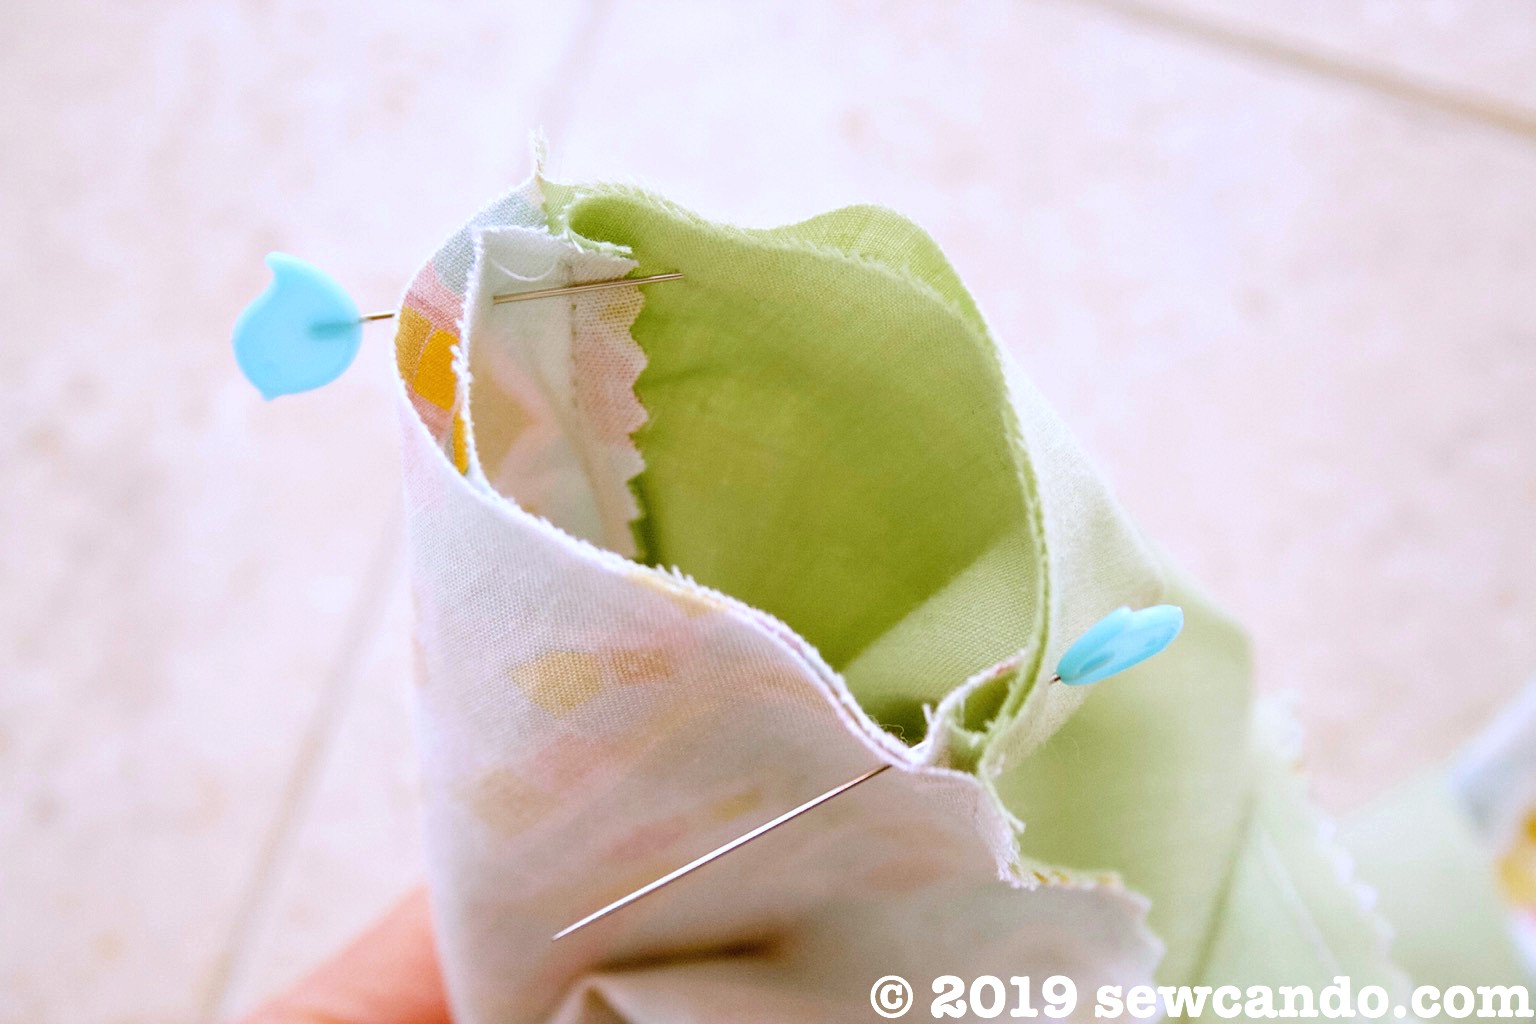
Stitch all the way around.
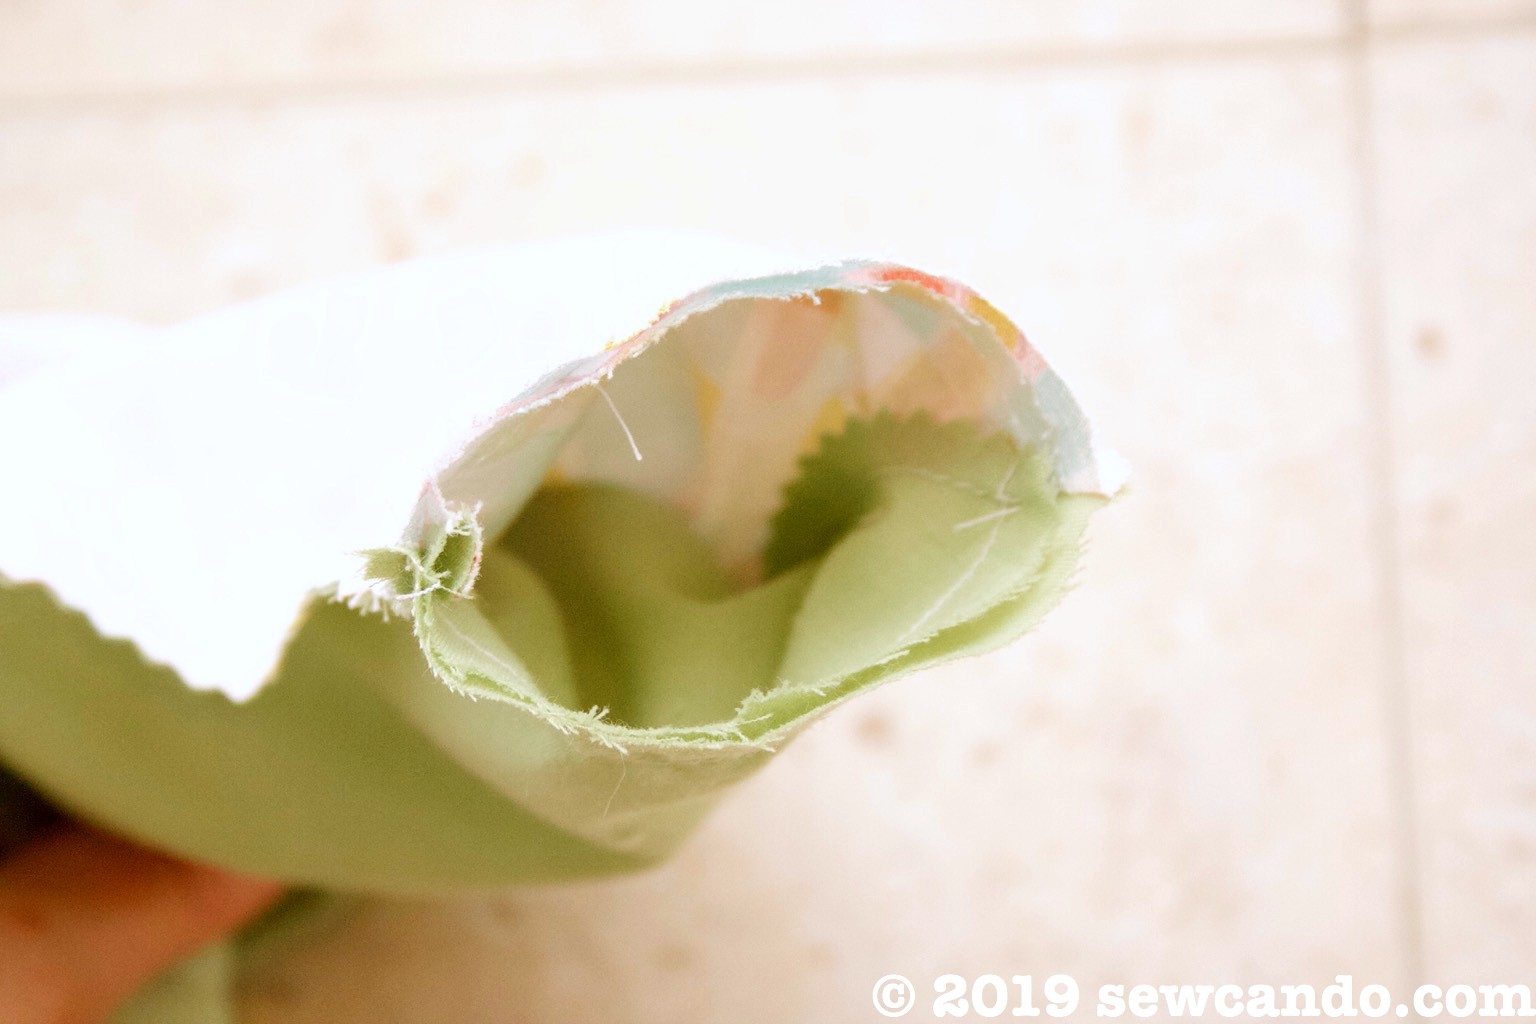
Turn right side out and press entire bodice flat.
Now, take the open sides and match up the raw edges and sew across from the outer to the lining on each side of the bodice. Trim seam allowance.
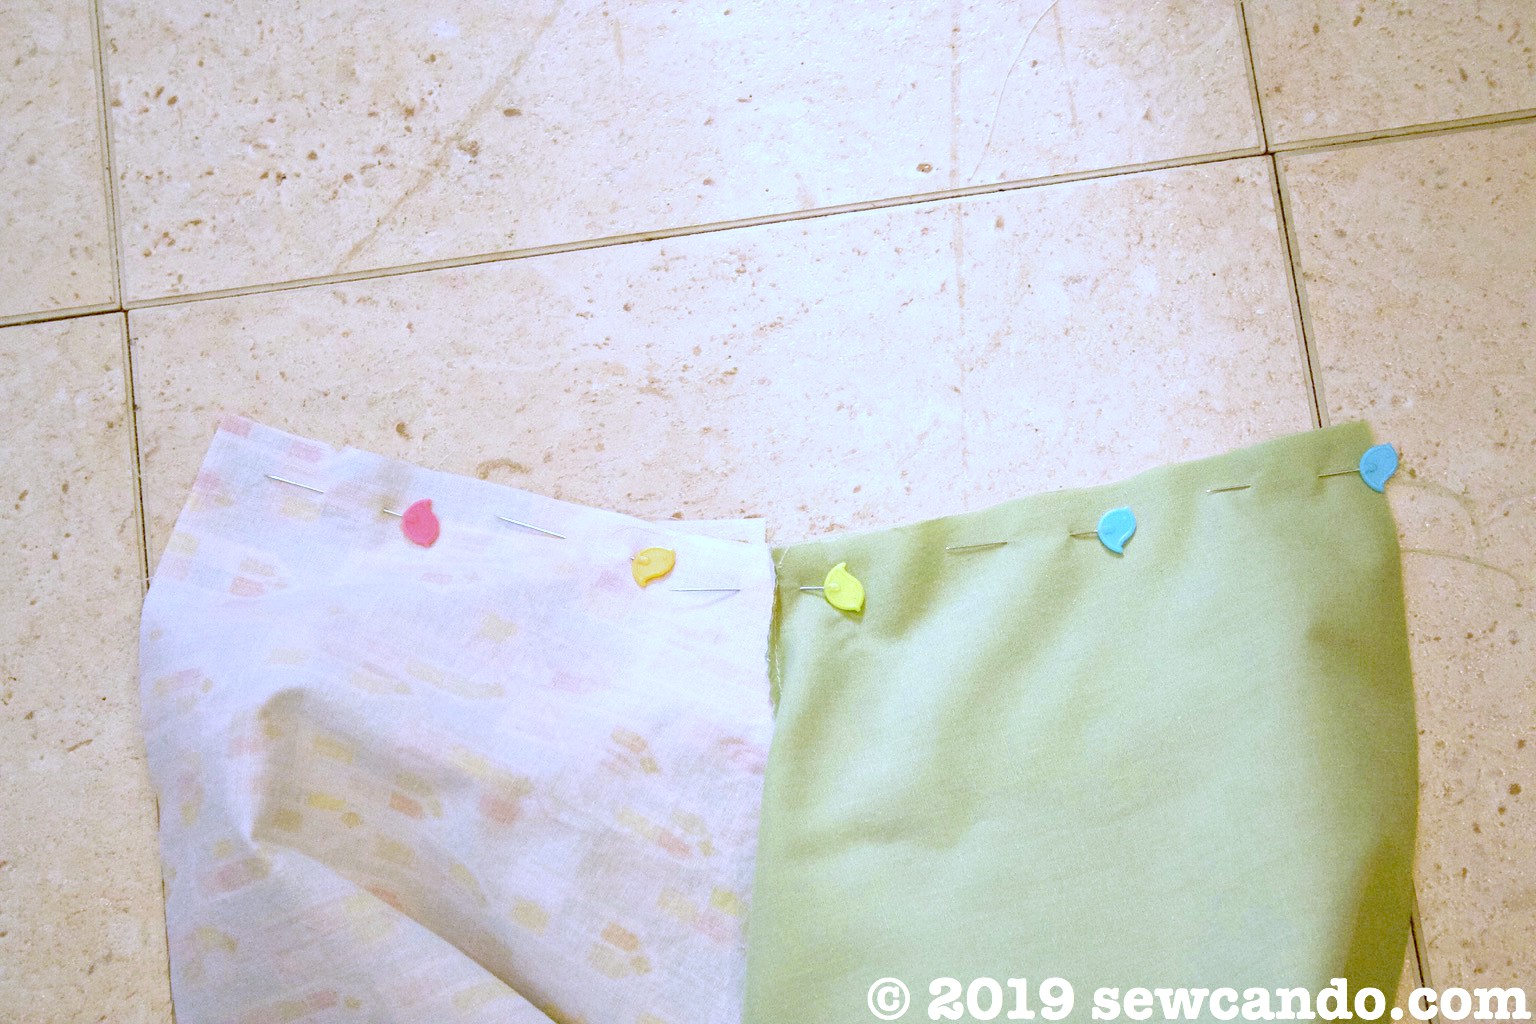
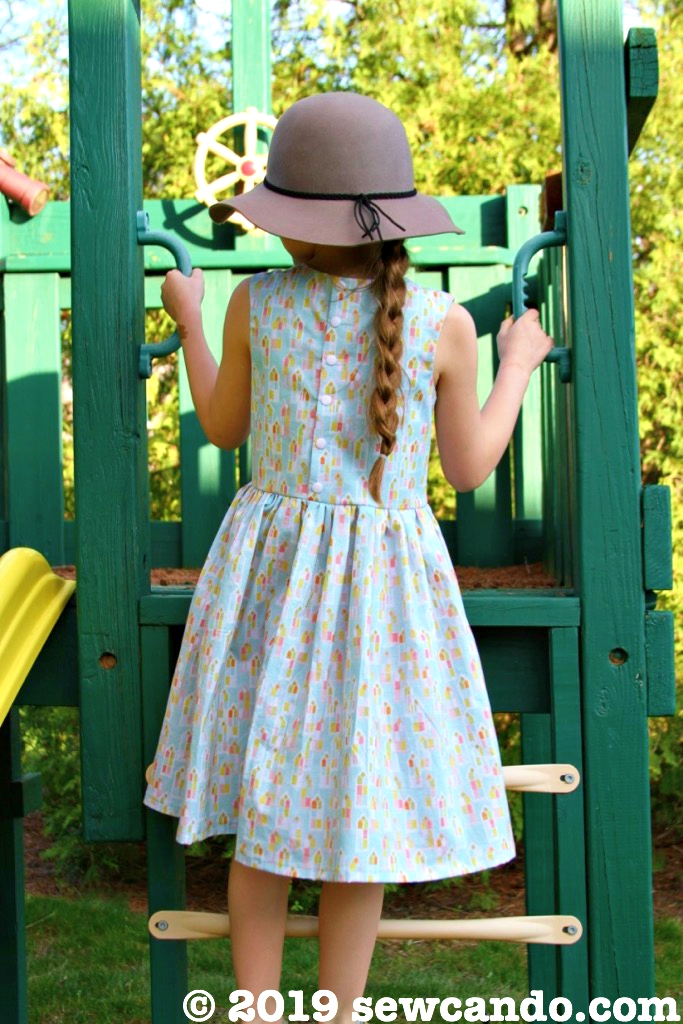
Turn right side out and press layers flat. If doing button closure, do button holes now.
Overlap the back center of the bodice by 1 inch and baste layers together along the bottom. Mark the bodice front and back centers. Set aside.

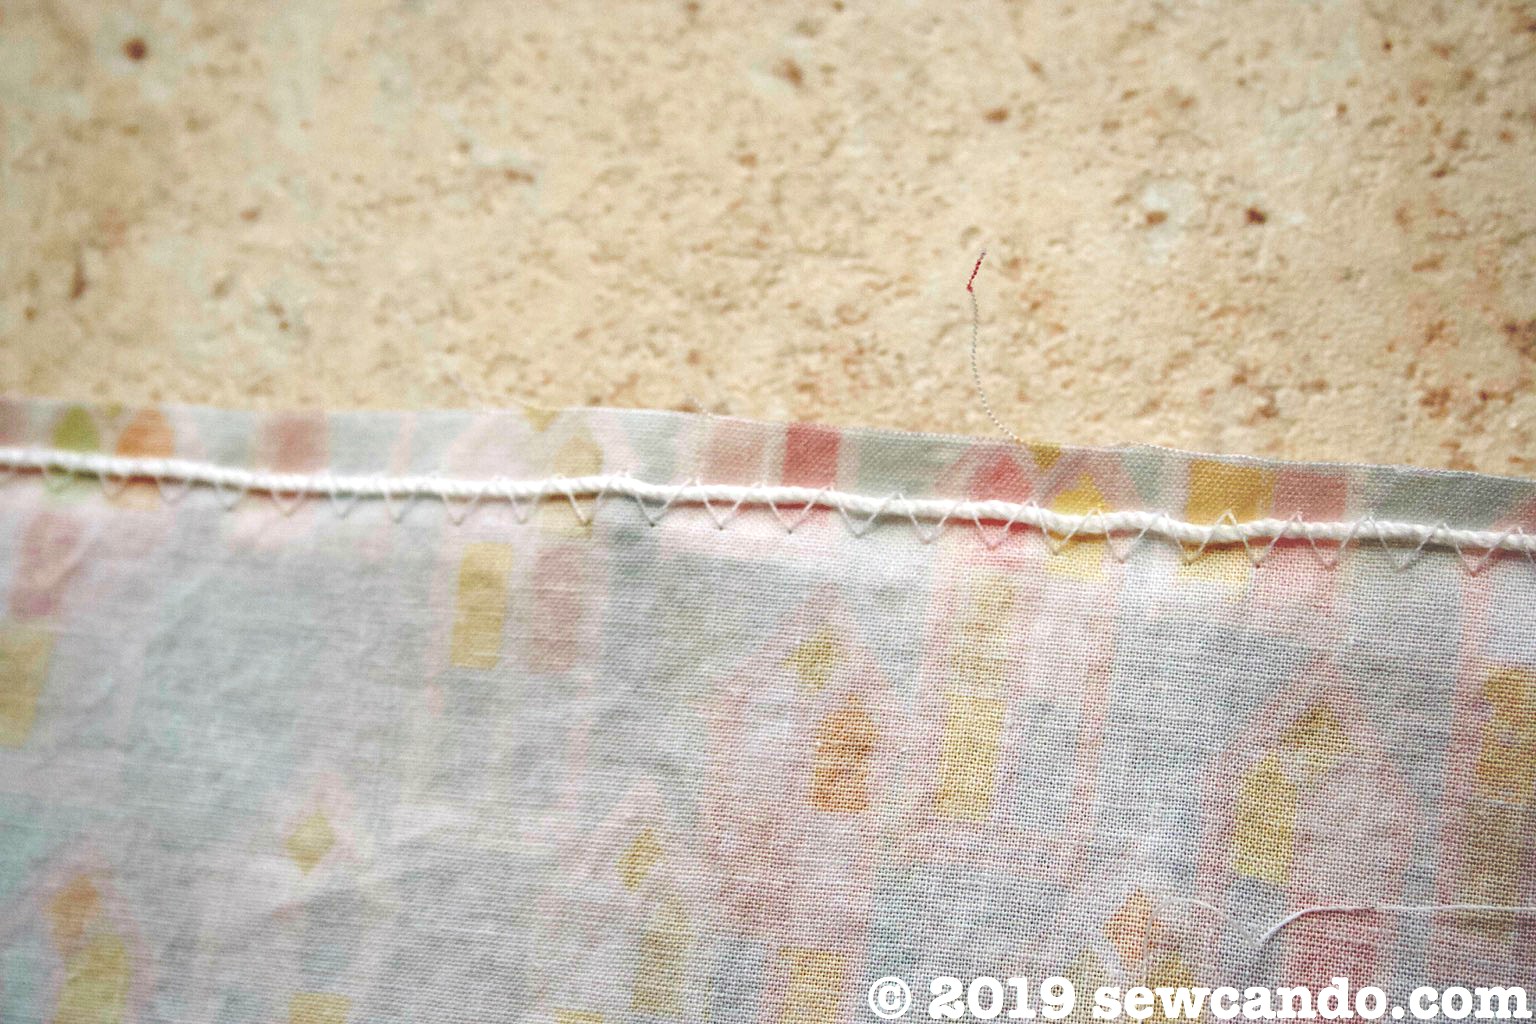
With right sides facing, pin the short sides of the skirt rectangles together and stitch. To easily gather the skirt, with fabric still turned wrong side out, use a wide and long zig-zag stitch and stitch along the top raw edge with the thin cording/string between the stitching.
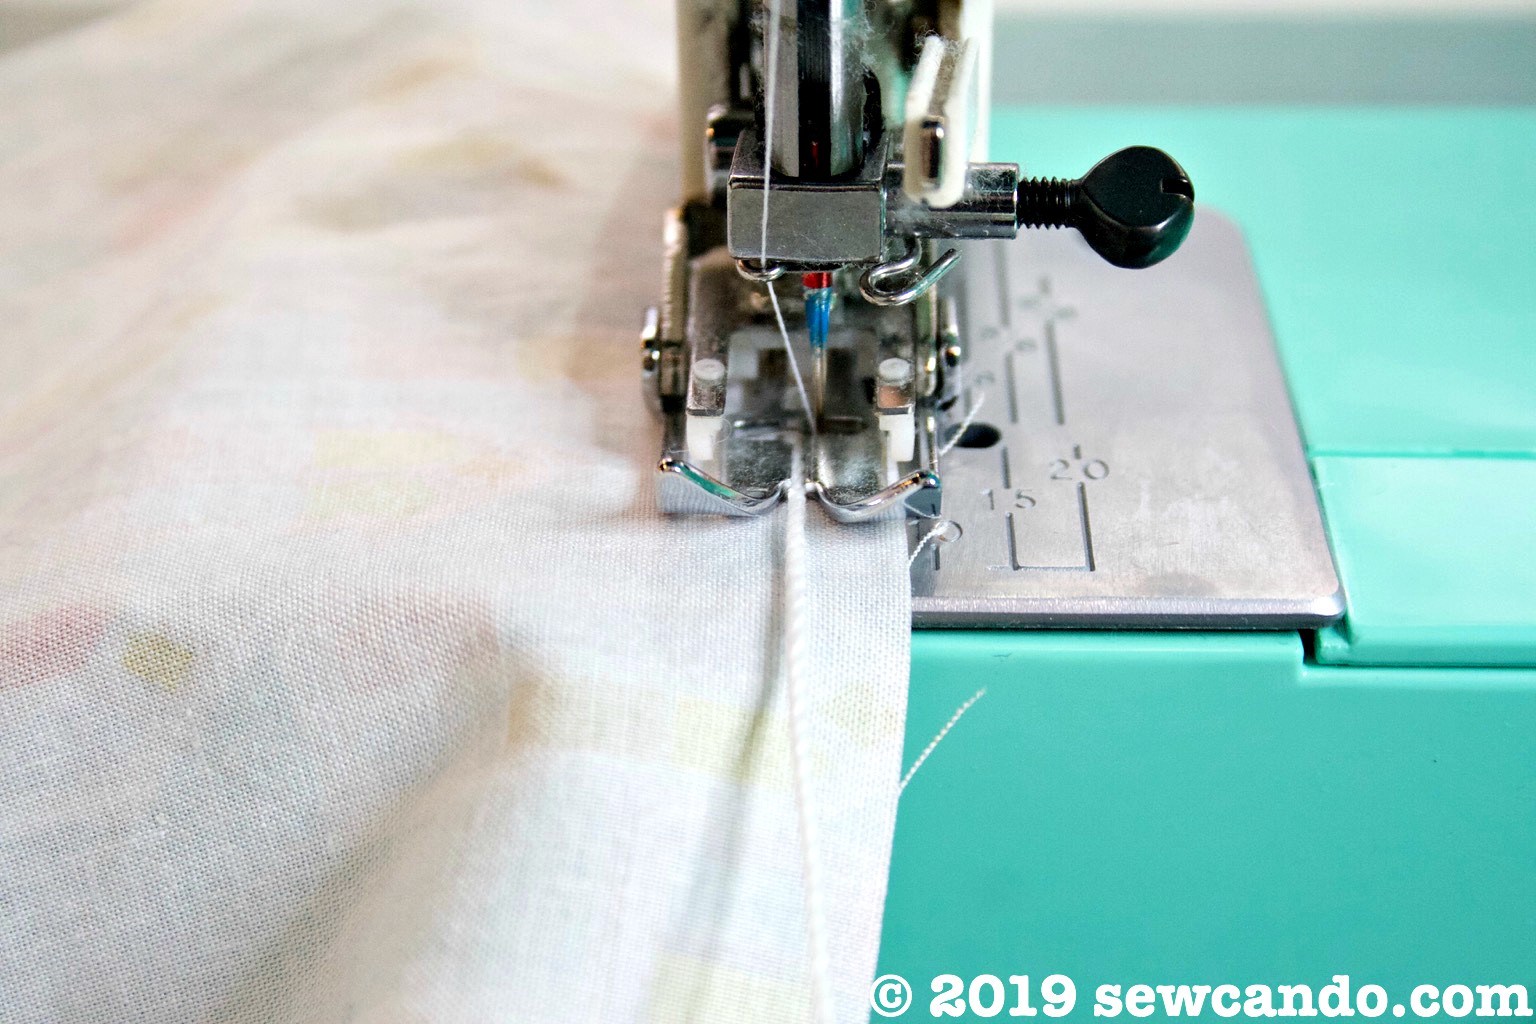
Do this all the way around, careful to keep the string in between the stitching since that needs to be able to slide.
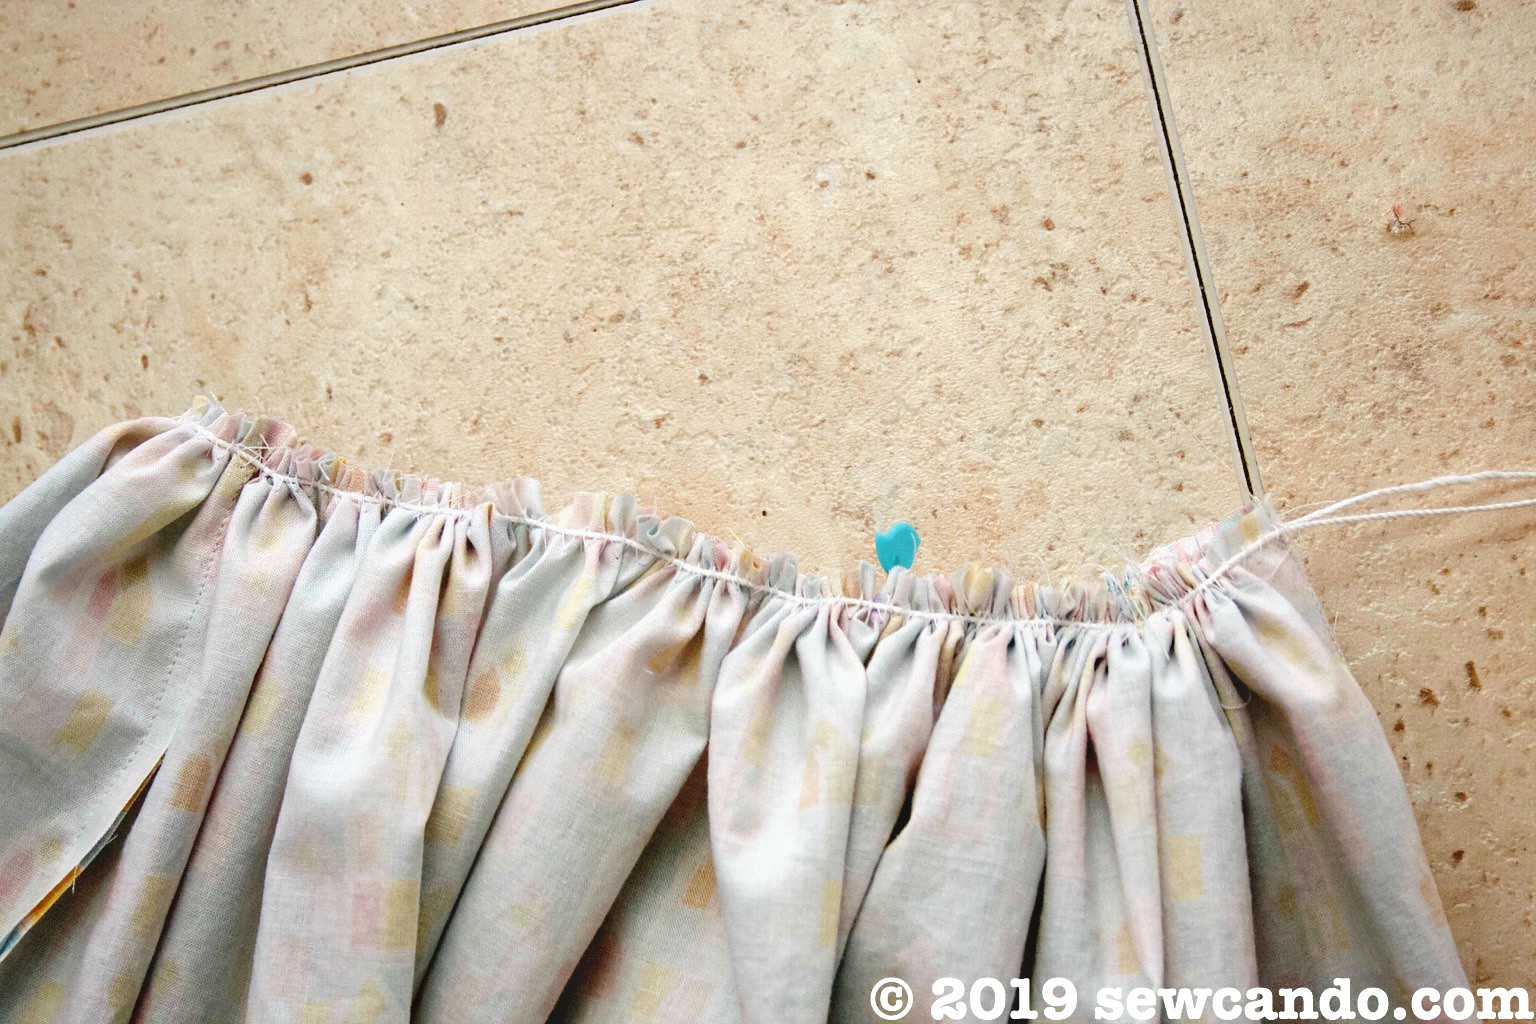
Pull up the string ends and spread gathers evenly.
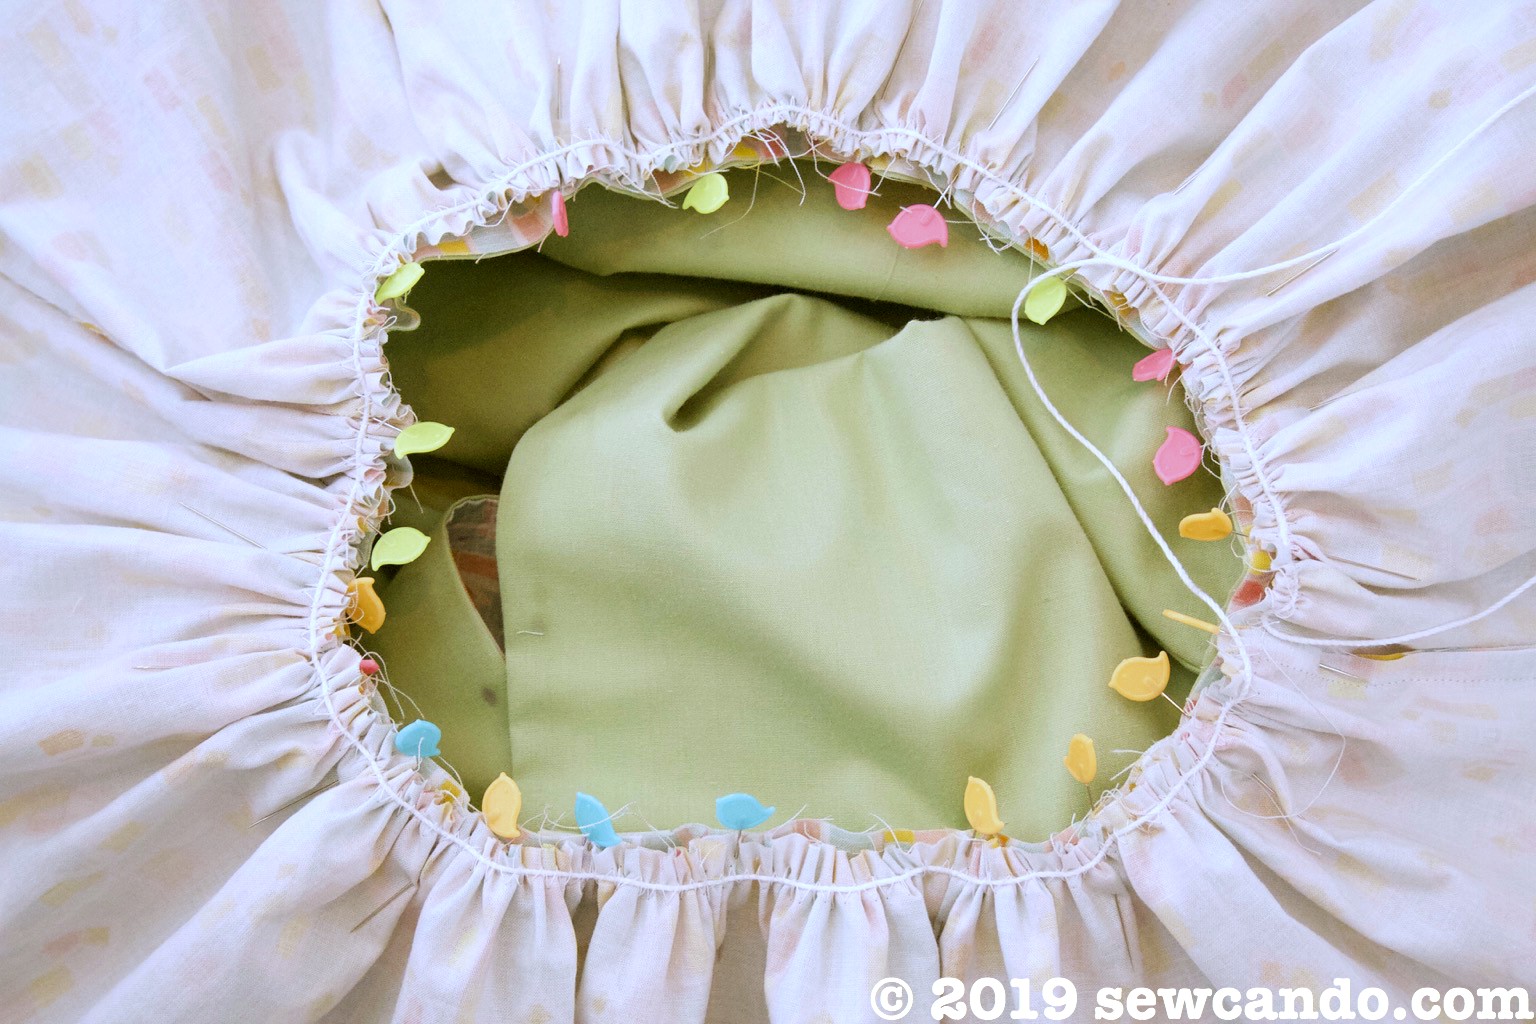
Insert bodice, right side out, into the skirt, matching up the raw edges at center markings and side seams. Adjust gathering as needed and pin.
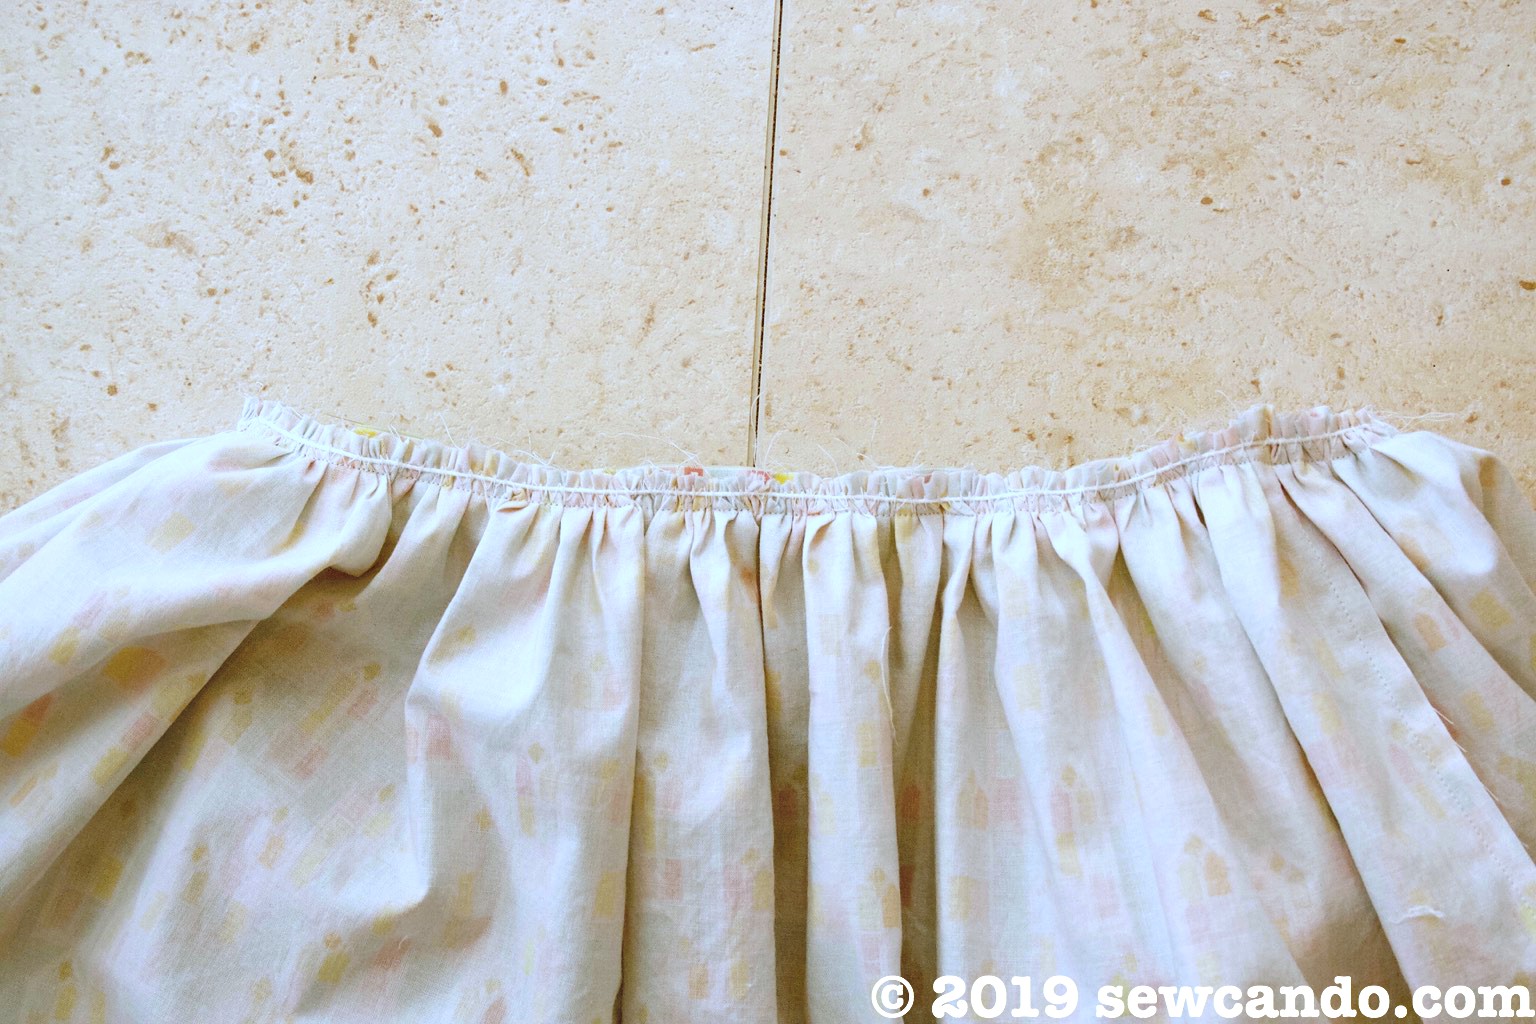
Stitch together with a 1/2 inch seam allowance. Serge or zig-zag over the raw edges.
Try on to determine desired length of hem and finish as desired. We preferred double folding the hem up 5/8 in (for 1 1/4in total) and then topstitching. Set the snaps along markings and enjoy your pretty new dress!
Adorable and so versatile