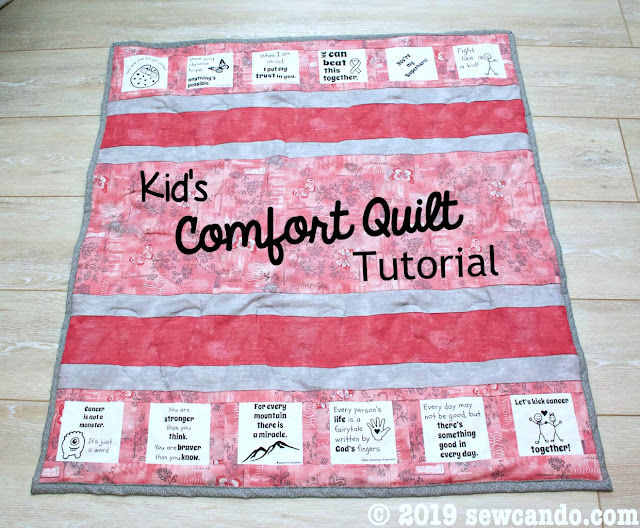
Kid's Comfort Quilt Tutorial
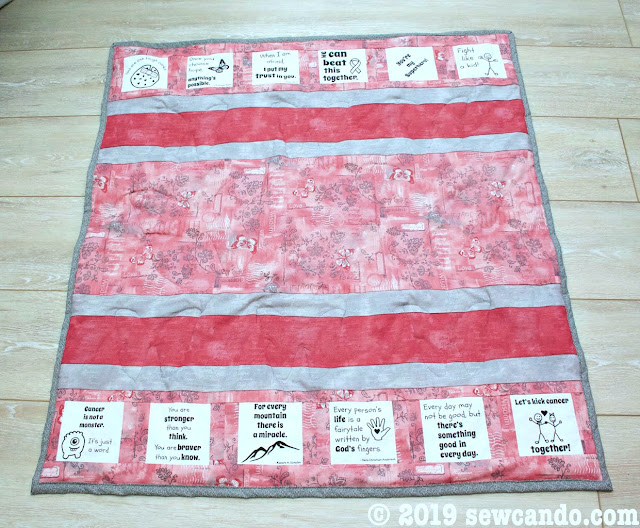
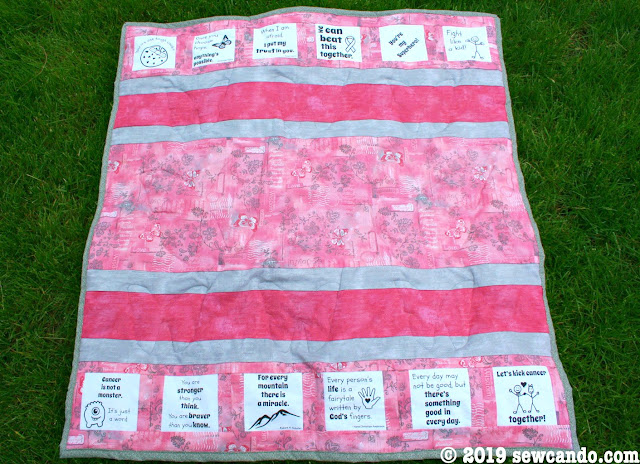
Sometimes the best projects are the ones we give away. We've just finished this lovely little Kid's Comfort Quilt to give away and are happy to share how we made it so others can make some to donate too.
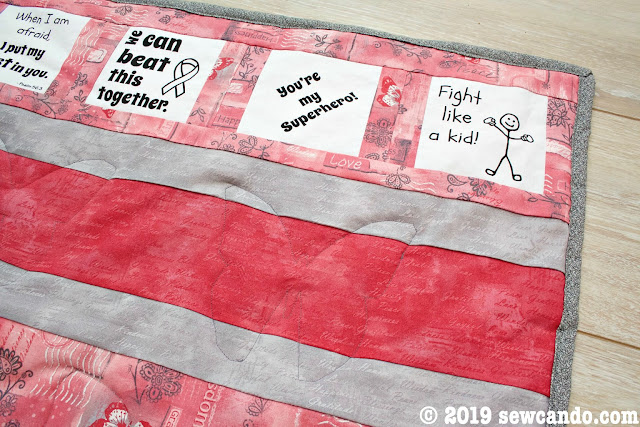
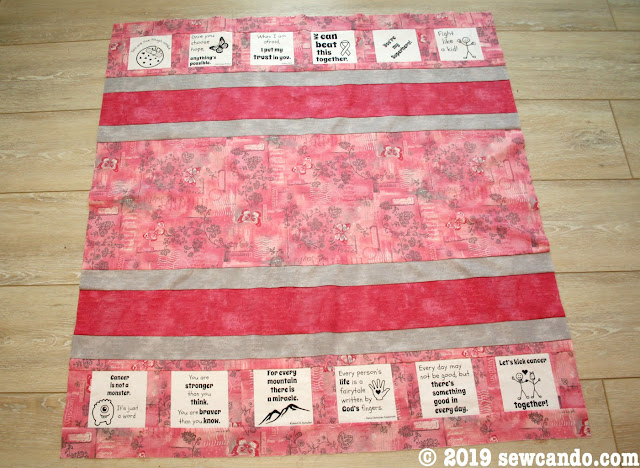
The striped design features framed charm squares and is self bound with fabric from the back side.
A special comfort quilt can help lift spirits at difficult times.
We were inspired by this Little Star Quilt, but made ours more basic so there is less to cut out and quick to assemble.
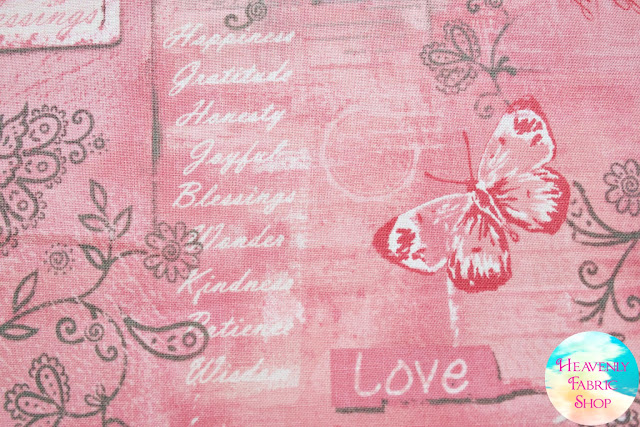
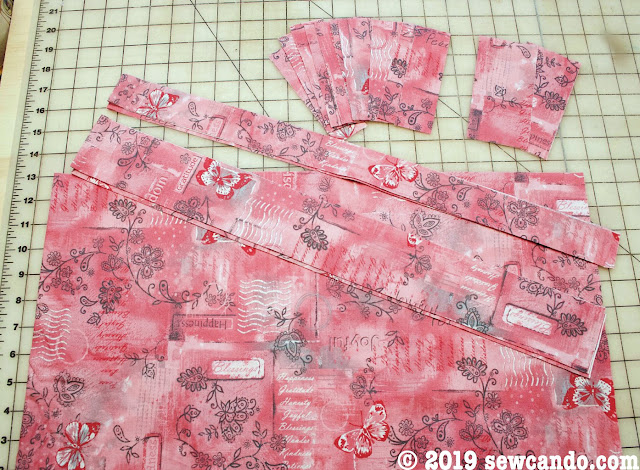
While this quilt could be made with any fabrics (it makes a great baby quilt too), we had this one team with the theme of kicking childhood cancer. For the main fabric we used this pretty new fabric, Soulful Shades of Pink Inspirational Butterflies, full of words of hope, pink and butterflies:
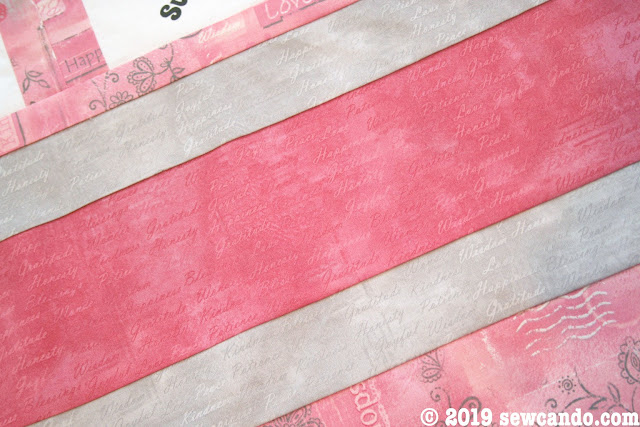
The stripes feature coordinating inspirational script words like blessings, gratitude, and love too in Grey and Pink.
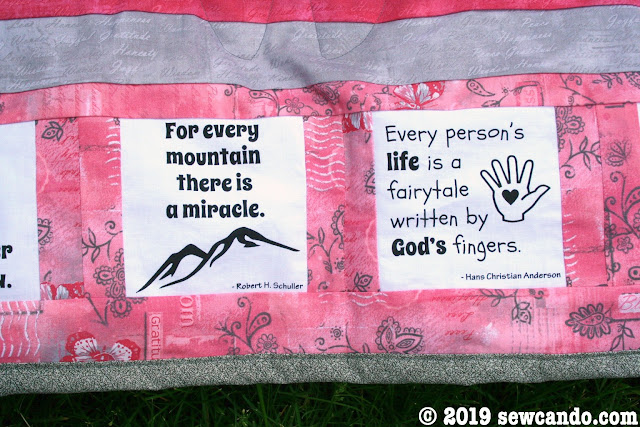
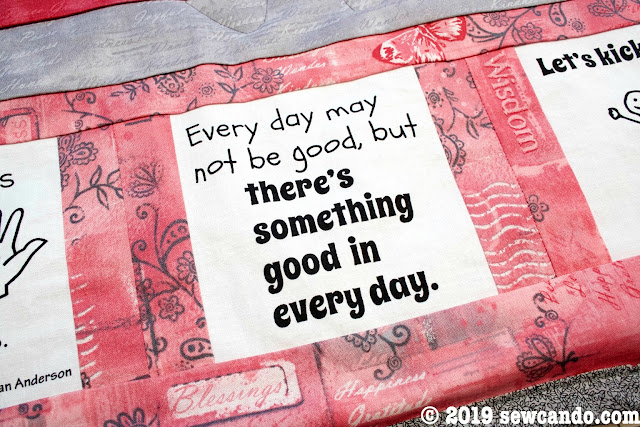
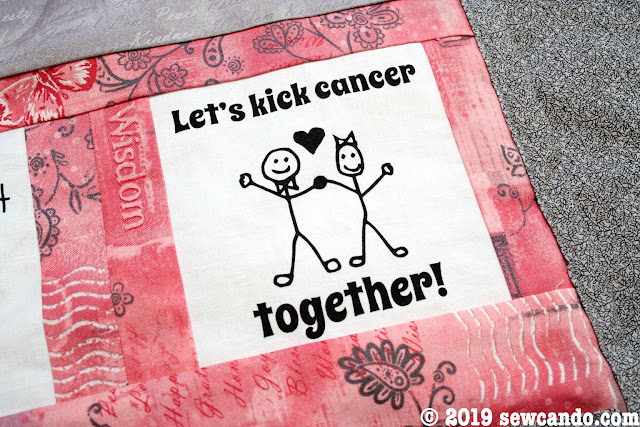
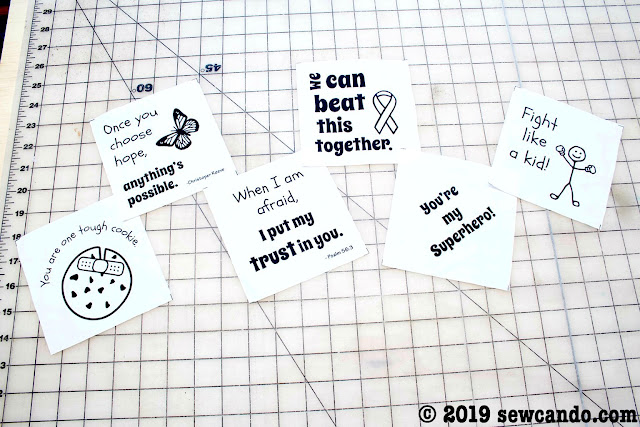
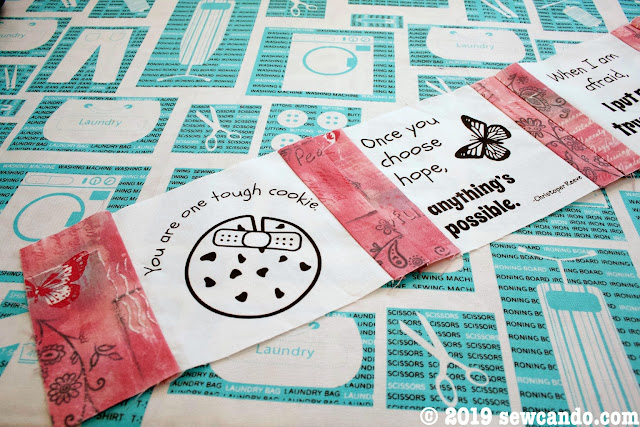
There are also some specially themed charm squares:
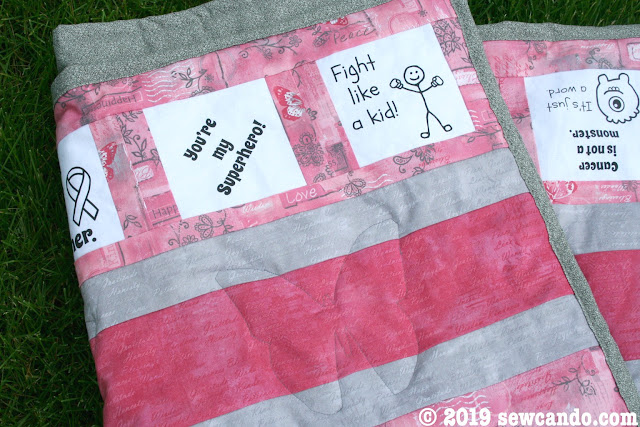
The kid-themed messages are meant to help little ones fighting cancer to stay positive:
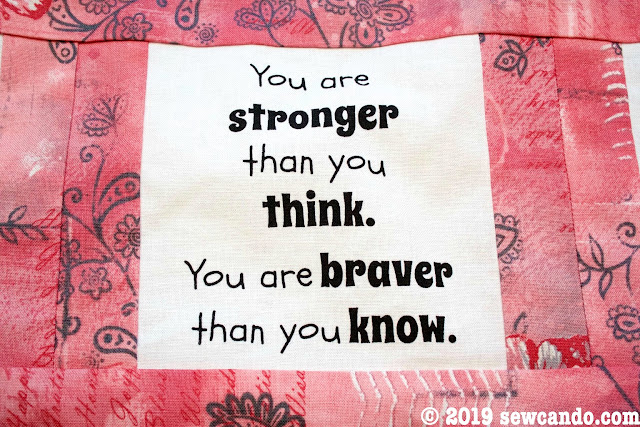
and feel brave:
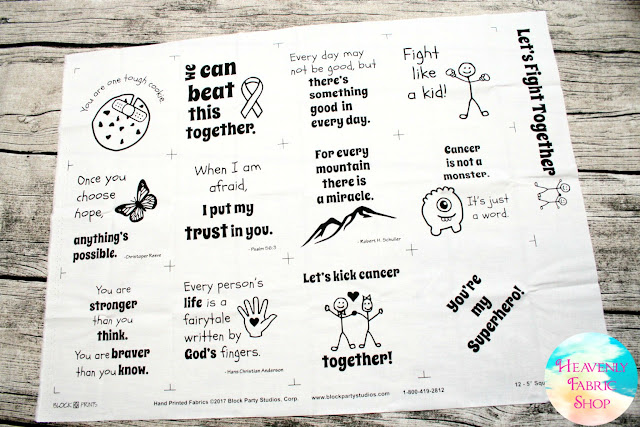
We used this new Let's Fight Together Childhood Cancer Fabric Panel to create them.
The messages are so sweet and pair well with the inspirational-themed fabrics. We also quilted some butterflies to echo the butterfly main fabric.
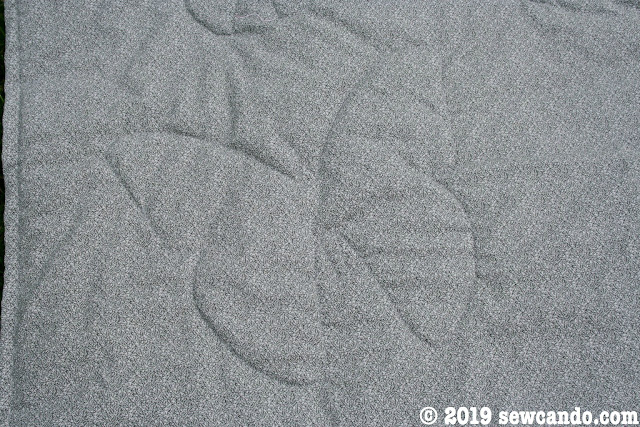
Which adds a nice butterfly design on the back too:
Finished size: 39 in wide by 44 in high
Materials:
- 7/8yd Soulful Shades of Pink Inspirational Butterflies cotton fabric
- 3/8yd Soulful Shades Inspirational Words Pink cotton fabric
- 3/8yd Soulful Shades Inspirational Words Grey cotton fabric
- Let's Fight Together Cotton Panel (or 12 charms squares)
- 1 1/4yds Backing cotton fabric (at least 44 inches wide)
- Crib size lightweight polyester batting (45 in by 60 in)
- Notions: pins, rotary cutter, yardstick, iron, disappearing marker
All seams are 1/4 in.
Start by cutting out the squares from the Let's Fight Together panel (or cutting twelve 5 inch charm squares).
Next cut the following from the Inspirational Butterflies (main print):
(20) 1 1/2 in wide by 5 in high inner frame strips
(4) 2 1/2 in wide by 5 in high outer frame strips
(1) 39 in wide by 13 1/2 in high center stripe
(2) 39 in wide by 1 1/2 in high inner frame stripes
(2) 39 in wide by 2 1/2 in high outer frame stripes
From the Inspirational Words Grey cut:
(4) 39 in wide by 2 1/2 in high stripes
From the Inspirational Words Pink cut:
(2) 39 in wide by 4 1/2in high stripes
From the backing fabric cut:
(1) 42 in wide by in 47 in high
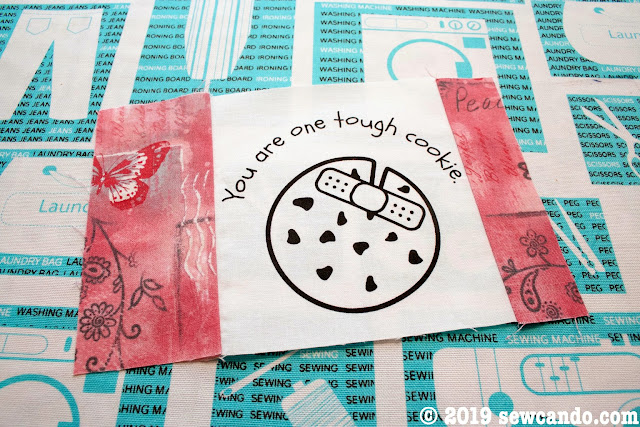
Begin with the charm squares. Starting with the square that will be furthest left, pin and stitch a 2 1/2 in wide strip to the left side of the square, with right sides facing. Do the same on the right side with a 1 1/2 in wide strip.
Stitch another 1 1/2 in wide strip to the previous strip, then another square. Repeat with the remaining 3 squares except use another 2 1/2 in wide strip on the right side of the last square. Repeat to create another row with the remaining 6 charm squares and strips. Press seams toward the frame fabric.
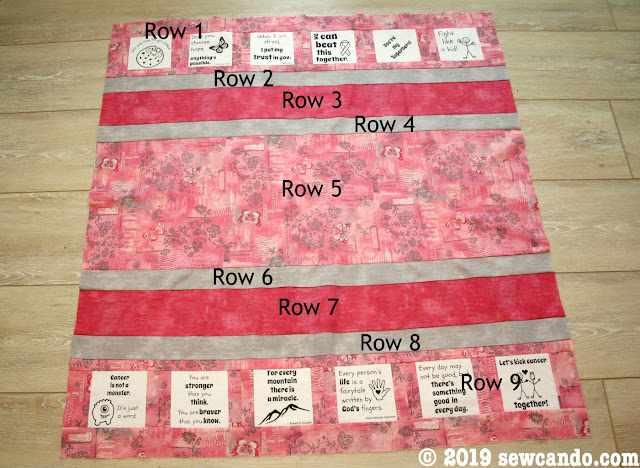
For the top framed Row 1, stitch one of the 39 in wide by 2 1/2 in high outer stripes along the top edge and one of the 39 in wide by 1 1/2 in high outer stripes along the bottom to finish framing the squares.
Repeat with the lower Row 9, but doing the remaining 39 in wide by 1 1/2 in high outer stripe on top and the 39 in wide by 2 1/2 in high outer stripe on the bottom. Press seams toward the frame fabric.
Take Row 1 and stitch Row 2 (a grey words stripe) to the lower edge. Press seams open. Stitch Row 3 (a pink words stripe) to Row 2's lower edge then Row 4 (another grey stripe) to Row 3's lower edge.
Stitch Row 5 (center butterfly stripe) to Row 4's lower edge. Repeat with remaining stripe Rows 6-9, Grey, Pink, Grey and lower framed row at bottom, pressing all seams open.
Measure quilt top and cut batting to same dimensions. With backing fabric pressed flat and open, right side facing down, lay batting then quilt top over it, making sure there is an even 1 1/2 inches of backing fabric showing on each side.
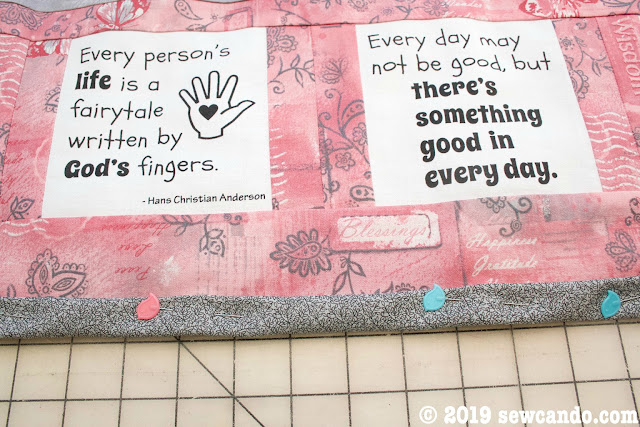
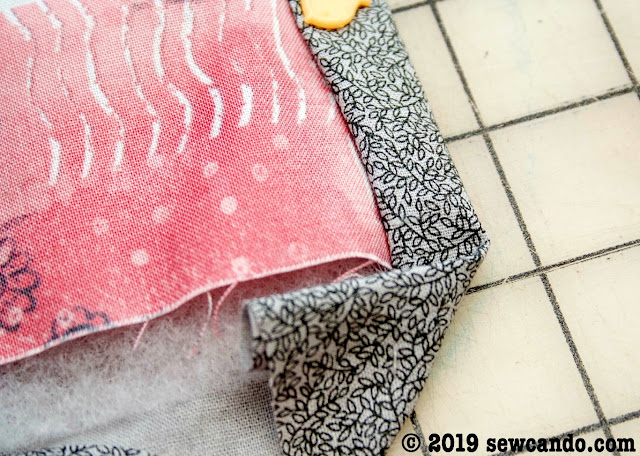
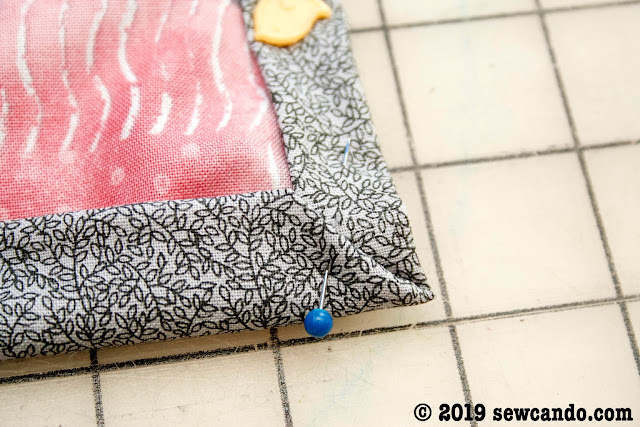
Double fold backing fabric inward to create the binding and pin all around.
To miter the corners, fold one corner upward at a 45 degree angle and then fold the perpendicular side of the corner upward and pin.
Top stitch binding edge all the way around close to the fold.
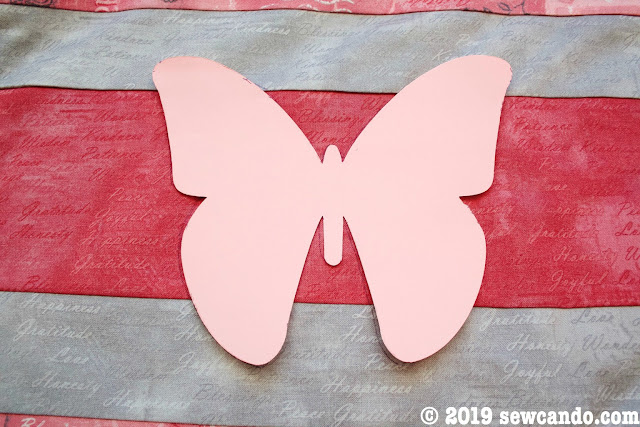
Quilt as desired. We did a simple 3 part butterfly shaped design along the alternating stripes tracing a paper template with disappearing marker:
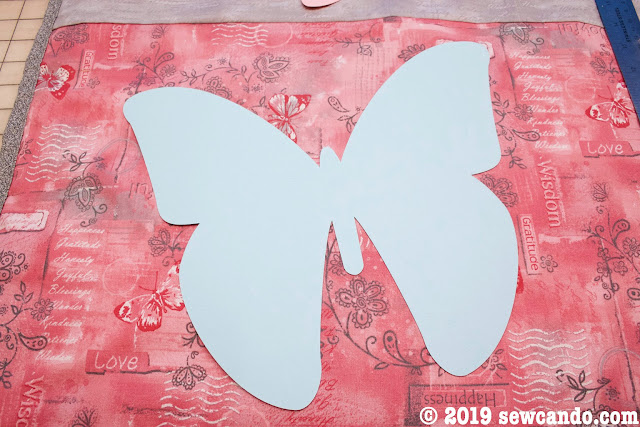
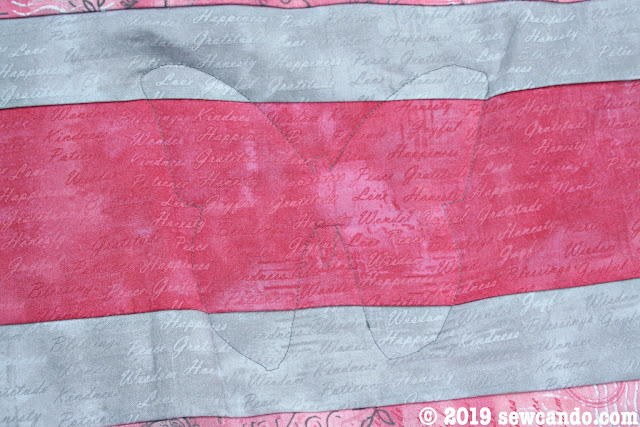
and a 2 part large butterfly design in the center stripe panel.
And topstitched around those lines.
This quilt can help make the tough days full of hospital visits and chemotherapy a little more comfortable. It's a great item to donate to any local charities like Project Linus.




I love your panels and fabric. I originally did donate to Project Linus. I then joined a prayer shawl group at my church in Crescent City Florida. That is where I make my quilts for now. Quilting has been a life saver for me since I lost the love of my life 8 years ago after being together for 61 years and 35 days. Quilting helps fill my days….very soothing and satisfying. Again I do love your fabrics and am glad I found you.( I wish shipping was less but we can"t have everything) Thank you and God bless you.