FREE Pattern: Serena Baby Dress
Sunny days are here and what could be better than making something sweet for the little ones to wear? We're offering our Serena Baby Dress Pattern as a FREE download!
This fully lined/reversible dress is an easy sew and super versatile. We're providing sizes for 0-6 and 6-18 months as dresses, but the larger size could also be worn as a tunic top for up to 2T.
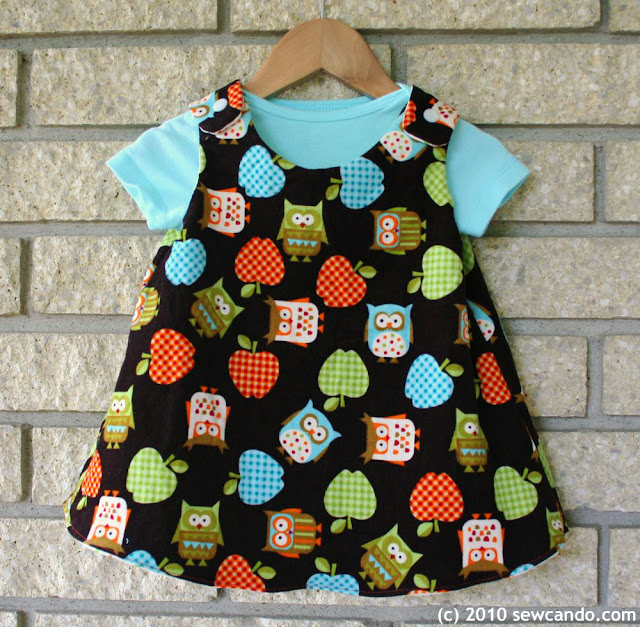
It's ideal for summer as a sleeveless dress or pair it with a short or long sleeved onesie for the rest of the year.
It works great with woven cottons like our many Faith Fabrics, as well as corduroy, minky or lycra knit. The dress also uses very little fabric, so it's an inexpensive project too.
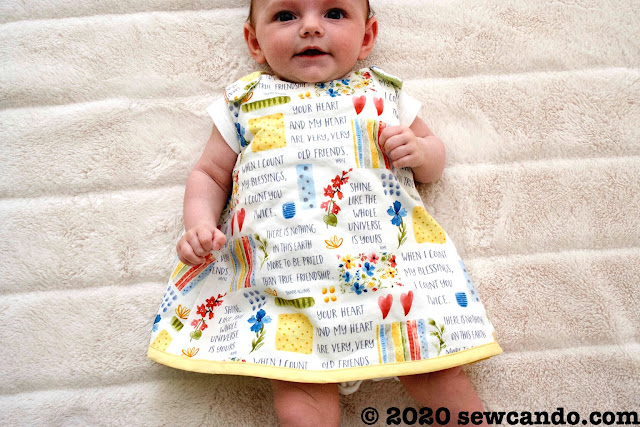
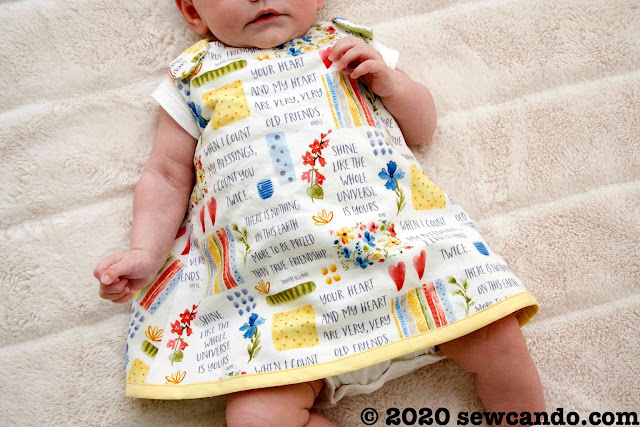
We paired ours with two pretty fabrics from the shop, Blessings Flowers & Sayings:
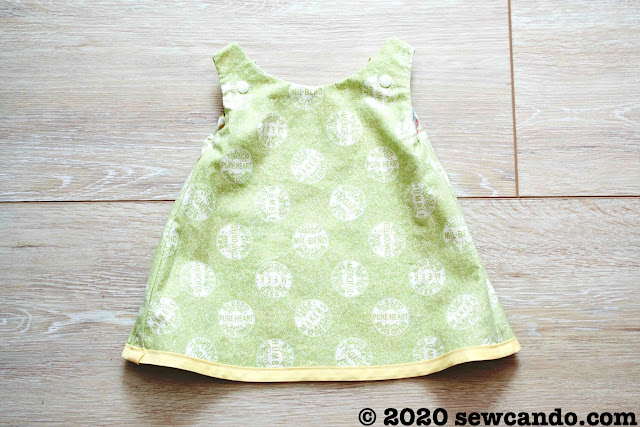
and Bee-attitudes, so it would be cute and sunny, inside and out:
Now let's get to the dressmaking!!
Materials:
- (2) 1/2yd cuts of cotton fabric
(We used Blessings Flowers & Sayings and Bee-attitudes)
- (2) snap sets (or 2 buttons)
- 1 yd double fold bias tape
- Scraps of interfacing (or additional fabric)
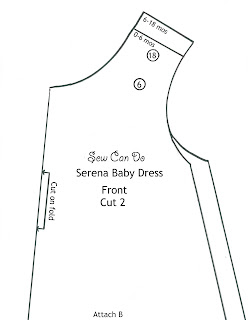
Download Our FREE Serena Dress PDF Pattern
Set printer to actual size (100%), then print, cut out and tape pieces together per the instructions.

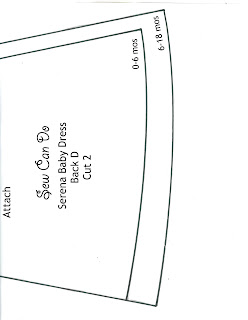
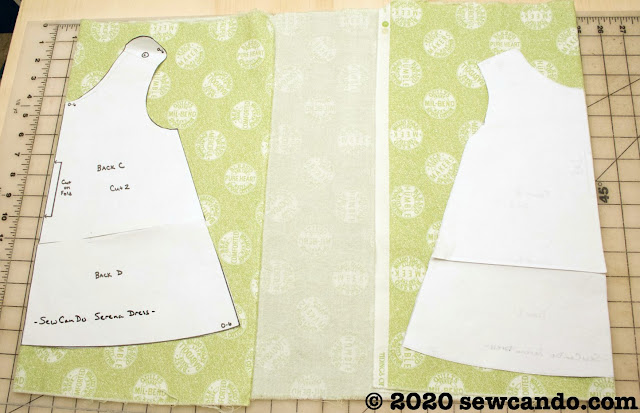
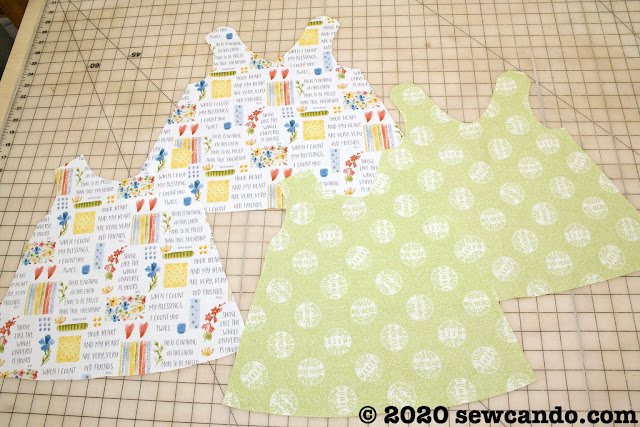
After pre-washing the fabrics, press then open and refold as shown to lay each pattern piece along a fold of the fabric. Cut from lining and outer fabric. Mark snap placement on front & back pieces of each.
Open up the pieces and press flat.
With right sides facing, pair up the fronts and backs of both fabrics and sew down the sides with a 3/8 inch seam allowance.
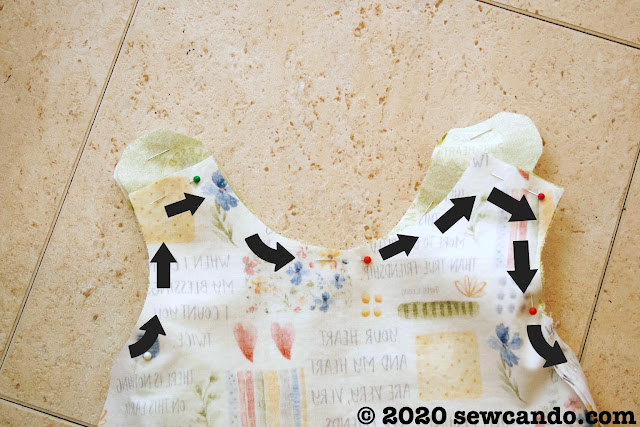
Turn the lining dress right side out and slip inside the outer, lining up the straps and side seams and pin all along the top. Then stitch along the top, from under the arms, around the straps and all the way around using a 1/4 inch seam allowance.
Trim down seam allowance and clip around curves (I use pinking shears to make this a single easy step). Add interfacing or additional fabric scraps to each strap area to reinforce it for the snaps/buttons. Turn right side out & press.
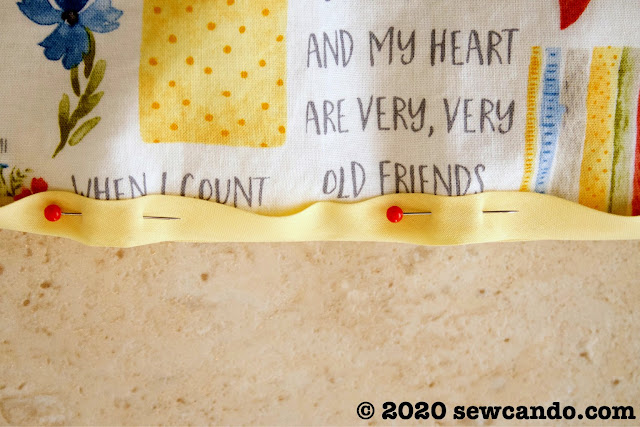
With the lining & outer dress smoothly matched up at bottom, encase the raw edge in the bias tape.
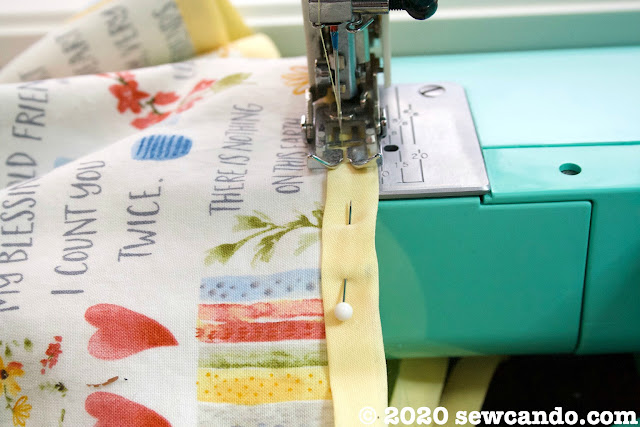
Stitch into place close to open edge.
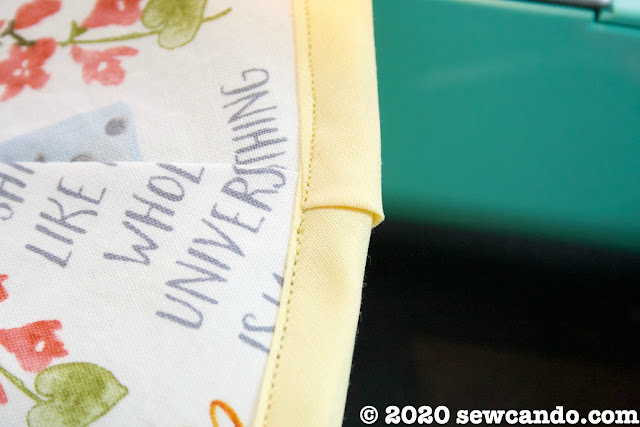
When reaching the end, cut bias tape an inch longer to overlap, then fold the raw edge under and stitch over the starting point to finish. Set snaps or add buttons (on the front) and buttonholes (on the back) at the marking points.
If you don't have bias tape, you could always fold the raw edges inward 1/4 inch, press and then top stitch the layers together, but the contrast of of tape adds a nice detail and makes it very fast to sew:
It takes less than an hour to make, so go ahead and make lots of sweet dresses!

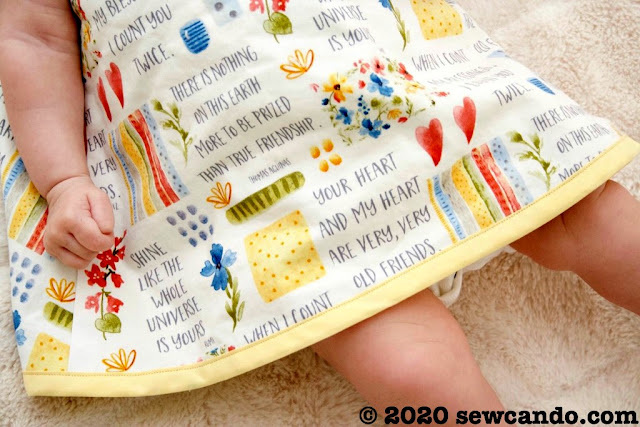
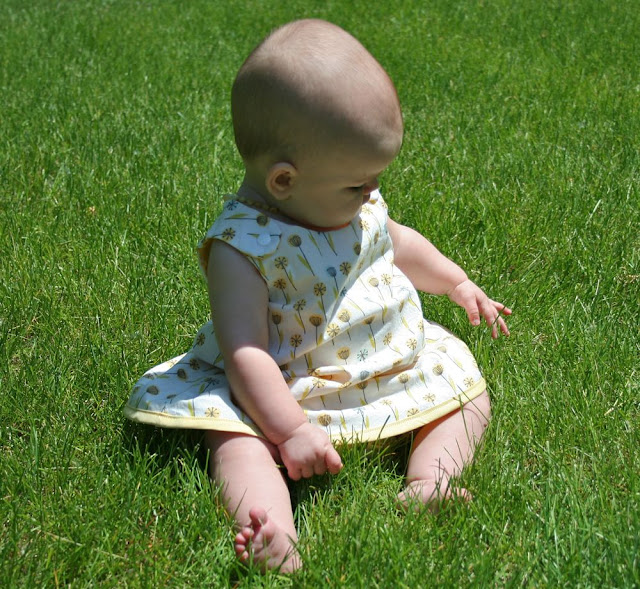
Our little sweetie loves wearing hers:)


