FREE Pattern: Classic Christmas Stocking

Make a classic Christmas stocking that can be used year after year and by choosing a faith-themed fabric, it adds more of the Christ in Christmas message!
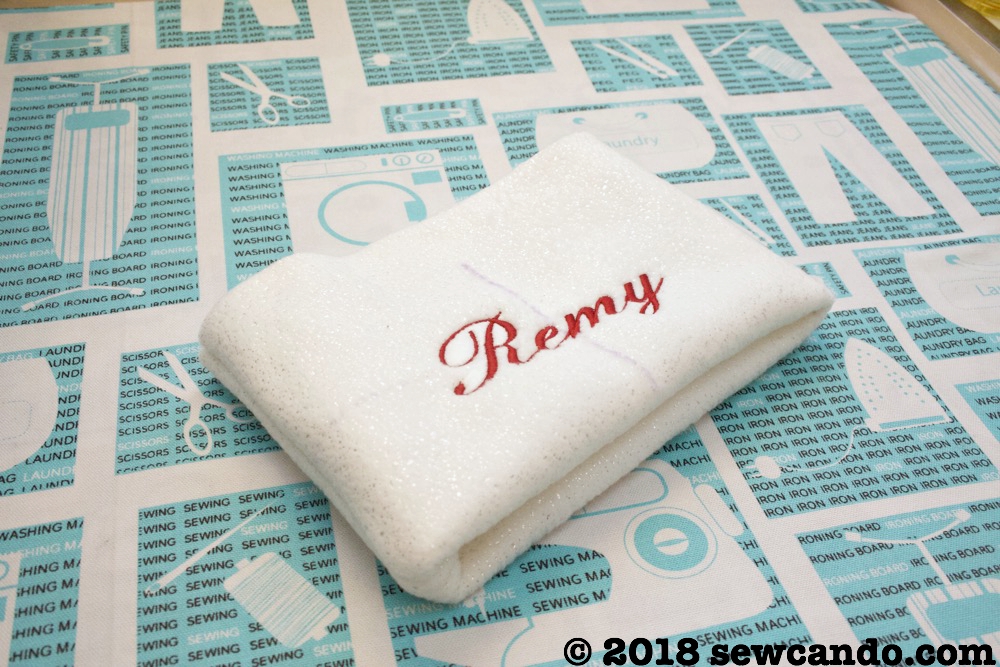
Using our tutorial you can even choose to personalize it with machine or hand embroidery or heat transfer:

It has a full sized body that holds its shape well, even when filled.
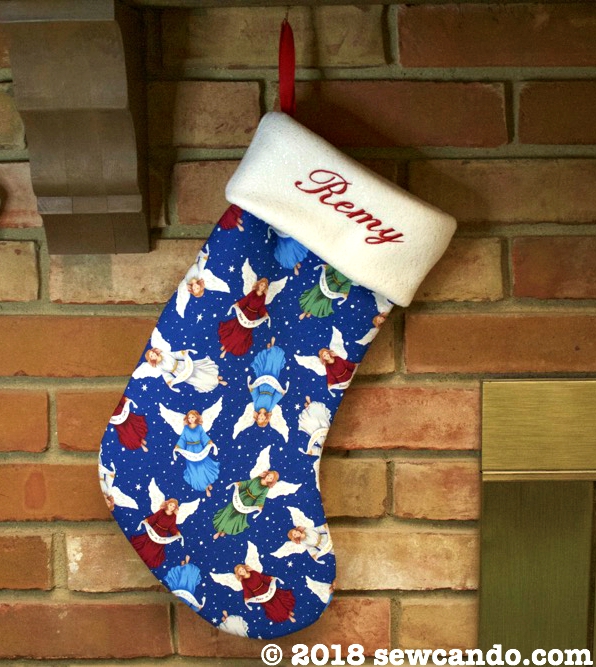
Plus the added bonus of beautiful Christmas angels to make it festive & faith-filled.

Having a classic stocking works great for all ages and using this vibrant angel print and adding a plush cuff makes it feel elegant.

Materials:
- Our FREE Christmas Stocking Pattern download HERE
- 1/2 yd cotton Christmas Fabric
- 1/4yd fleece (we choose a luxury fleece with metallic specks)
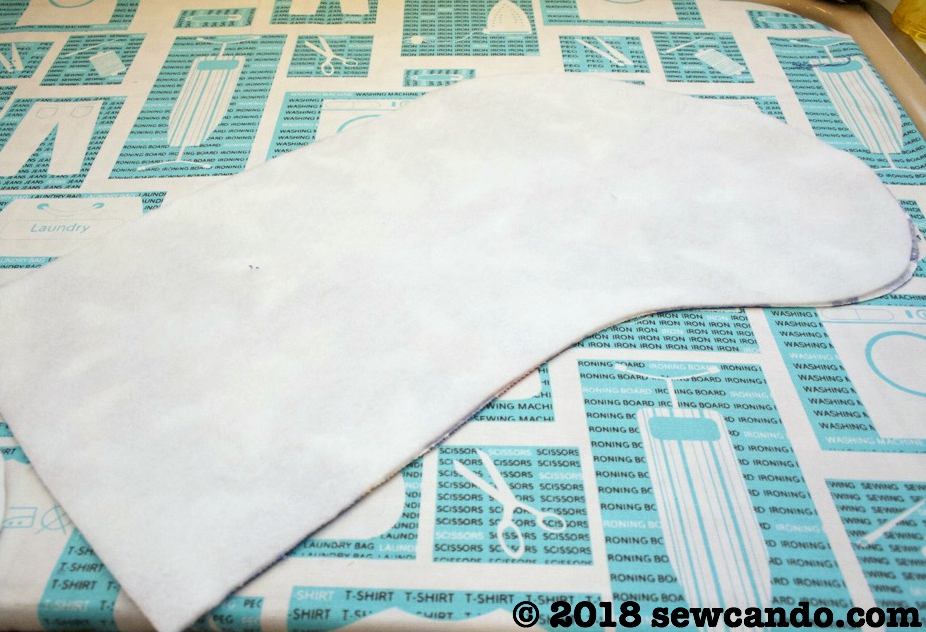
- 1/2 yd fusible fleece or batting
- 8 inch strip of double fold bias tape or ric-rac
- Heavy duty needle
Optional - if machine embroidering: cutaway & water soluble stabilizers
Finished size: 10in wide by 17in high
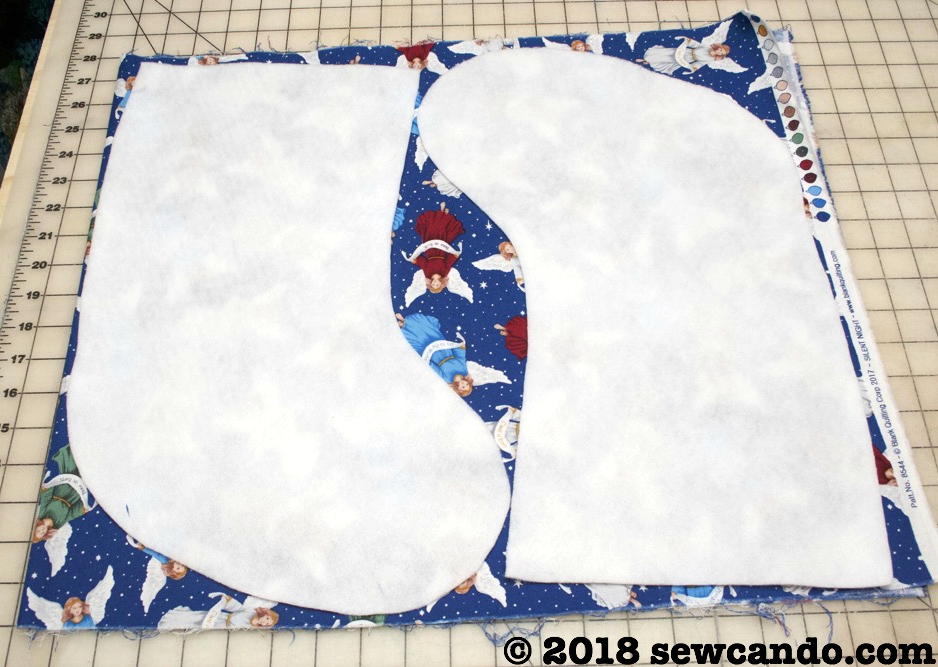
Download the pattern and print at 100% scale. Measure the printout against the 1 inch sets box to confirm sizing is correct. Cut out all 3 pieces and tape together at tops & bottoms as indicated.
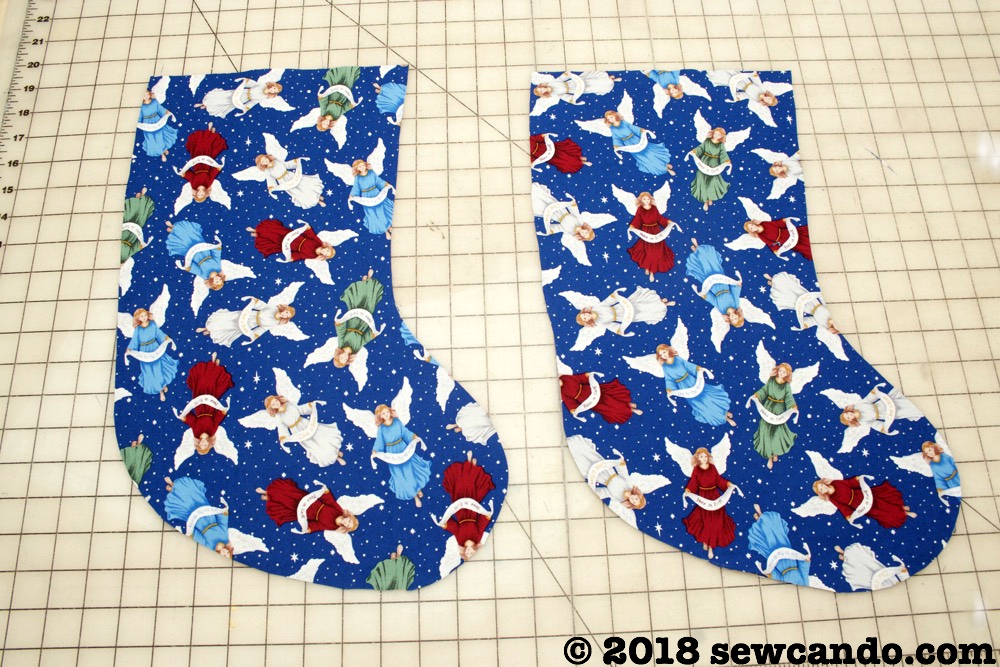
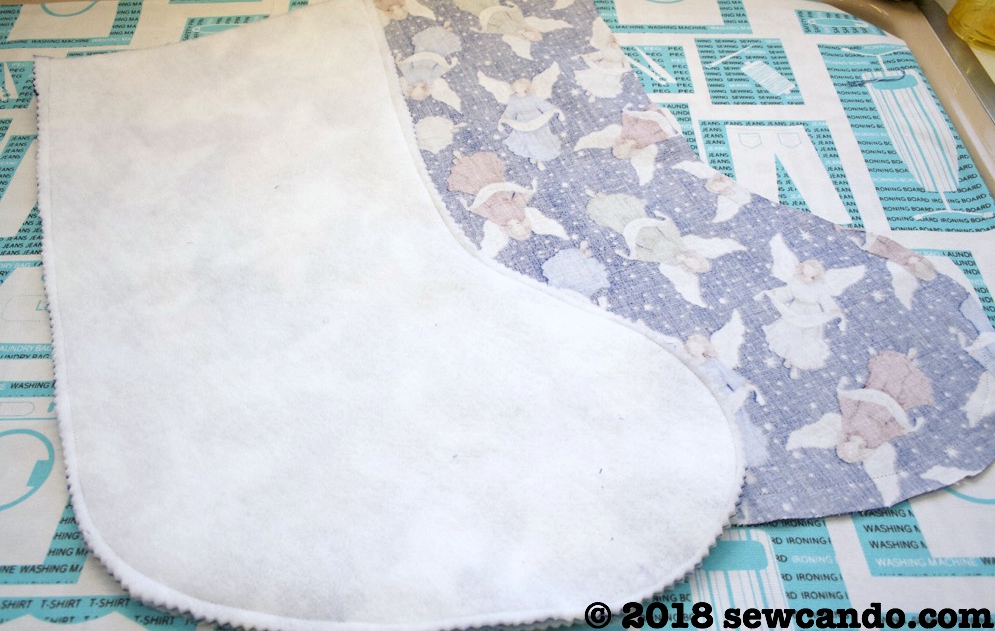
While fabric is folded, cut two pairs of stockings for outside and lining
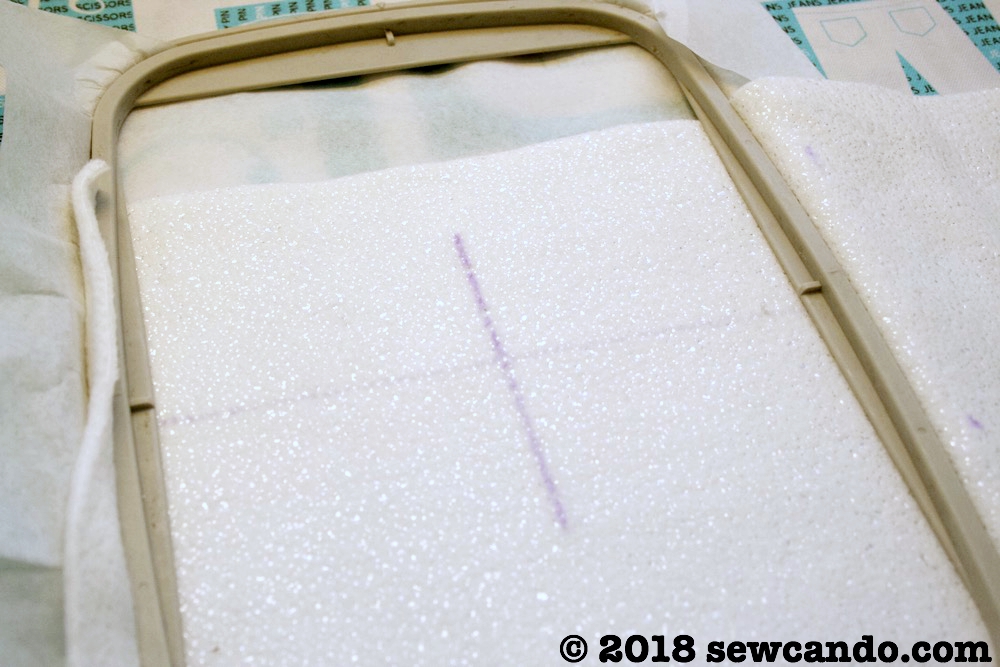
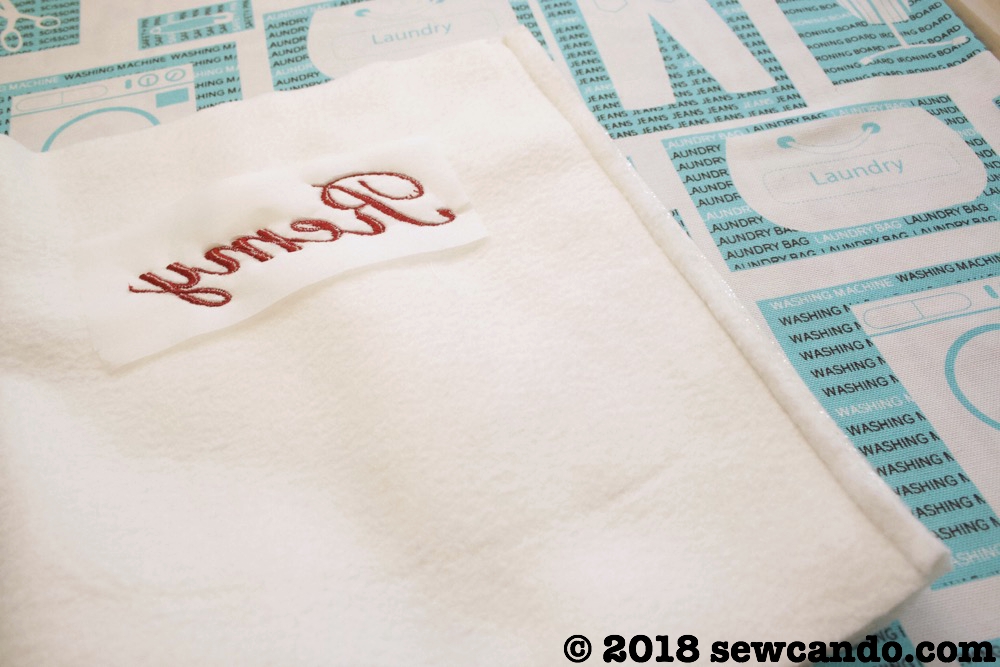
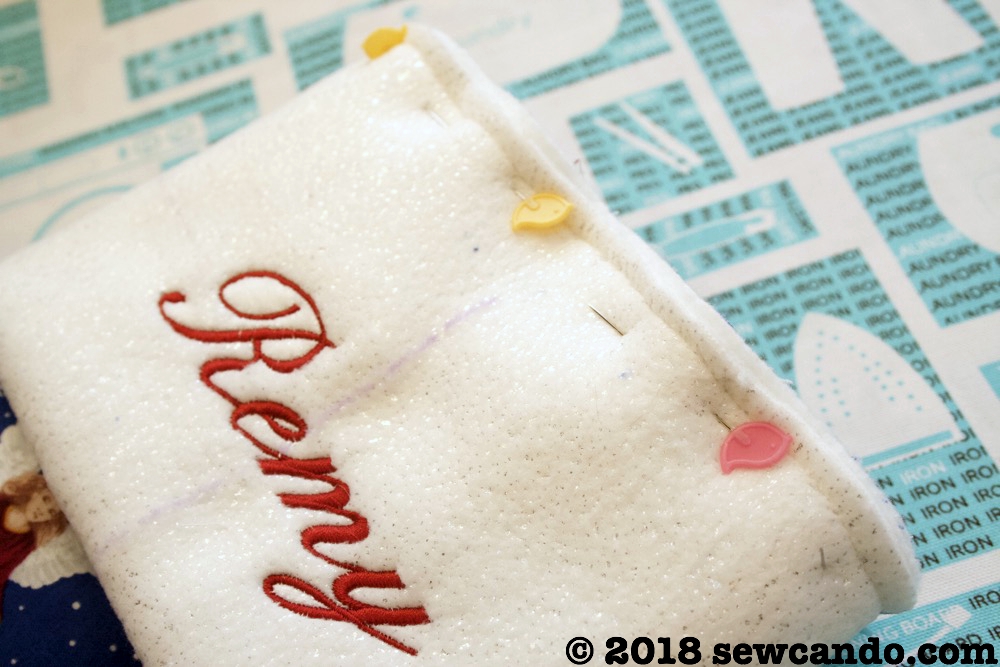
Mark center based on size of lettering and embroider the name on. Peel away the top stabilizer and cut the excess away from the back. Hand embroidery or heat transfer are other options for personalizing.

To make the cuff, fold fleece with right sides facing short ends together. Stitch with a 1/4 inch seam allowance.
Bring raw edges together with the name side facing out.
Let's switch to the stocking body now.
Place stocking pairs together, right sides facing and pin around sides.

Stitch with a 3/8 inch seam allowance. Clip or pinking cut around the curves to make them easier to turn.
Turn outer stocking right side out and press. Insert lining stocking into outer and baste together along the top.
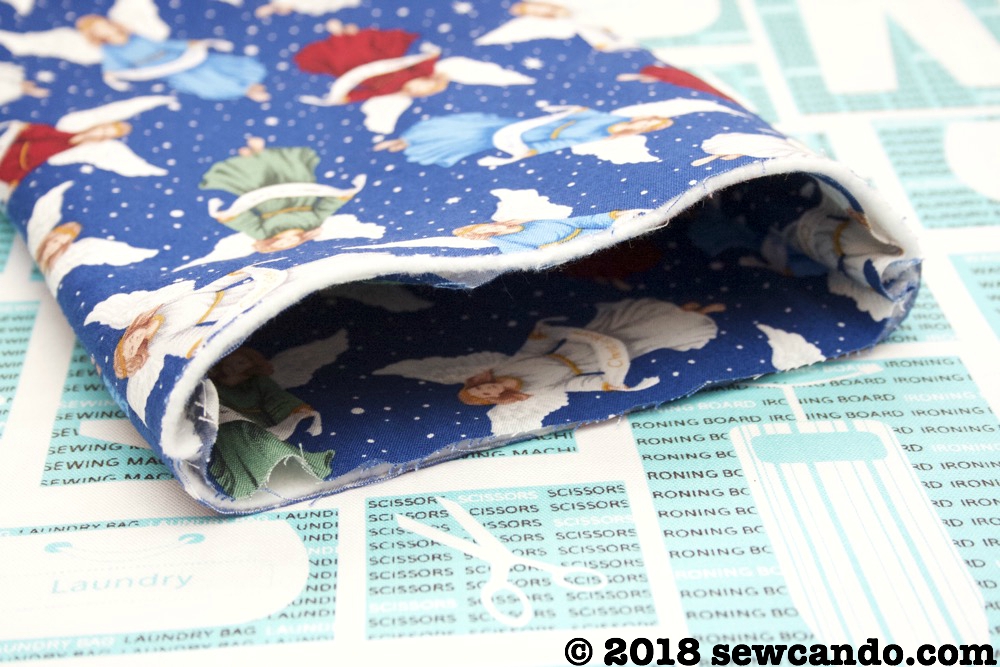
Baste the raw edges of the cuff together.

With raw edges of cuff and stocking facing, match up side seams and pin through all layers. Stitch together.
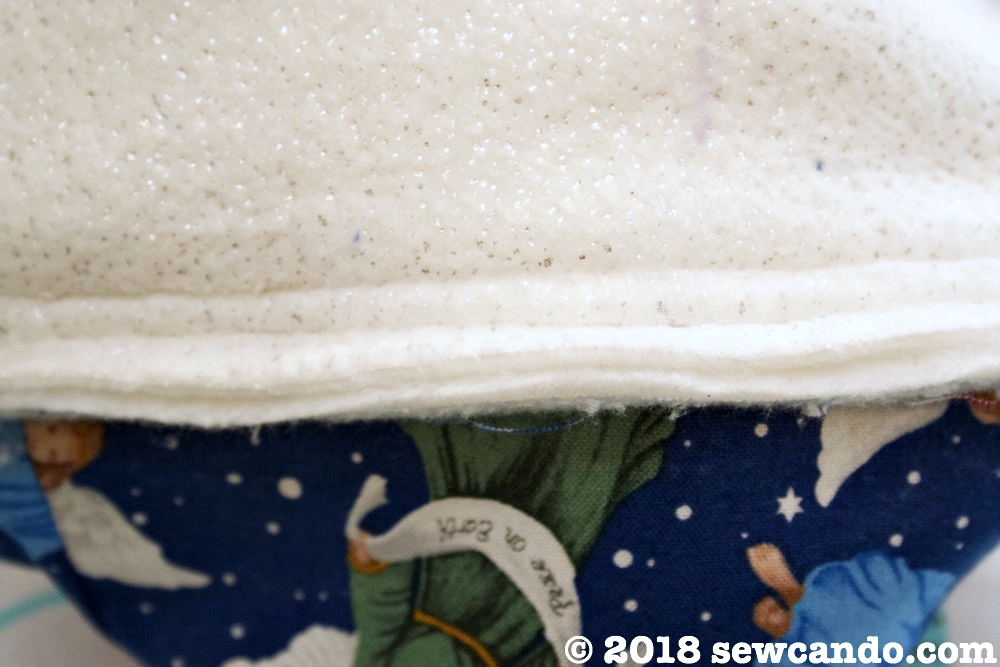
Fold the raw edge downward and top stitch all the way around. It will look like this on the inside:
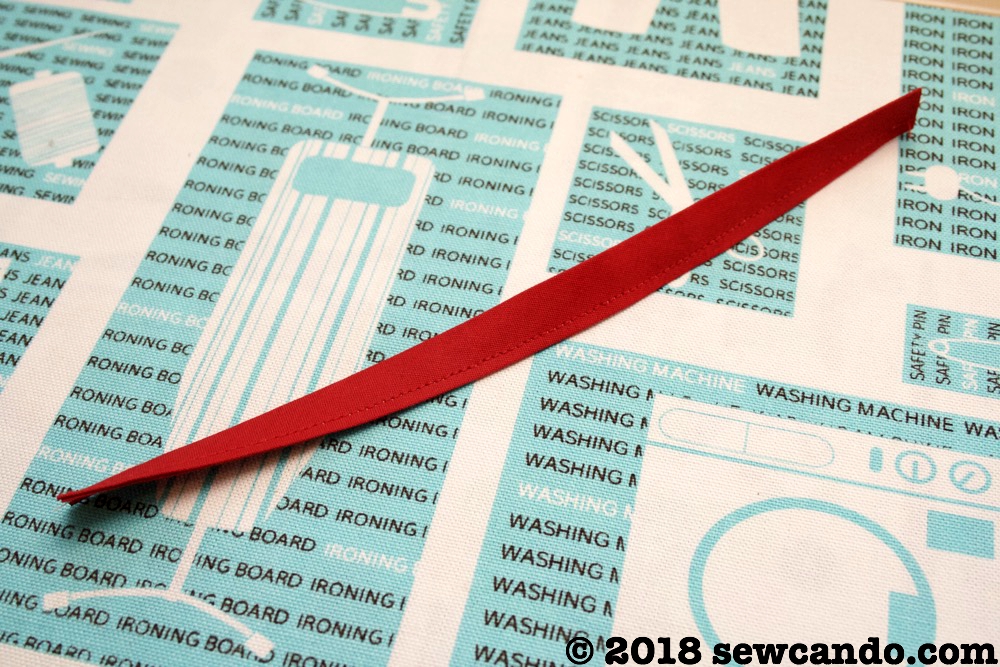
Fold cuff down on the outside, just shy of the seam. If using bias tape, stitch open side closed. Fold bias tape in half and stitch it to the inside of the stocking cuff by the seam.
Now the stocking is ready to hung by the chimney and wait for Santa to fill it!