
Any Size Baby Bubble Romper Pattern
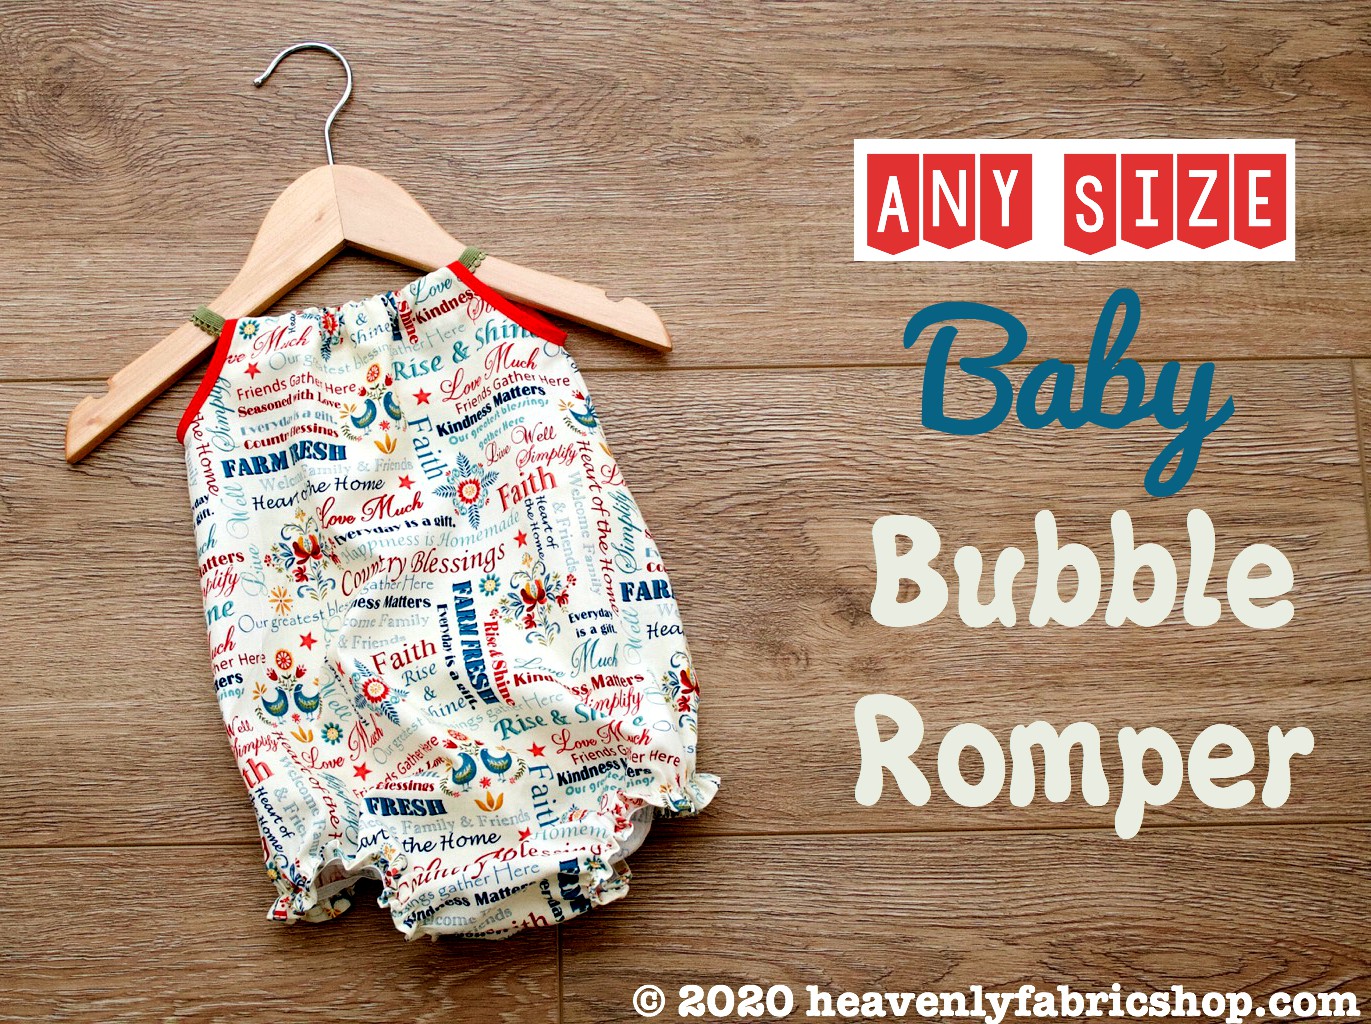
Make a sweet and comfy bubble romper to keep baby cool this summer. This easy sew design is ideal with favorite cotton prints. We made this one patriotic for the Fourth of July with our Count Your Blessings Cream fabric.

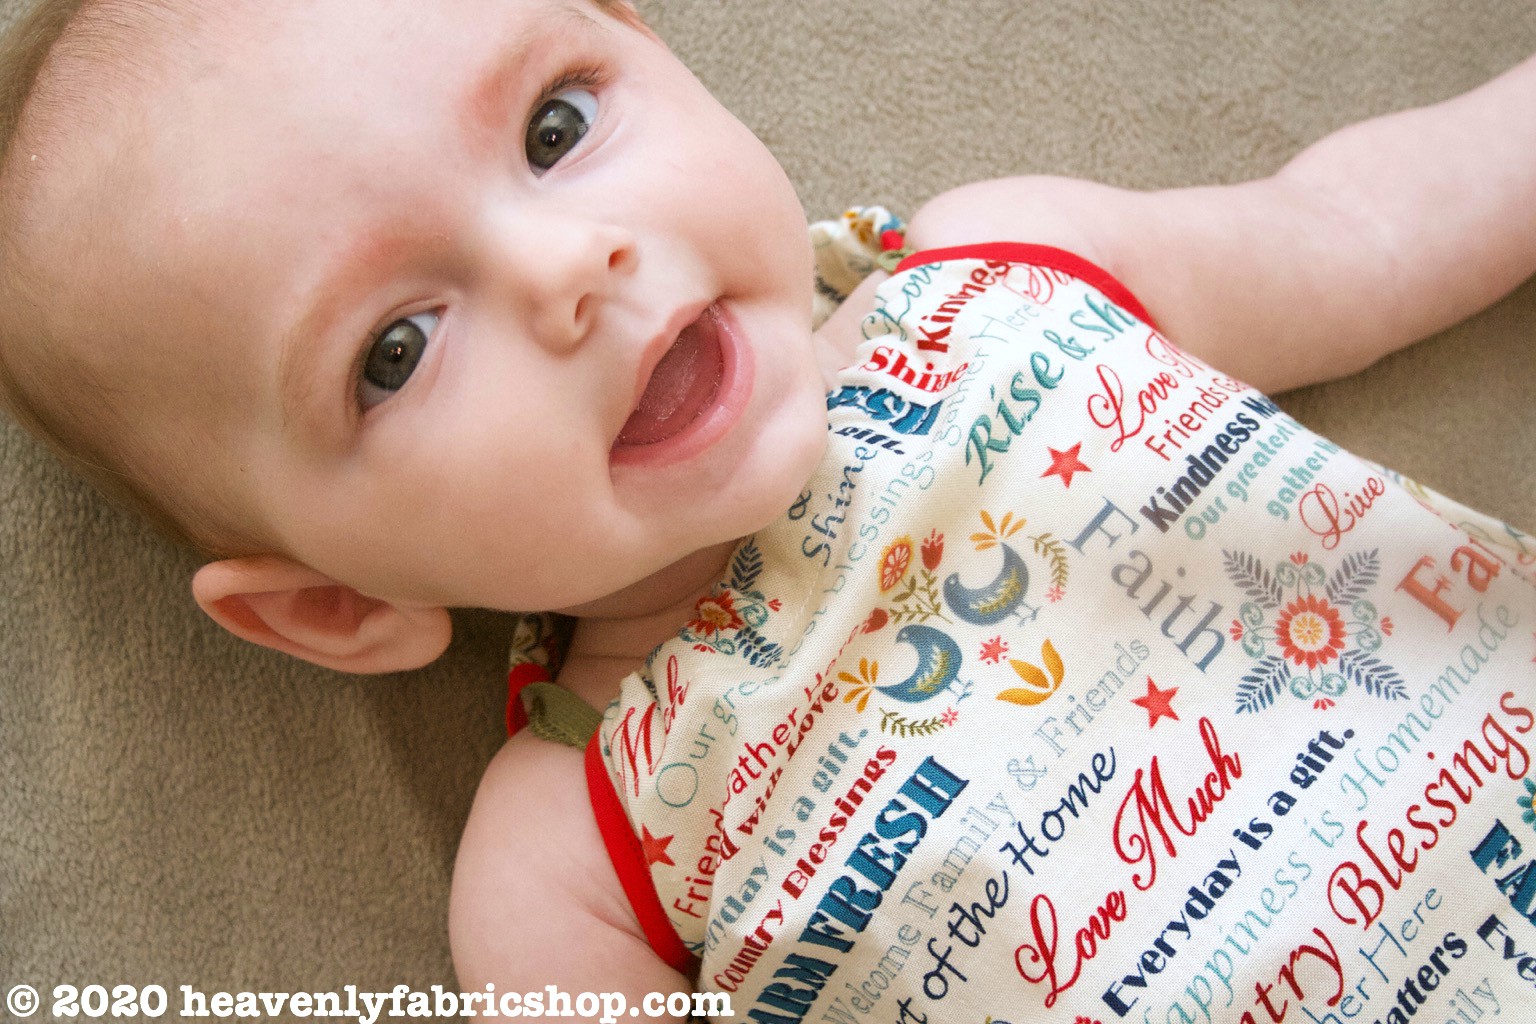
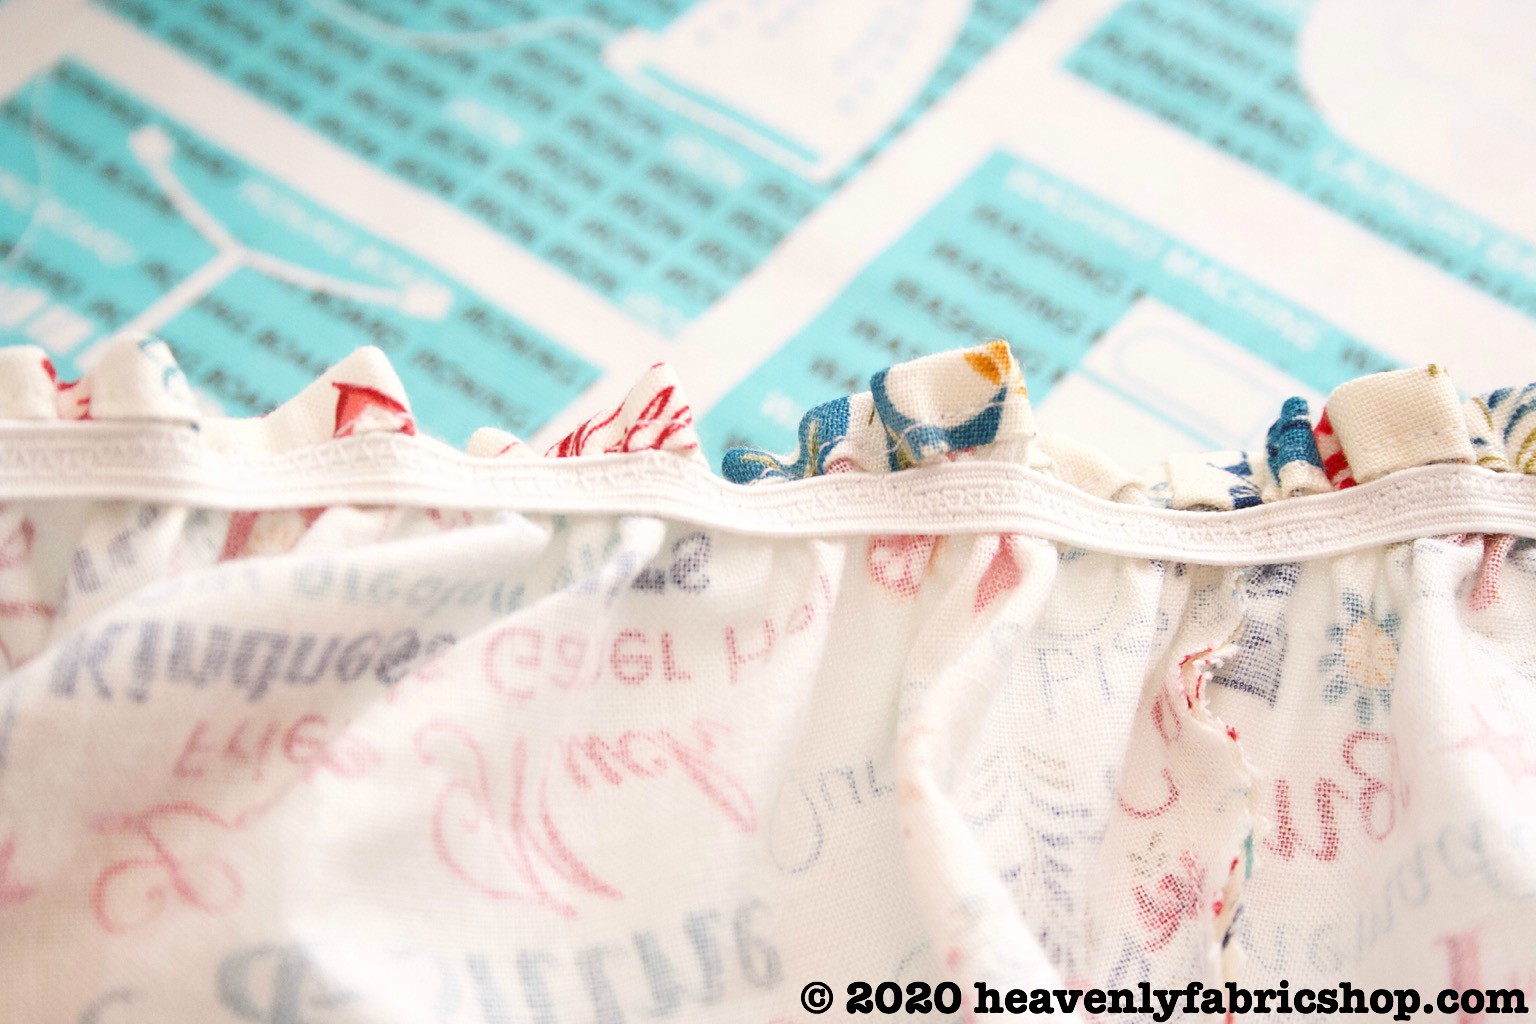
The gathered top and elasticized straps give the perfect fit:
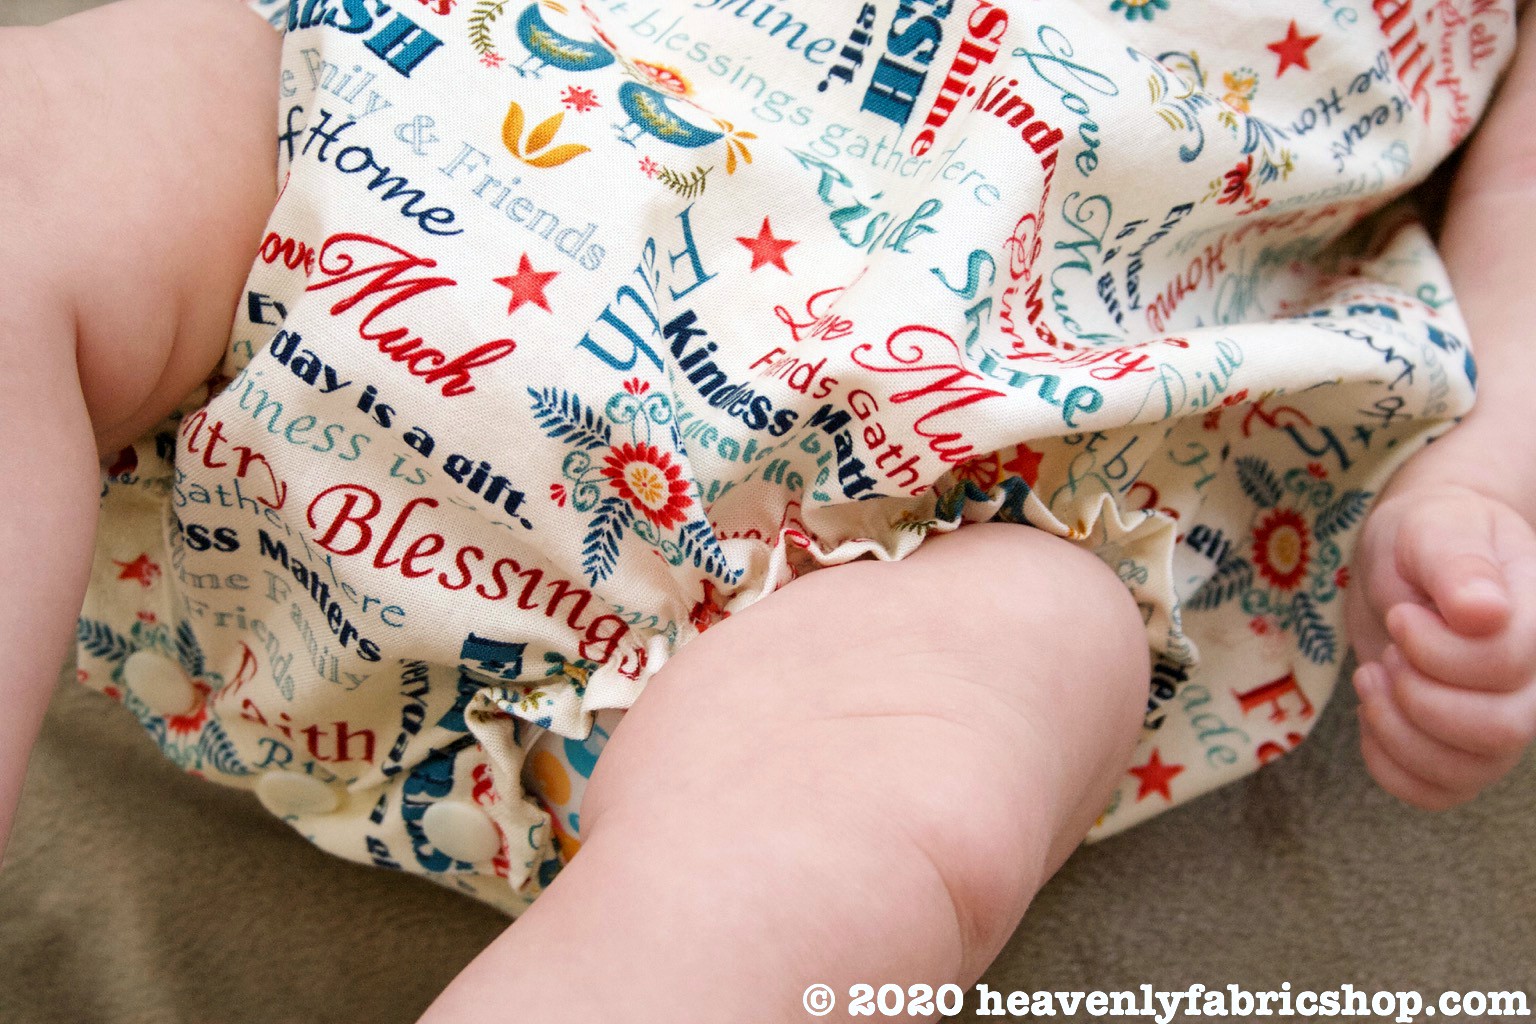
The bubble body shape is breezy on baby, while the elasticized leg holes add a cute ruffled edge:
Use our free downloadable 3-6 month size pattern or follow our step-by-step instructions to draft whatever size desired.
Materials:
- 1/2yd - 1yd* Count Your Blessings Cream cotton fabric (woven or knit)
- 3/4yd of 1/4in wide elastic
- 1/2yd of decorative elastic 3/8in wide or narrower (or ribbon)
- Scraps of stabilizer (or more fabric)
- Notions: iron, disappearing marker, pins, rotary cutter/shears, ruler, measuring tape, safety pin, matching thread, pencil
- Large paper to draft pattern (tissue, wrapping, parchment or the like)
* 1/2 yd of fabric will make up to size 6 months.
If you're good with the 3-6 month size, use our PDF pattern DOWNLOAD HERE.
Set printer to actual size (100%), then print, cut out and tape pieces together per the instructions.
Otherwise, start by making a handy paper pattern.
Set printer to actual size (100%), then print, cut out and tape pieces together per the instructions.
Otherwise, start by making a handy paper pattern.
You'll need the following measurements (use measuring tape):
- Chest
- Length from shoulder to crotch
- Thigh diameter
- Shoulder width (measure from one across to the other)
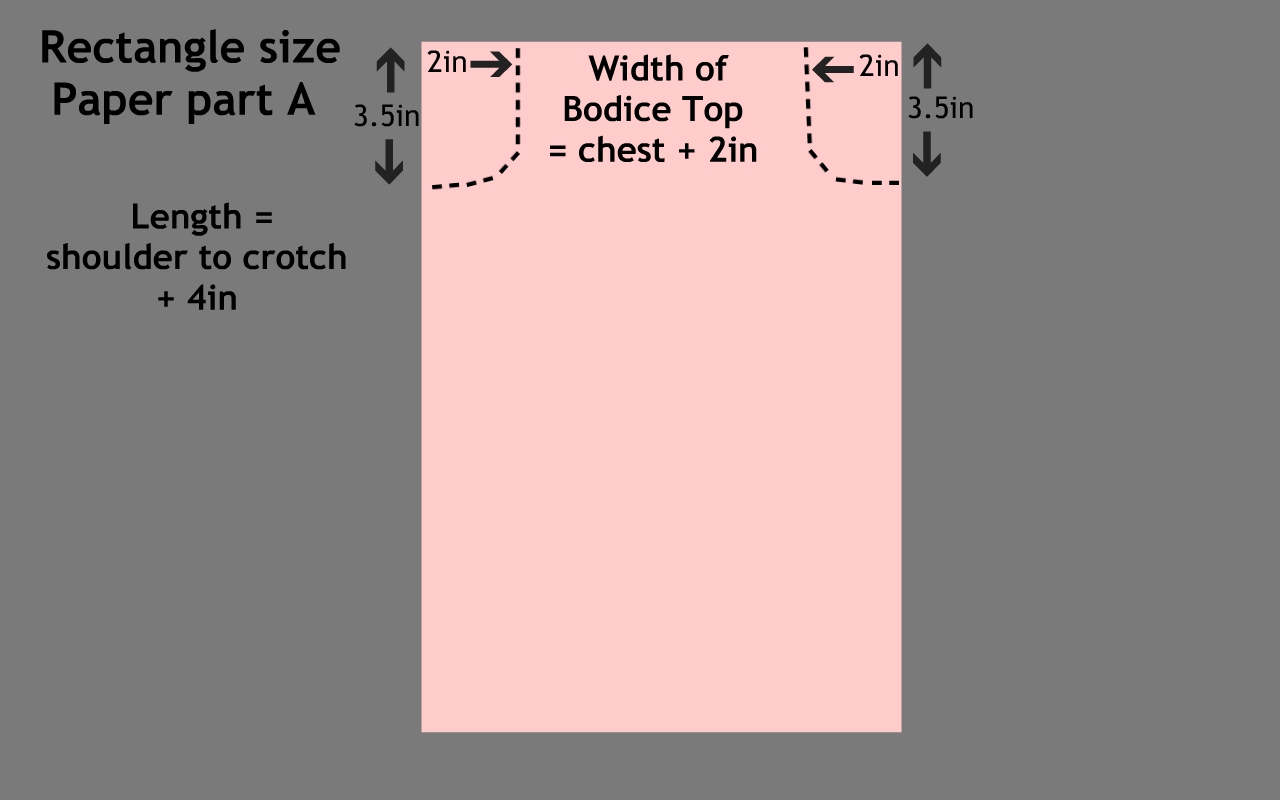
To determine the top bodice width, divide the chest in this in half + 2 inches. For a 3-6mos size, it was 16in so the top bodice width was 10in.
To determine the full romper length + 4 inches to the shoulder to crotch length. For a 3-6mos size, it was 14in so the full romper length was 18in.
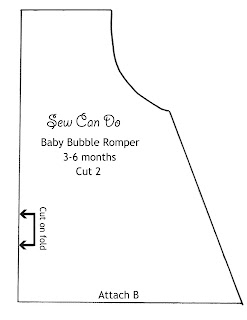
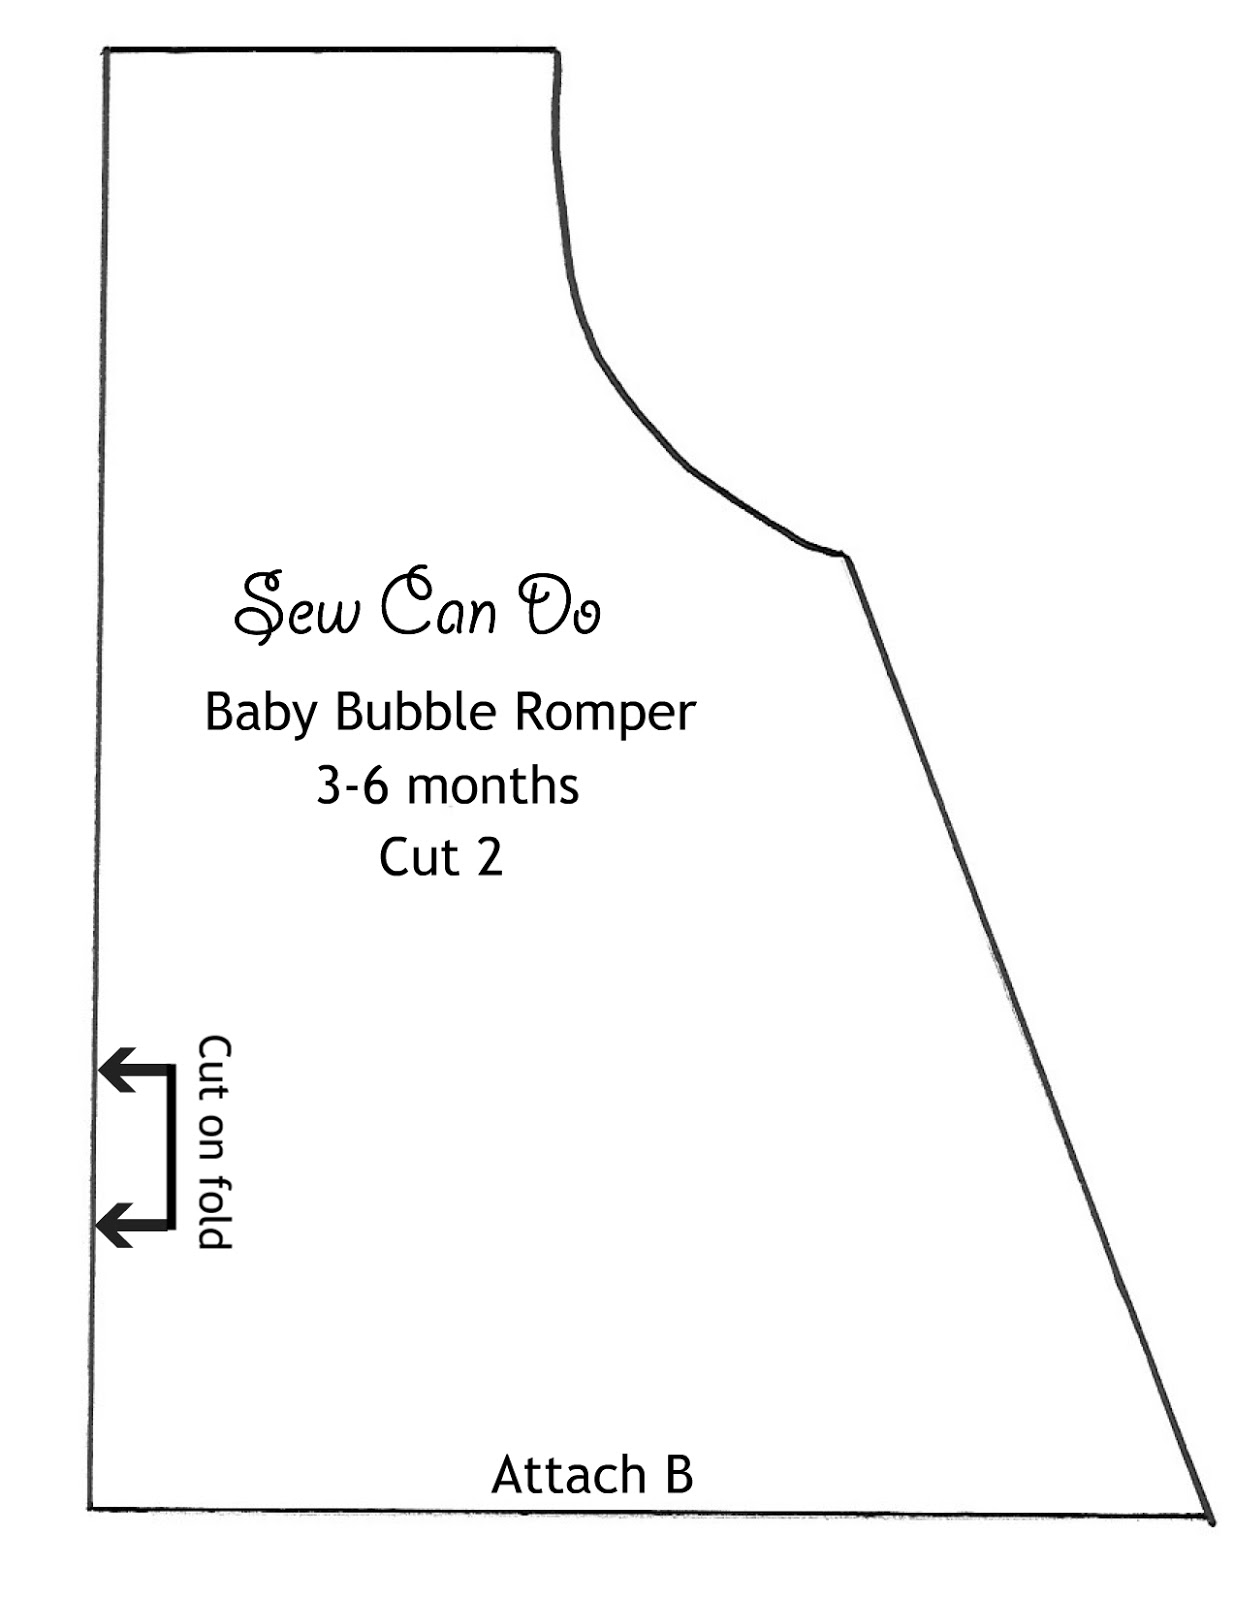
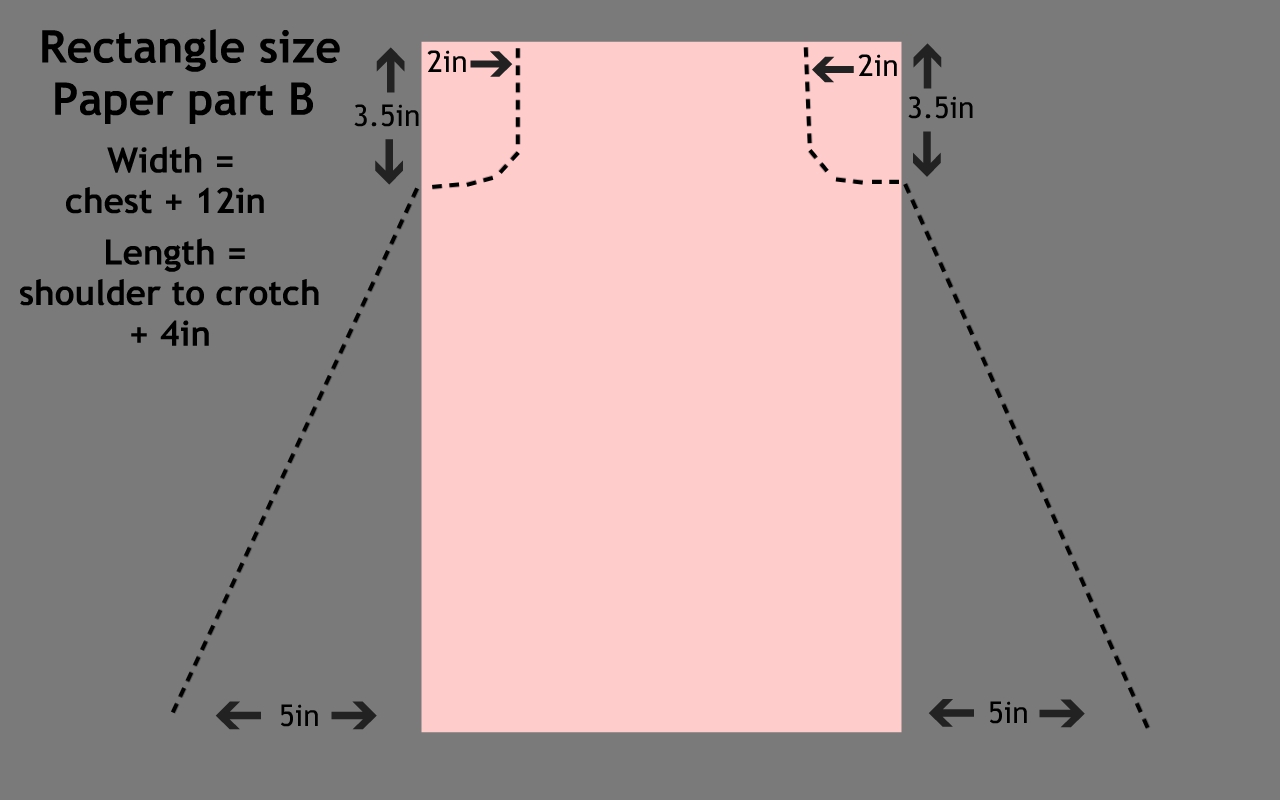
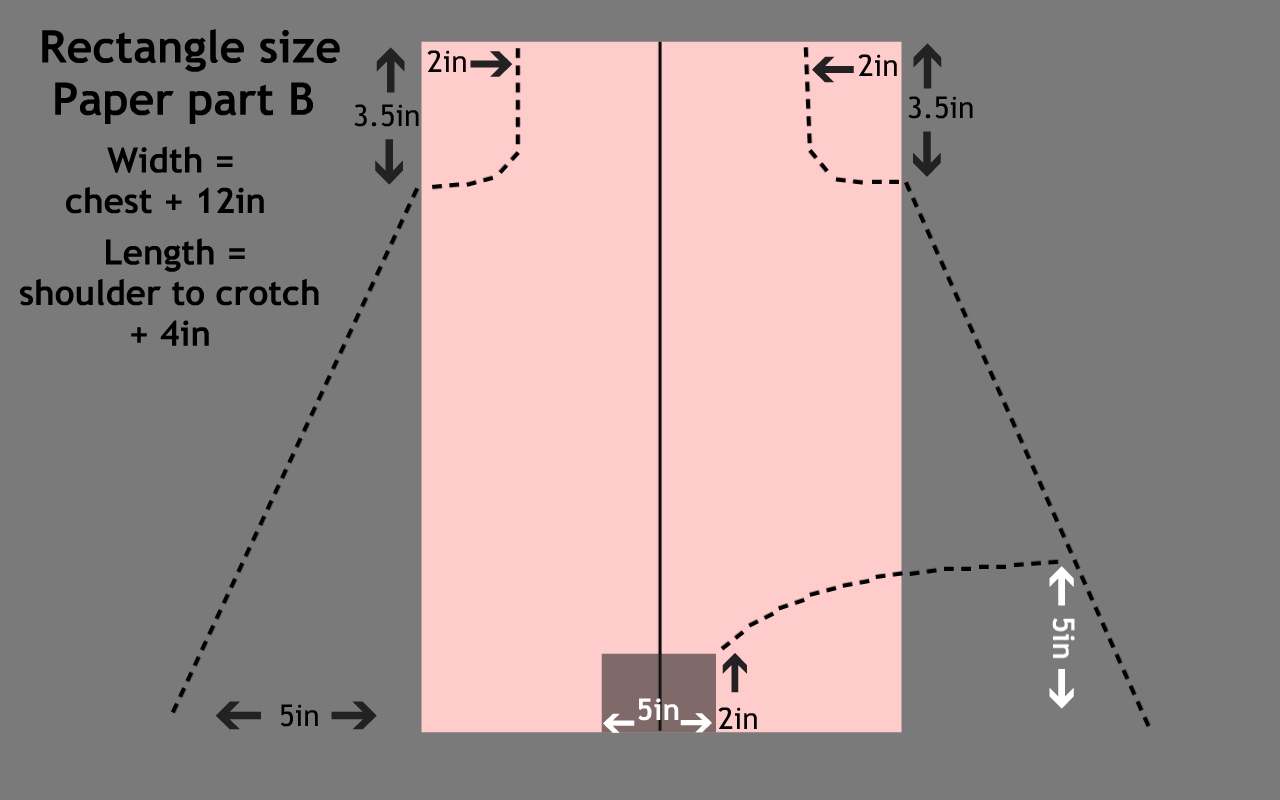
Take paper and measure out a rectangle that is the bodice width and romper height. This is paper part A. You'll need a second piece that is at least 10 inches wider than the bodice width for extending the sides to make the bubble shape.
That is paper part B.
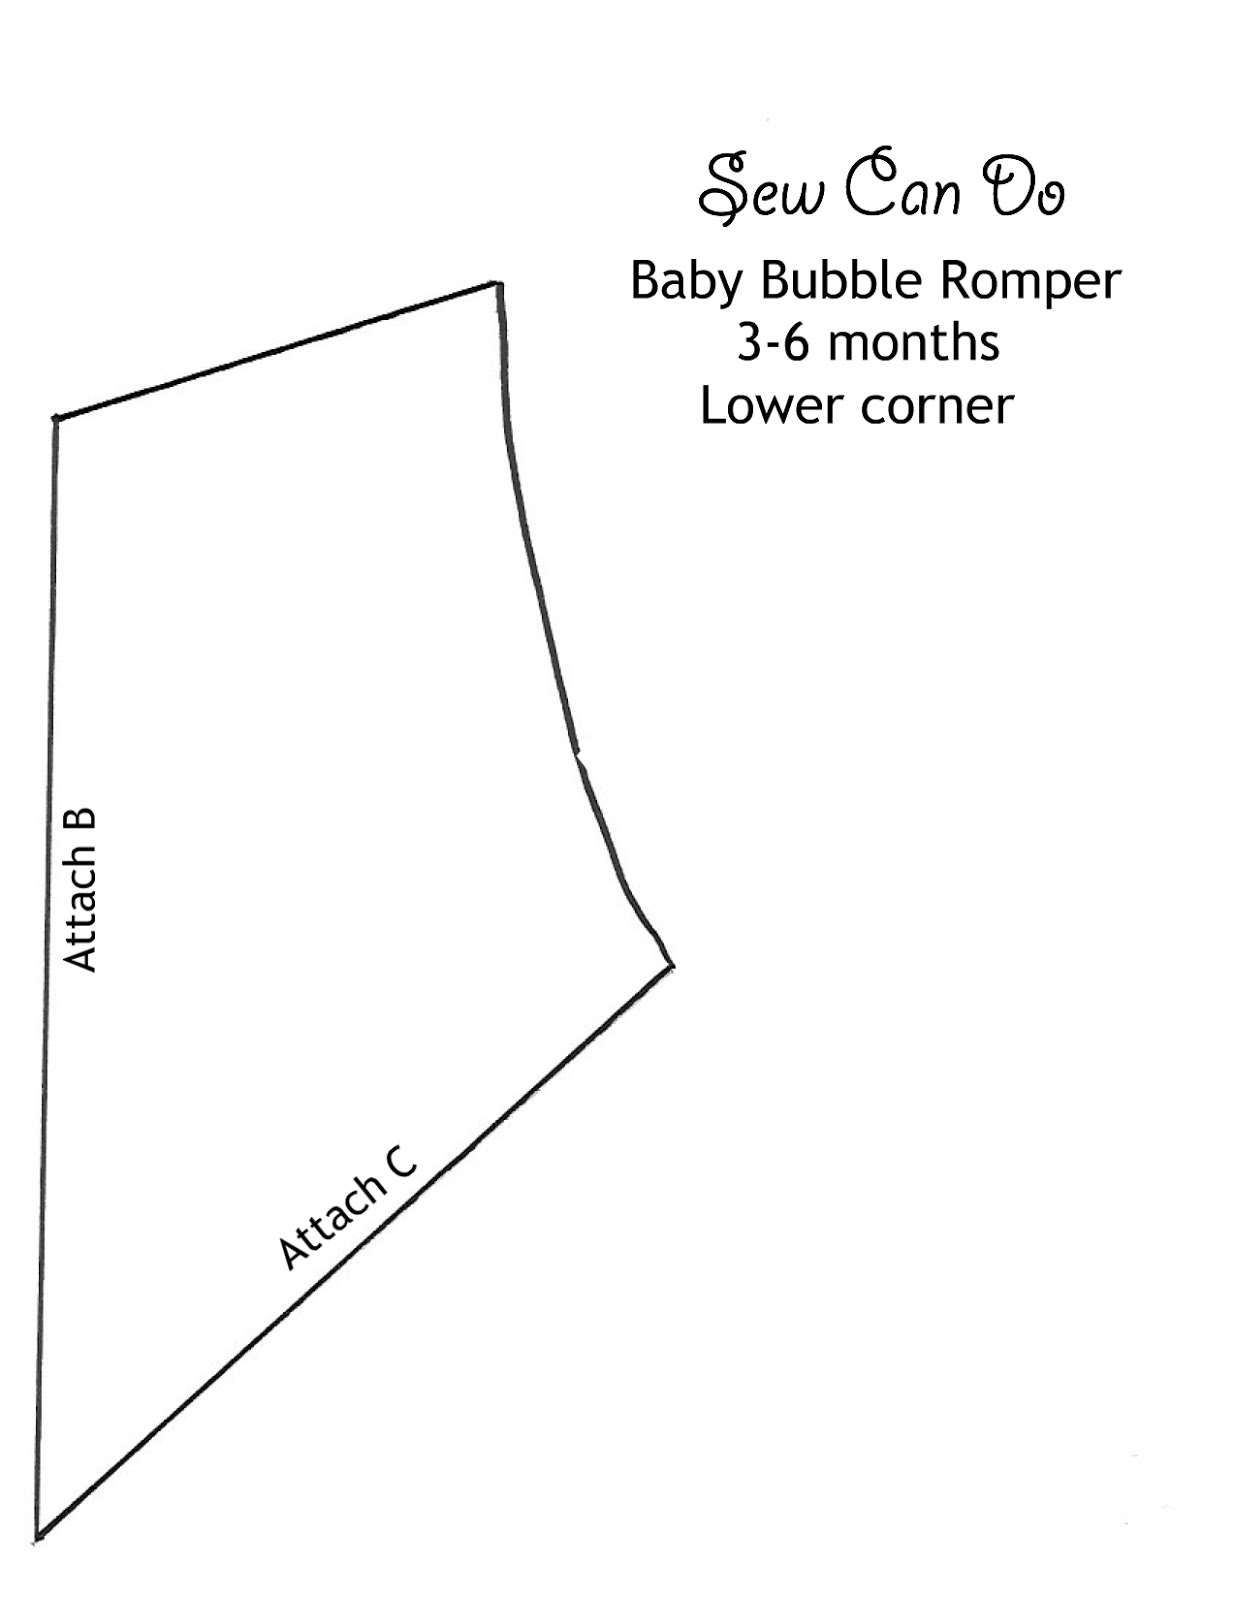
Take paper part A: from each corner, measure inward 2 1/2 inches and down 3 inches and make a "J" shape on either side. If doing a much smaller or larger size, (like an preemie infant or larger toddler) add or subtract a 1/2 inch, or more, to both these measurements. This style is pretty forgiving since it gets gathered at the end, so it's ok if it's not exact.
Place paper part A over the top of paper part B, centering it so there's 5 inches on either side. With a ruler at the top corner of the underarm area of part A, draw a diagonal line outward that is 5 inches wider at the bottom on either side. This will create the necessary bubble shape.
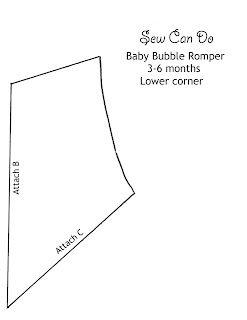
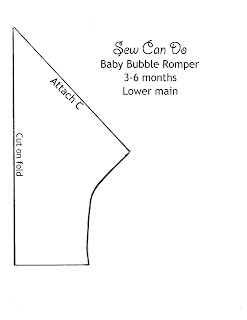
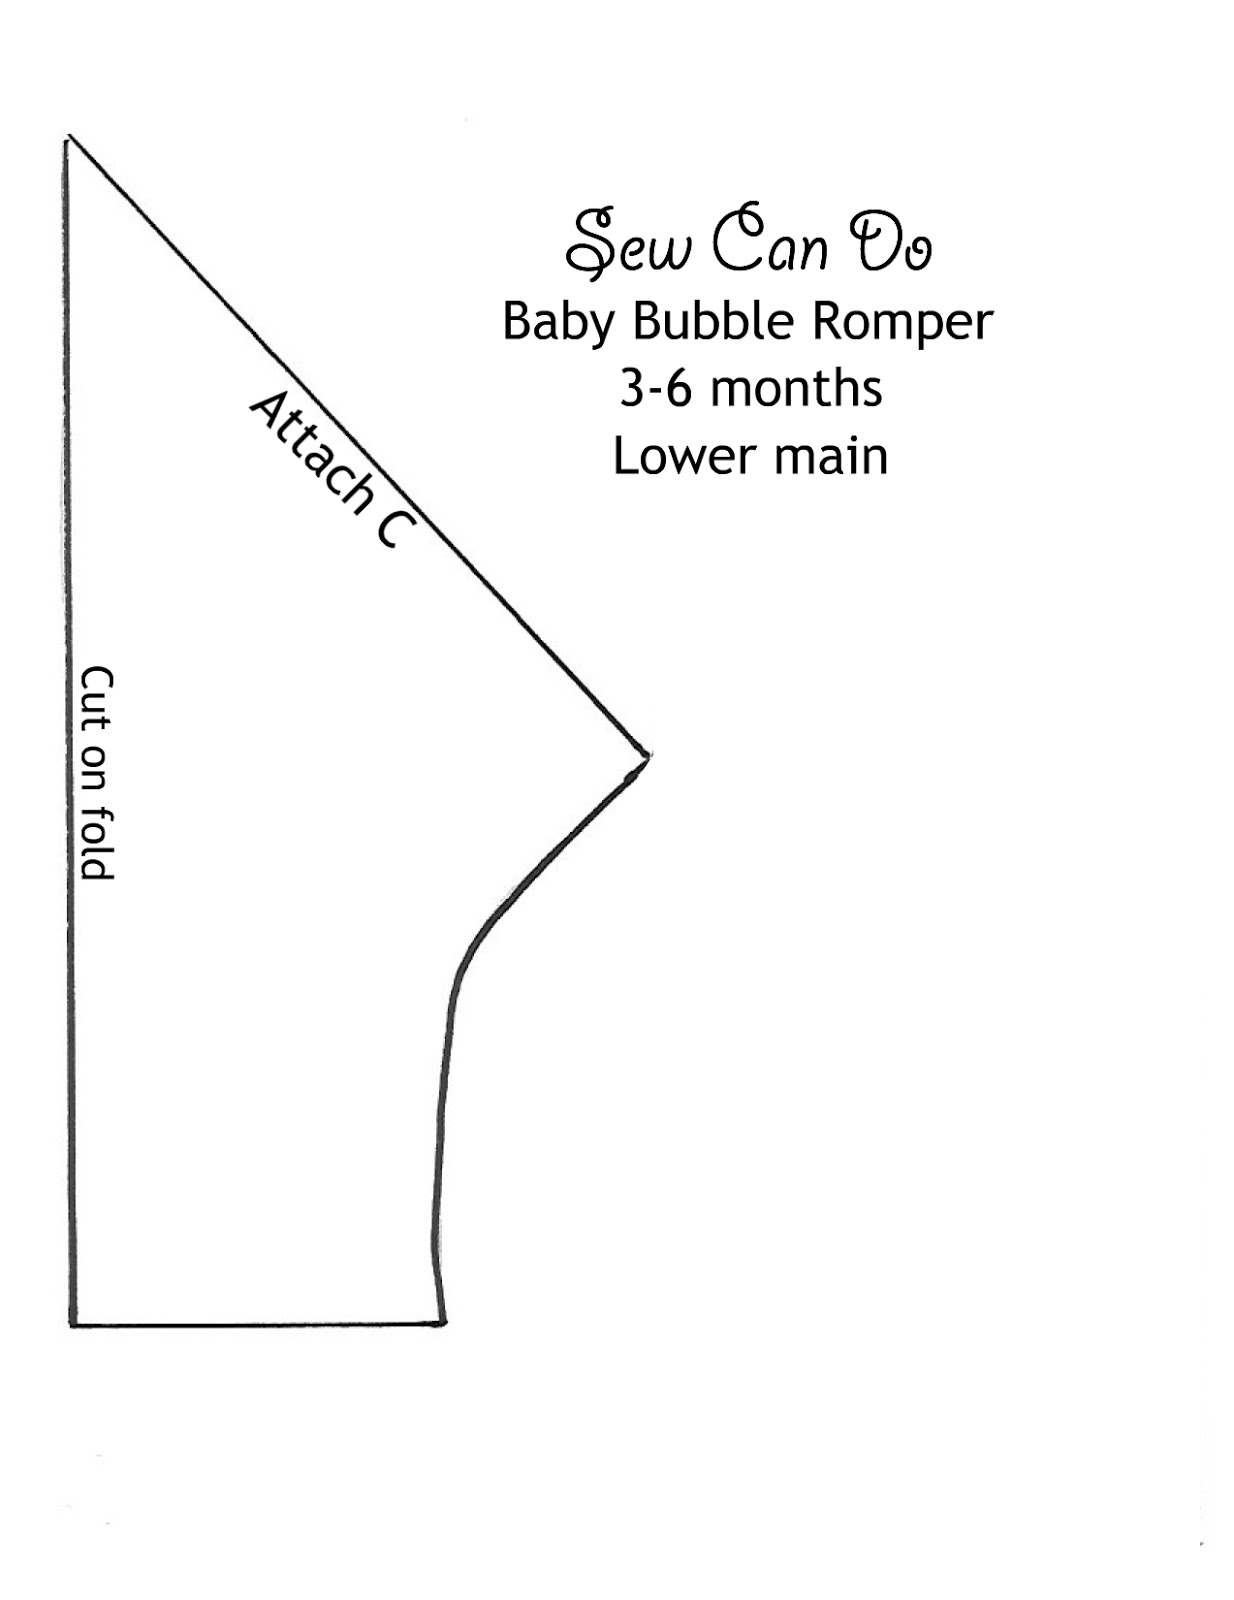
Now make a line down the center of the paper and measure a rectangle at the bottom that is 5 inches wide by 2 inches high. This will be the snap area. From the outer diagonal lines, measure up 5 inches and create a curved line from the top of the snap rectangle to that outer 5 inch measurement on either side. This will create the leg hole areas.
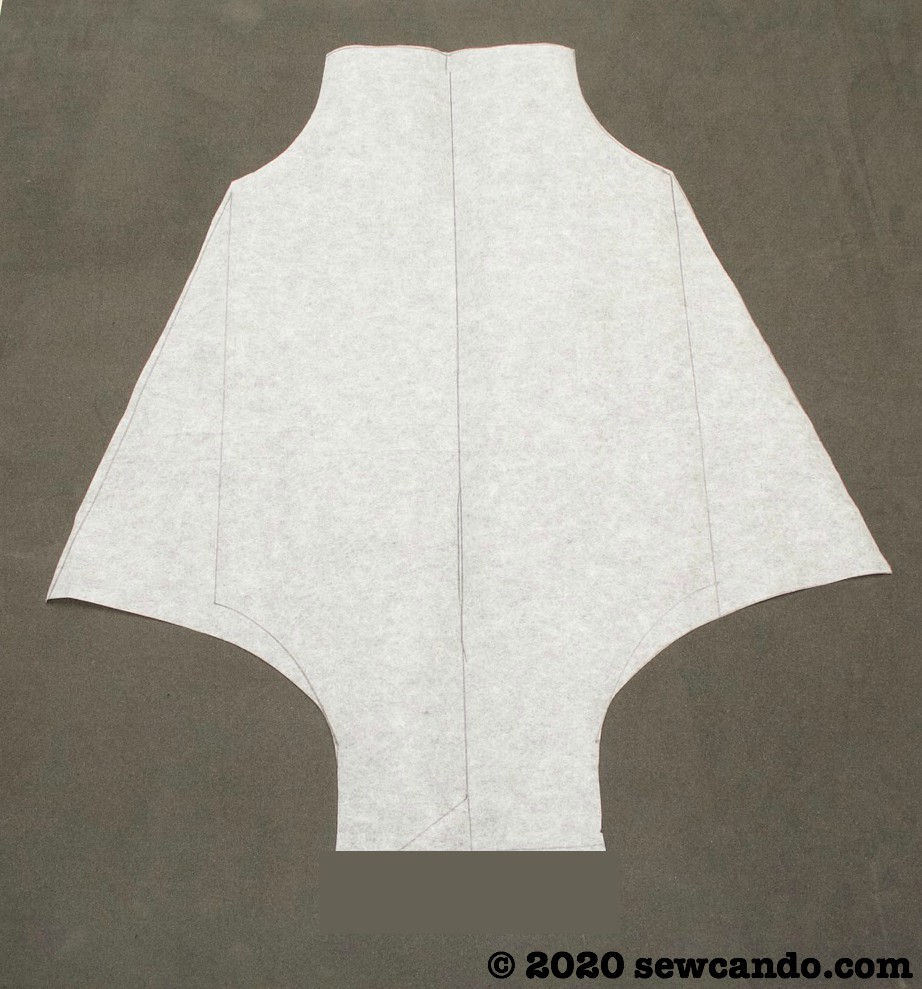
Tape the papers together and then cut along the drawn lines.
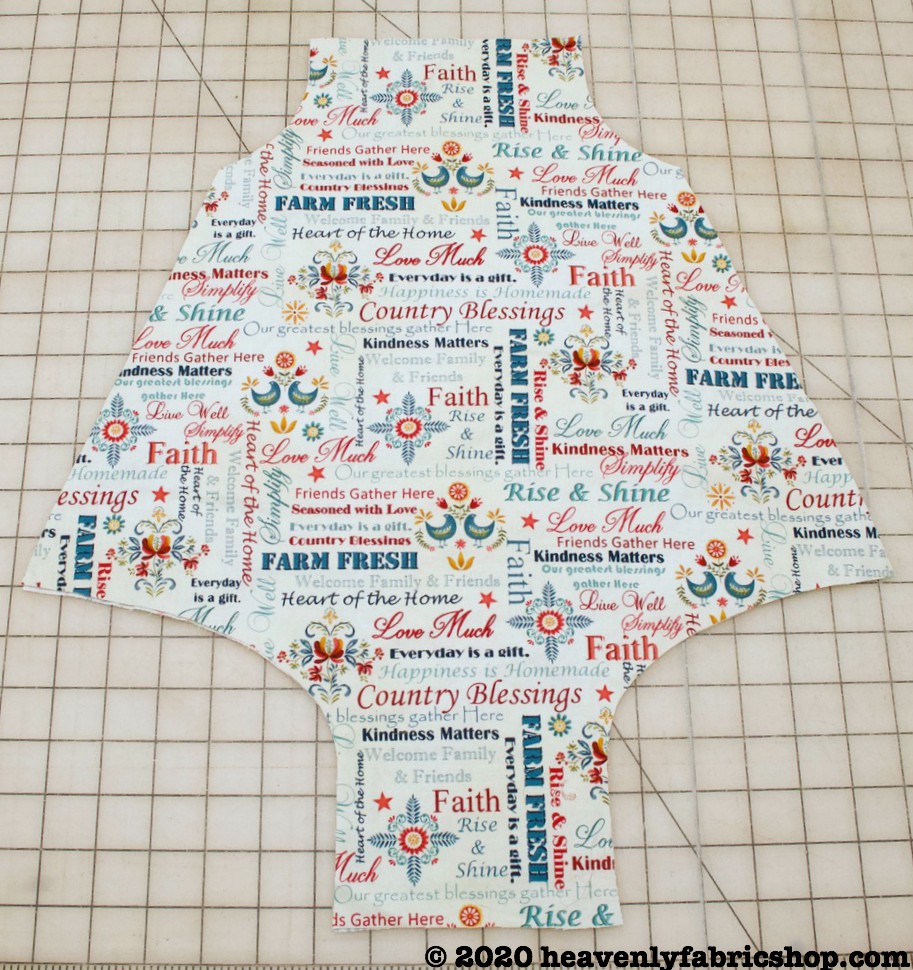
If using our PDF pattern (which is a half width), fold the fabric widthwise so the selvages meet in the middle and there is a fold on either side and cut each piece, front & back, on the fold and open.
If using a self-drafted version, where the pattern is full width, have fabric folded in half, with selvages on one side. Cut out two pieces from the fabric (front & back).
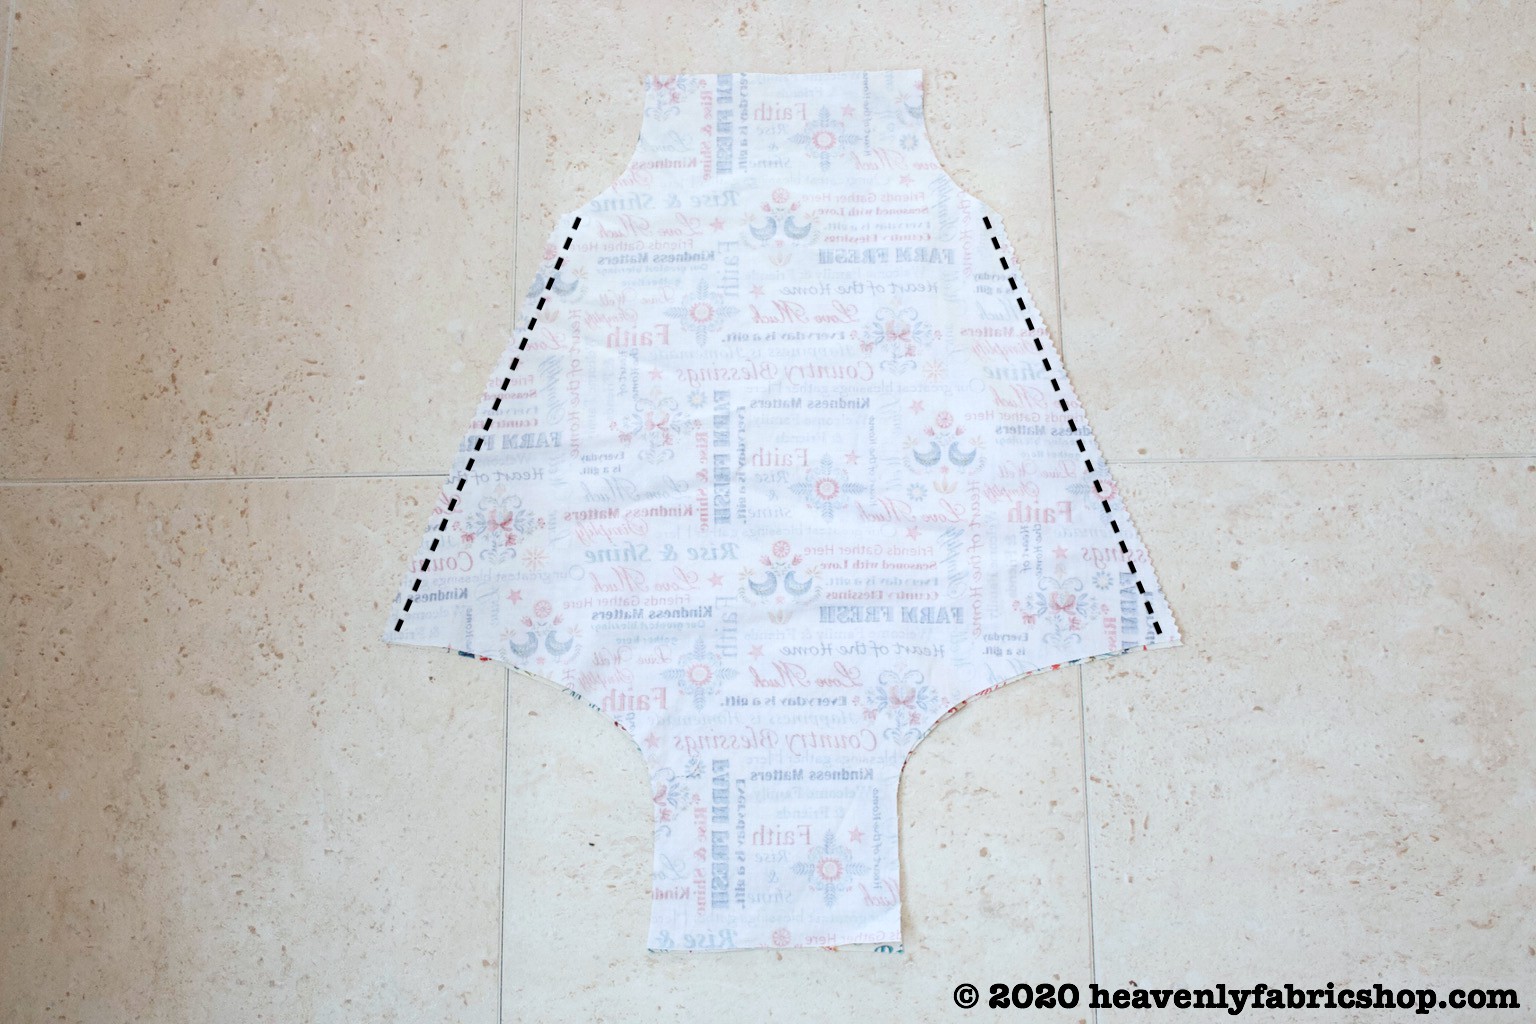
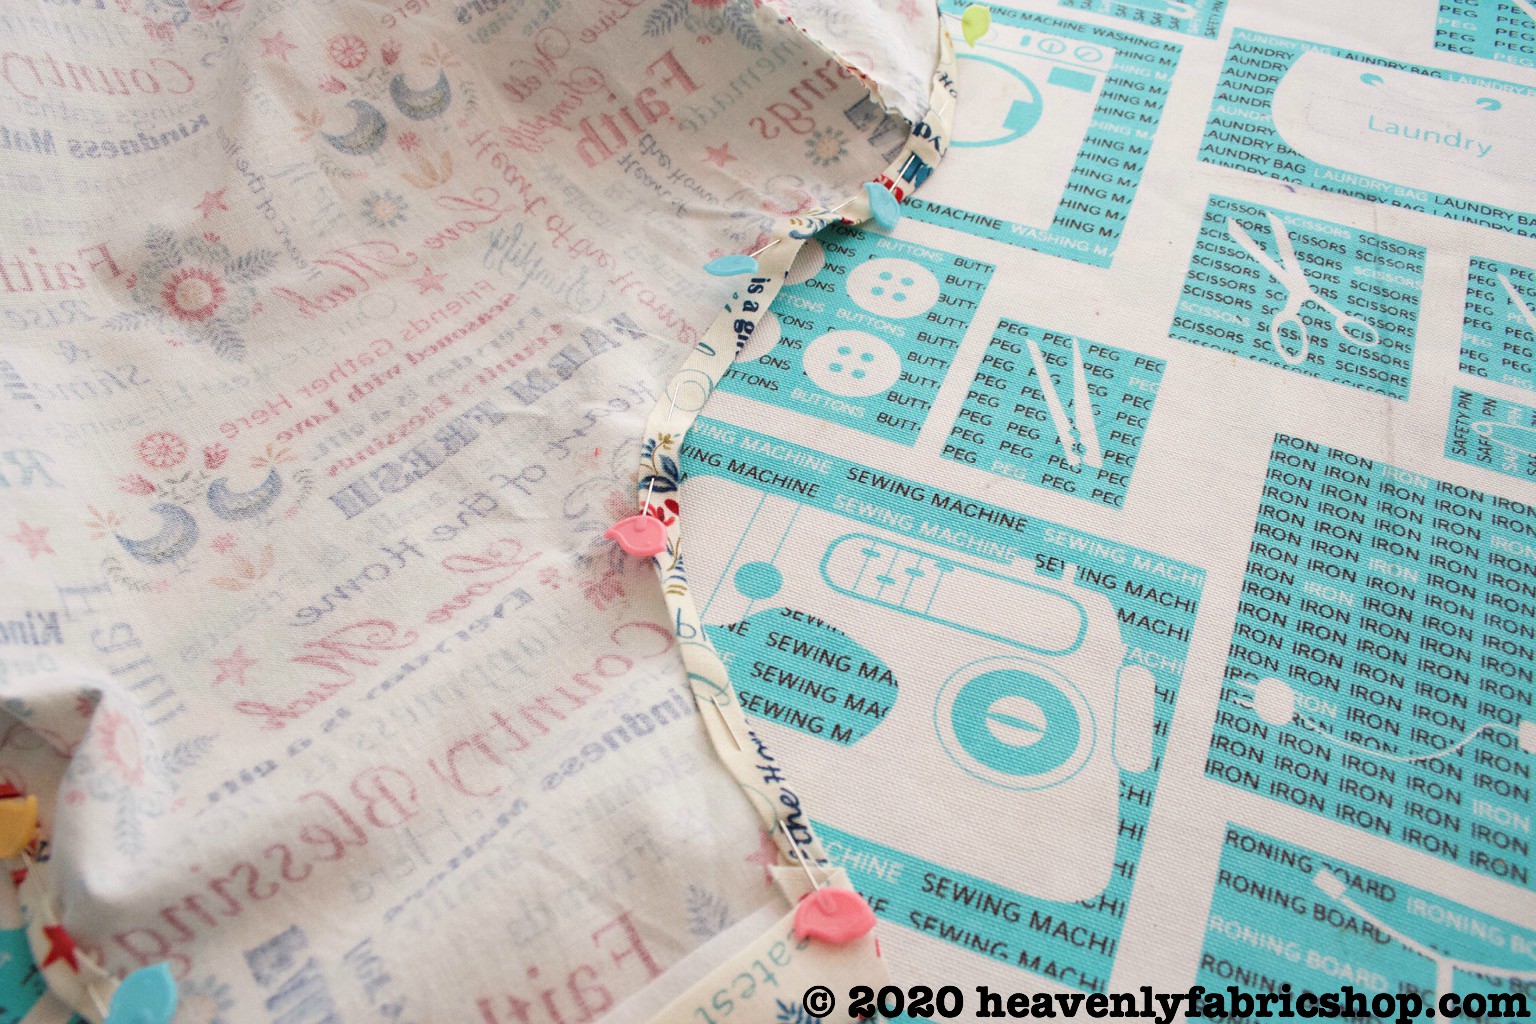
With right sides facing, stitch the side seams together with a 3/8in seam allowance.
Encase the underarm area of each side in double fold bias tape, pin and then stitch together close to the open edge.
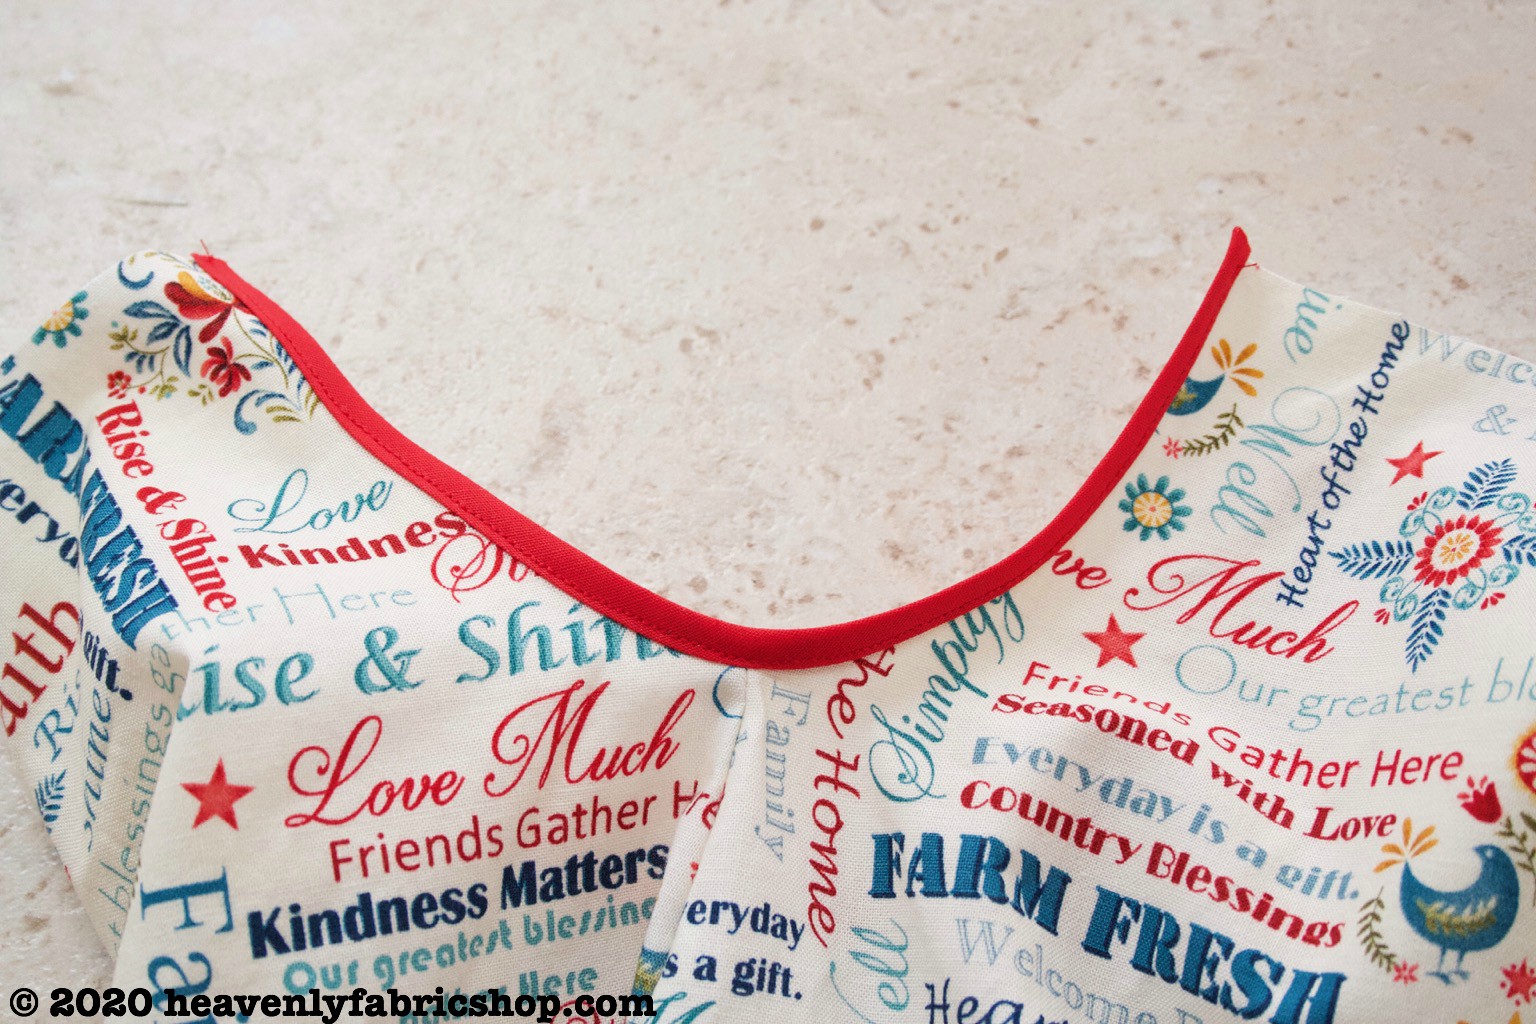
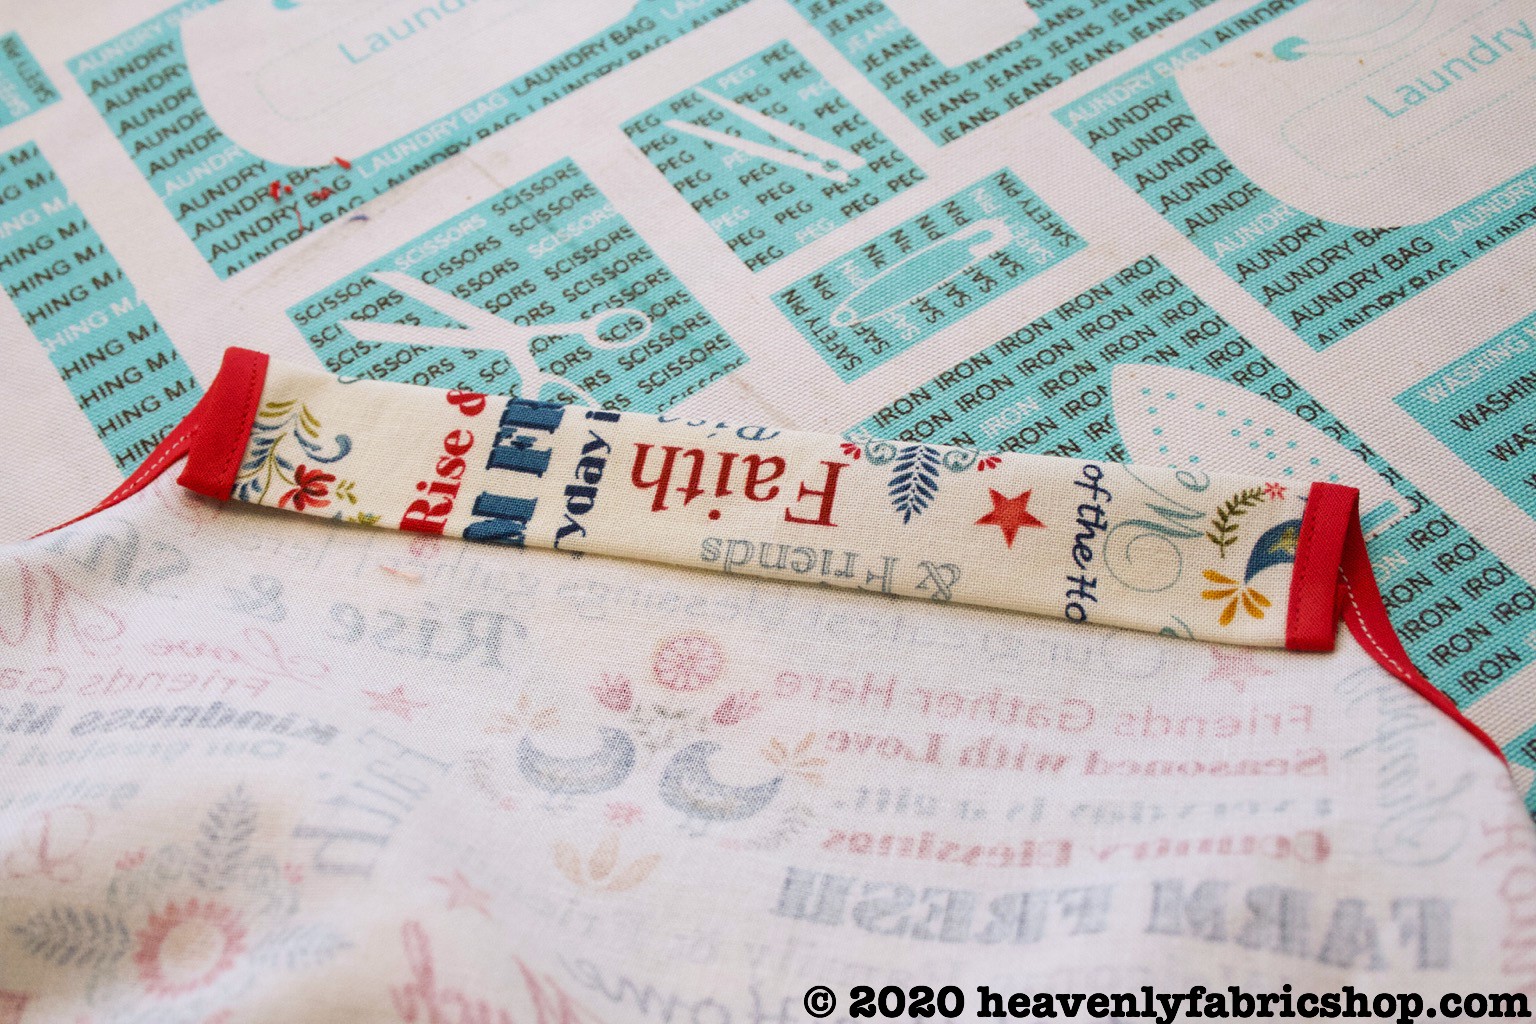
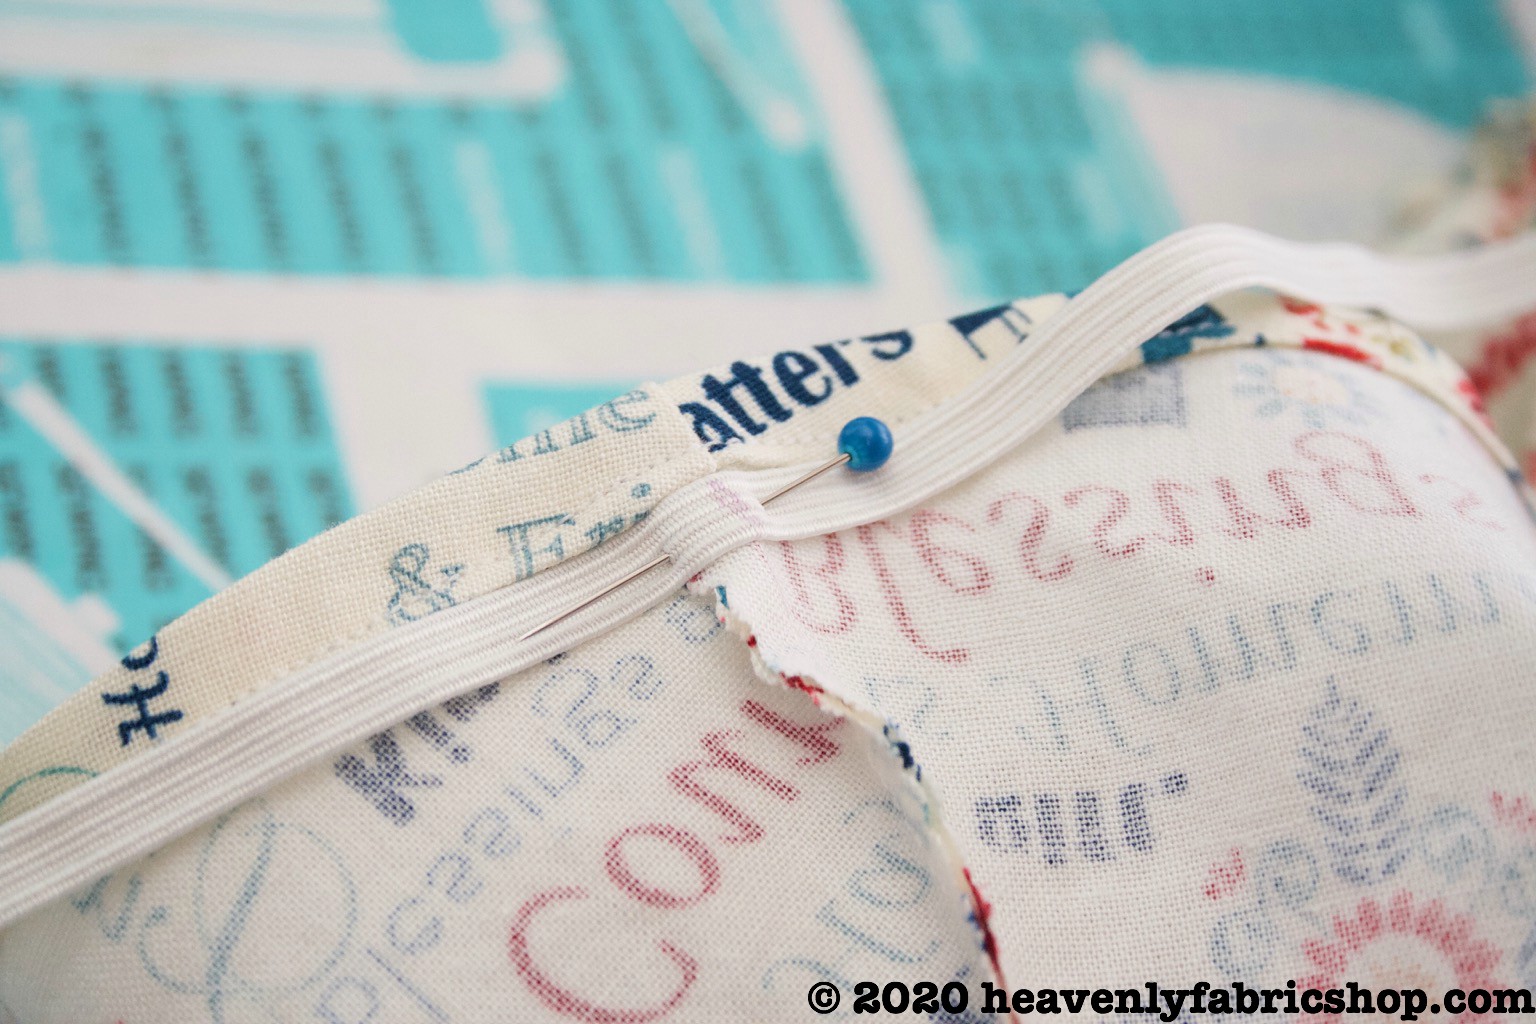
Create the neck casing by folding the top raw edge over to the wrong side of the fabric by 1/4in and pressing.
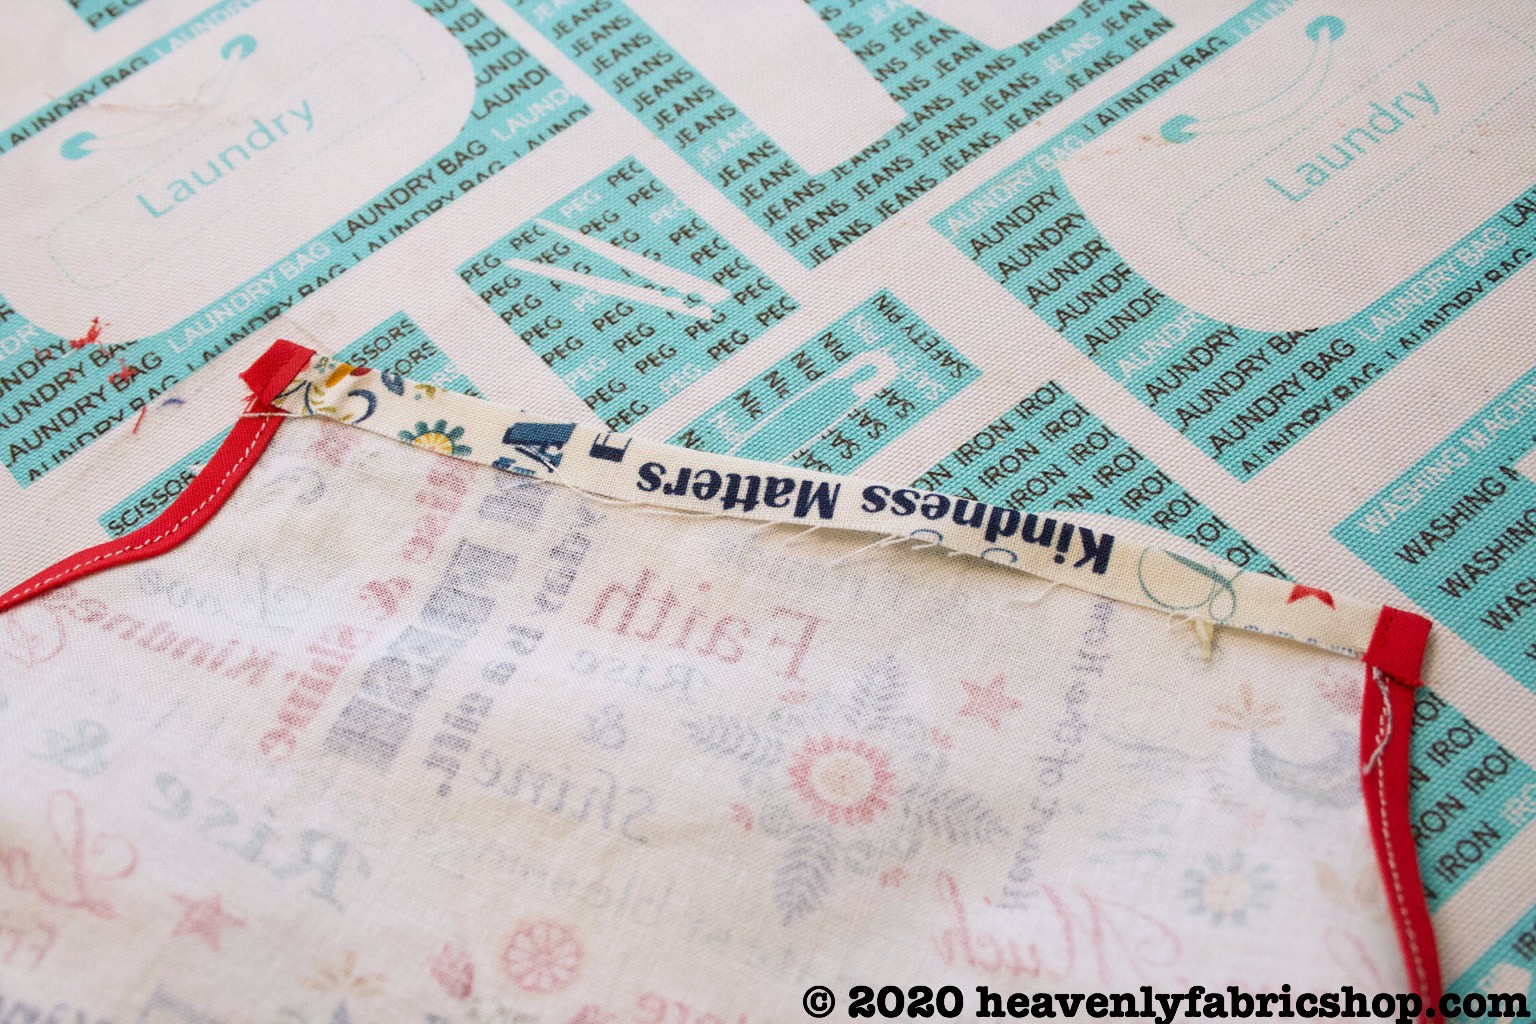
Fold again, down one inch this time and press. Stitch down near fold.
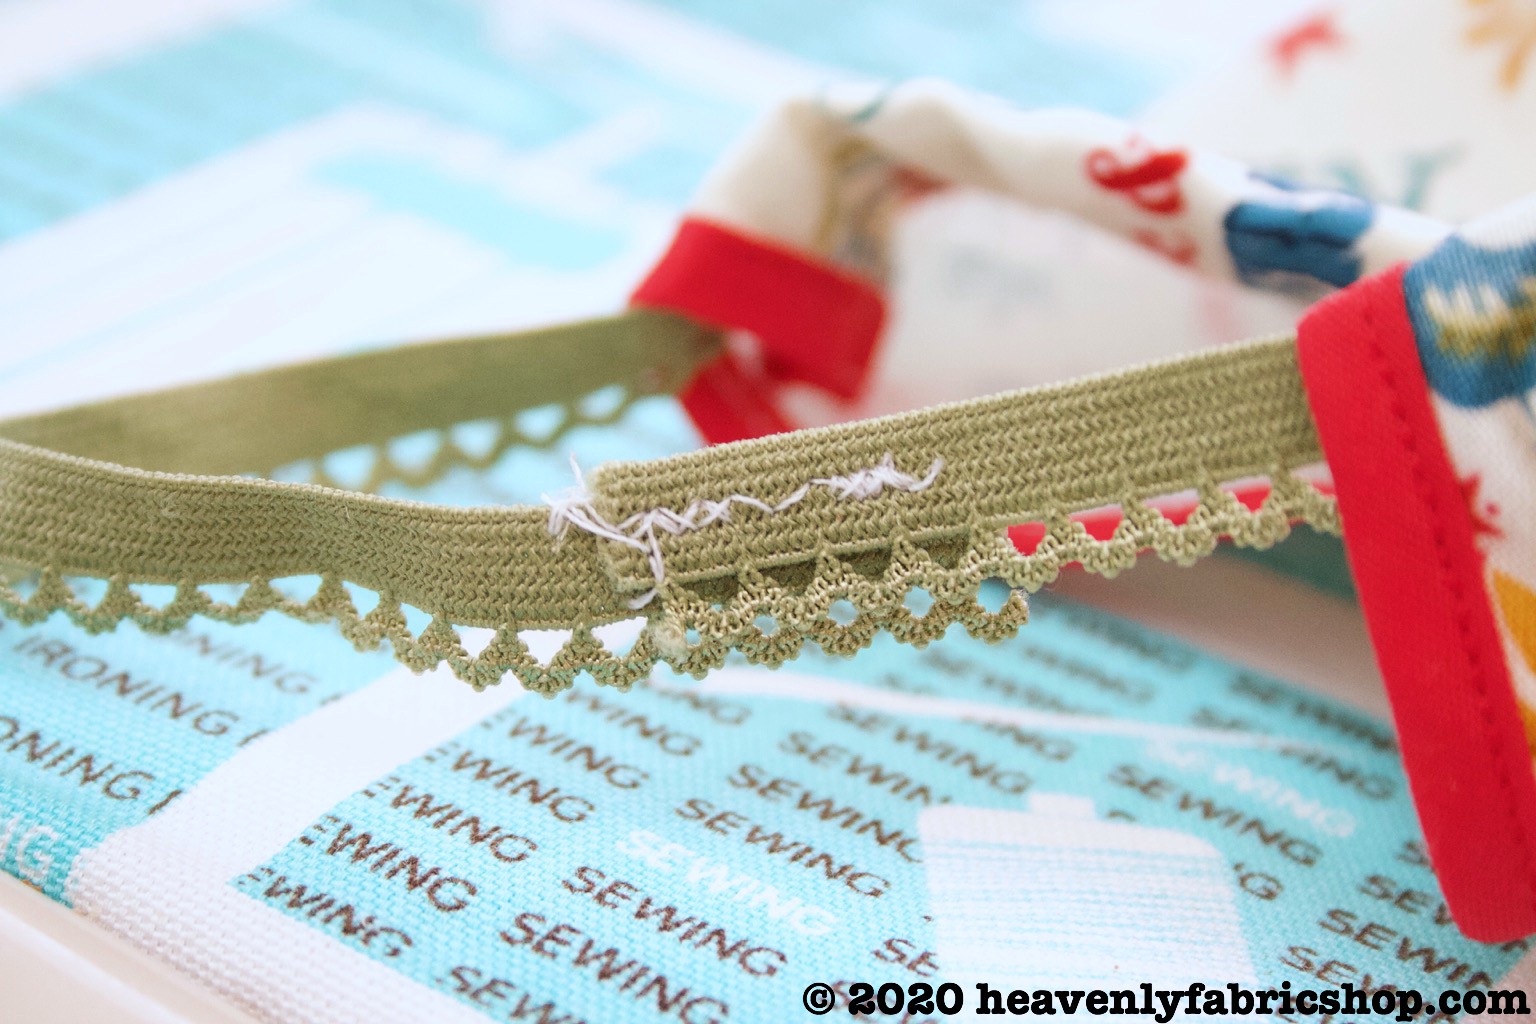
To make the stretchy elastic straps we did, determine the shoulder strap length by measuring the distance from the center of one shoulder to another and double that + 1 inch. For the 3-6 month size, it was inches 13 long so we cut 14in from decorative elastic. If you're not sure of size or don't have decorative elastic, a piece of ribbon could be used instead, just make sure it's long enough to tie in a small bow.
With a safety pin, snake the elastic/ribbon through the front and back casings. Overlap the elastic ends about an inch and zig zag stitch together. Pull the elastic so the stitched ends get hidden inside a casing and the gathering is evenly done on both sides.
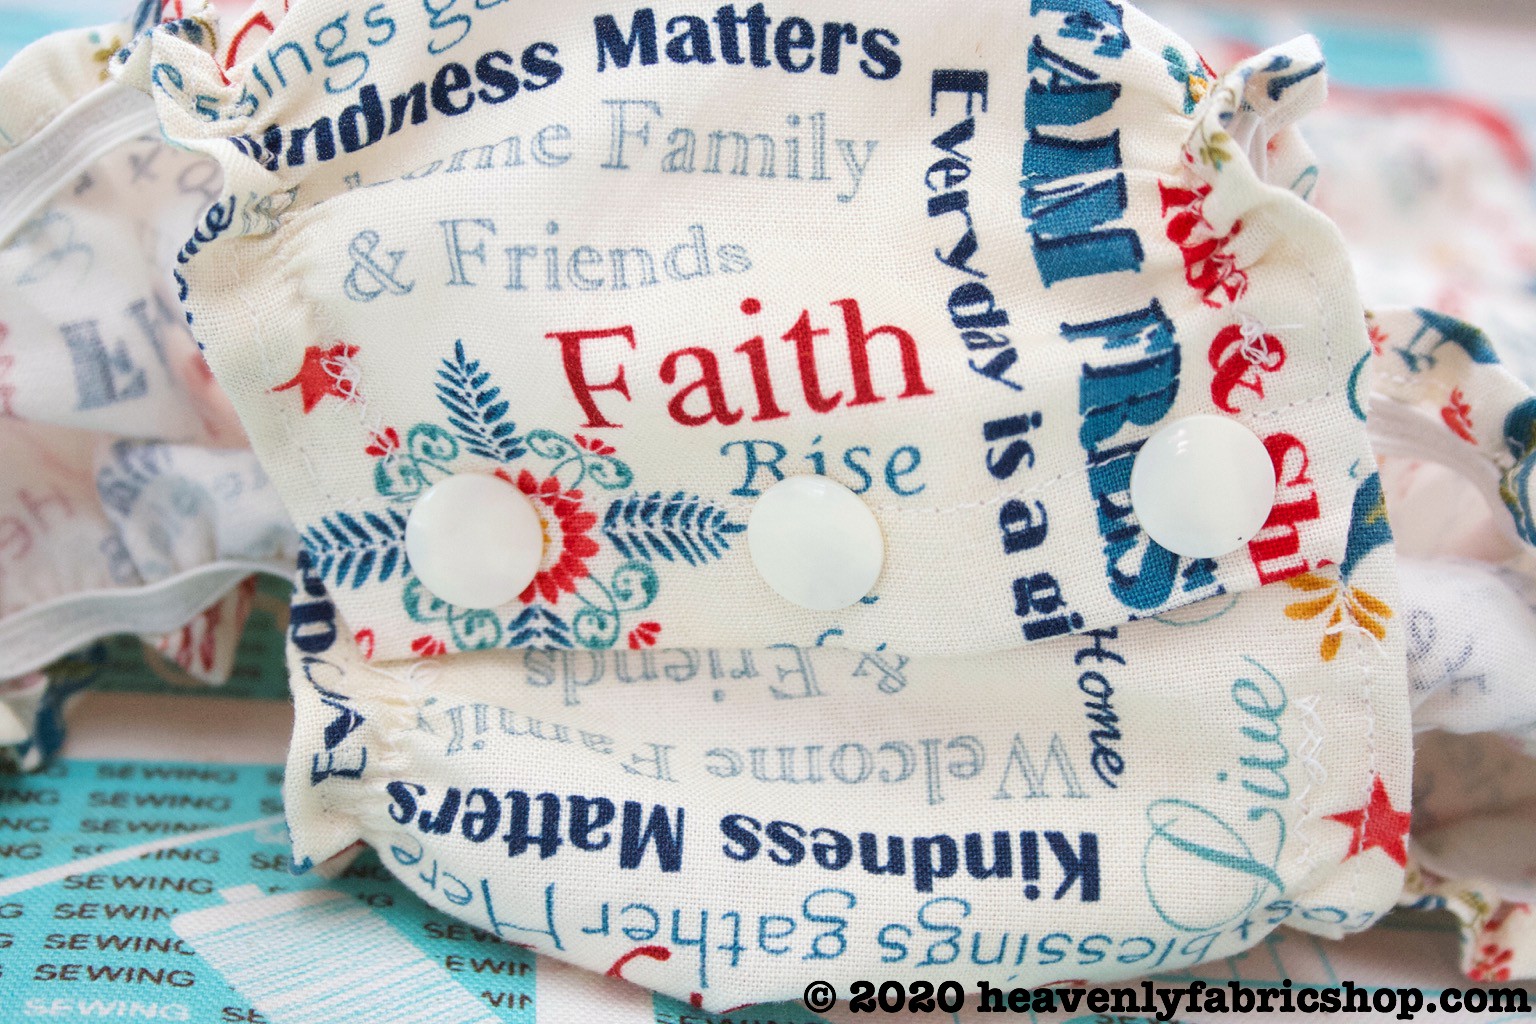
For the snap up bottom, fold the end 1/4 in over towards the wrong side of the fabric and press.
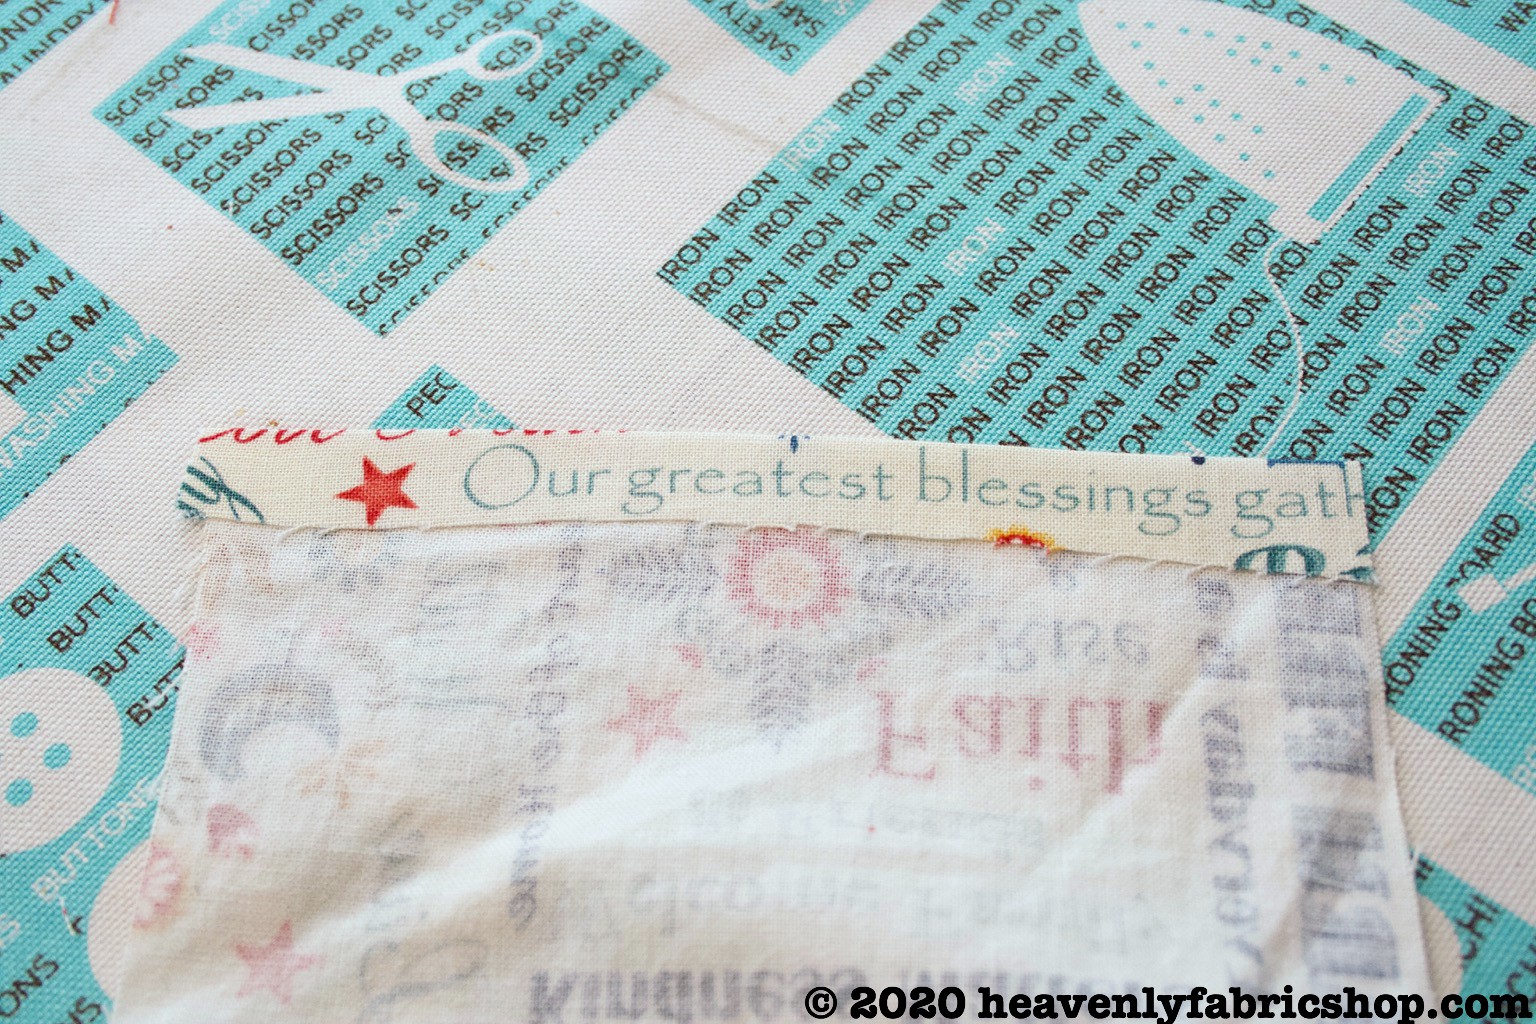
Now fold that bit up 1/2in toward the right side of the fabric and press. Stitch down 1/2 inch inward on either side. Clip the raw corners down and fold right side out.
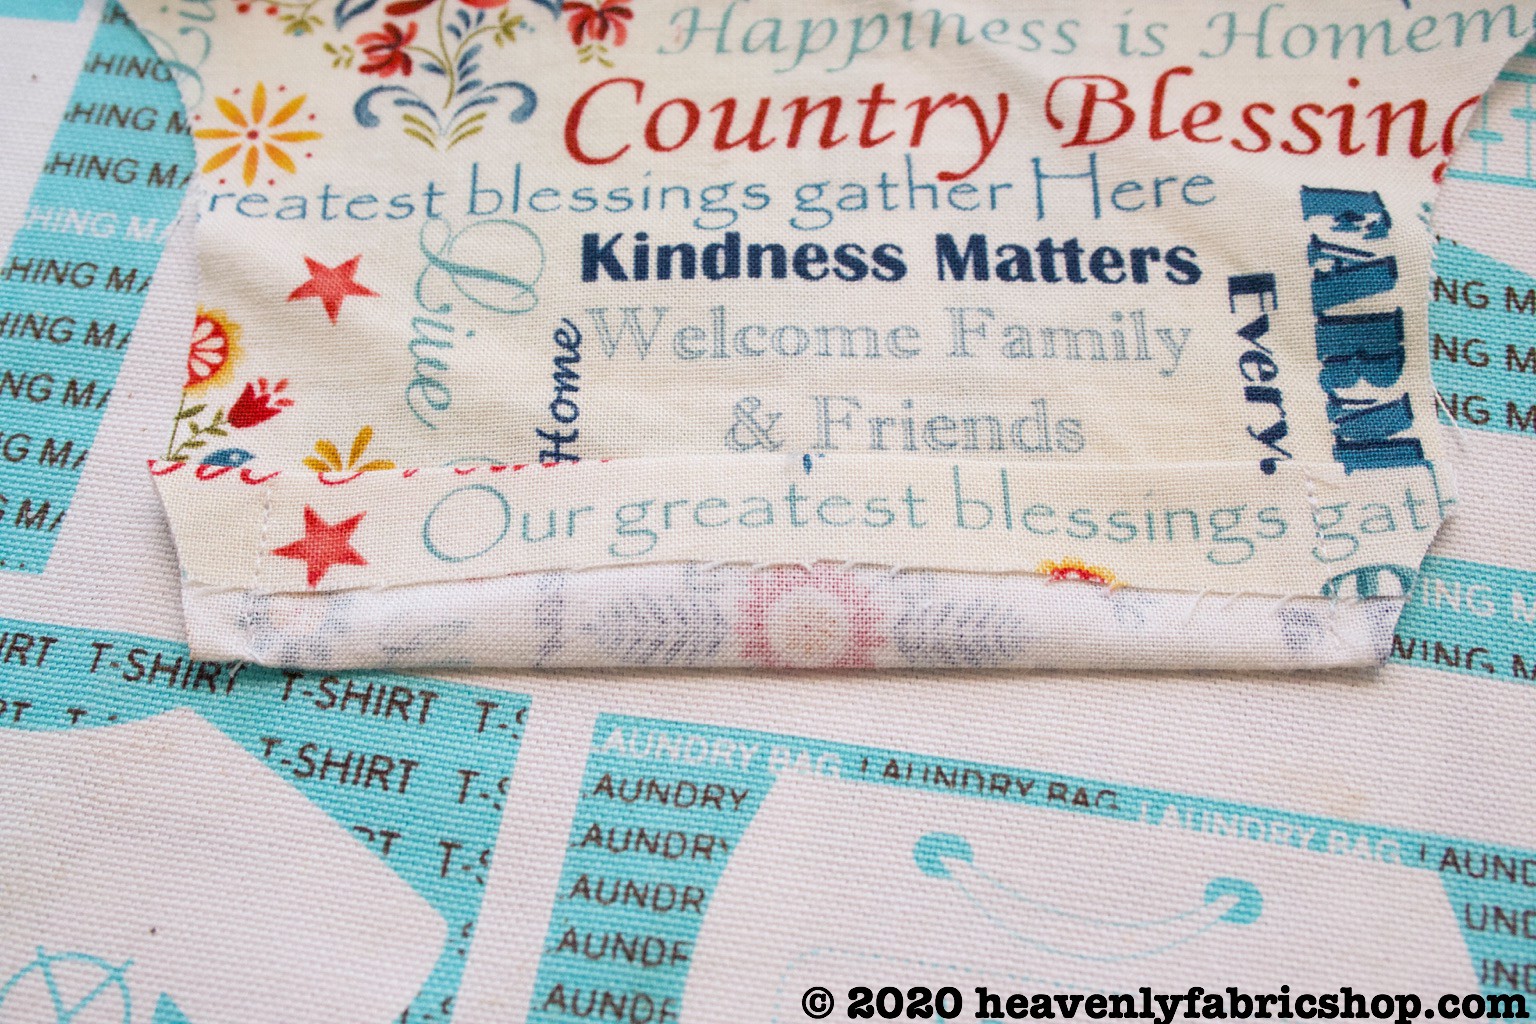
This creates a layered little pocket to put the interfacing or extra layer of fabric in that will reinforce it for the snaps. This is key to keeping the fabric from wearing holes around the snaps since it'll get pulled on a lot with frequent opening.

Fold the raw edge of the leg area under 1/8 in, press and repeat to make the leg hem. Stitch down.
Cut two pieces of 1/4in wide elastic that are 1 inch wider than baby's thigh measurement (9inches works for 3-6 months). Mark the center of each piece and match that to the side seam of each leg area.
Starting at one end of a leg hole, stretch the elastic next to the hem and stitch down with a wide zig-zag. This will create the cute gathering. Repeat on remaining leg hole.
Set snaps along the crotch ends (make sure one snap side faces down and the other faces up).
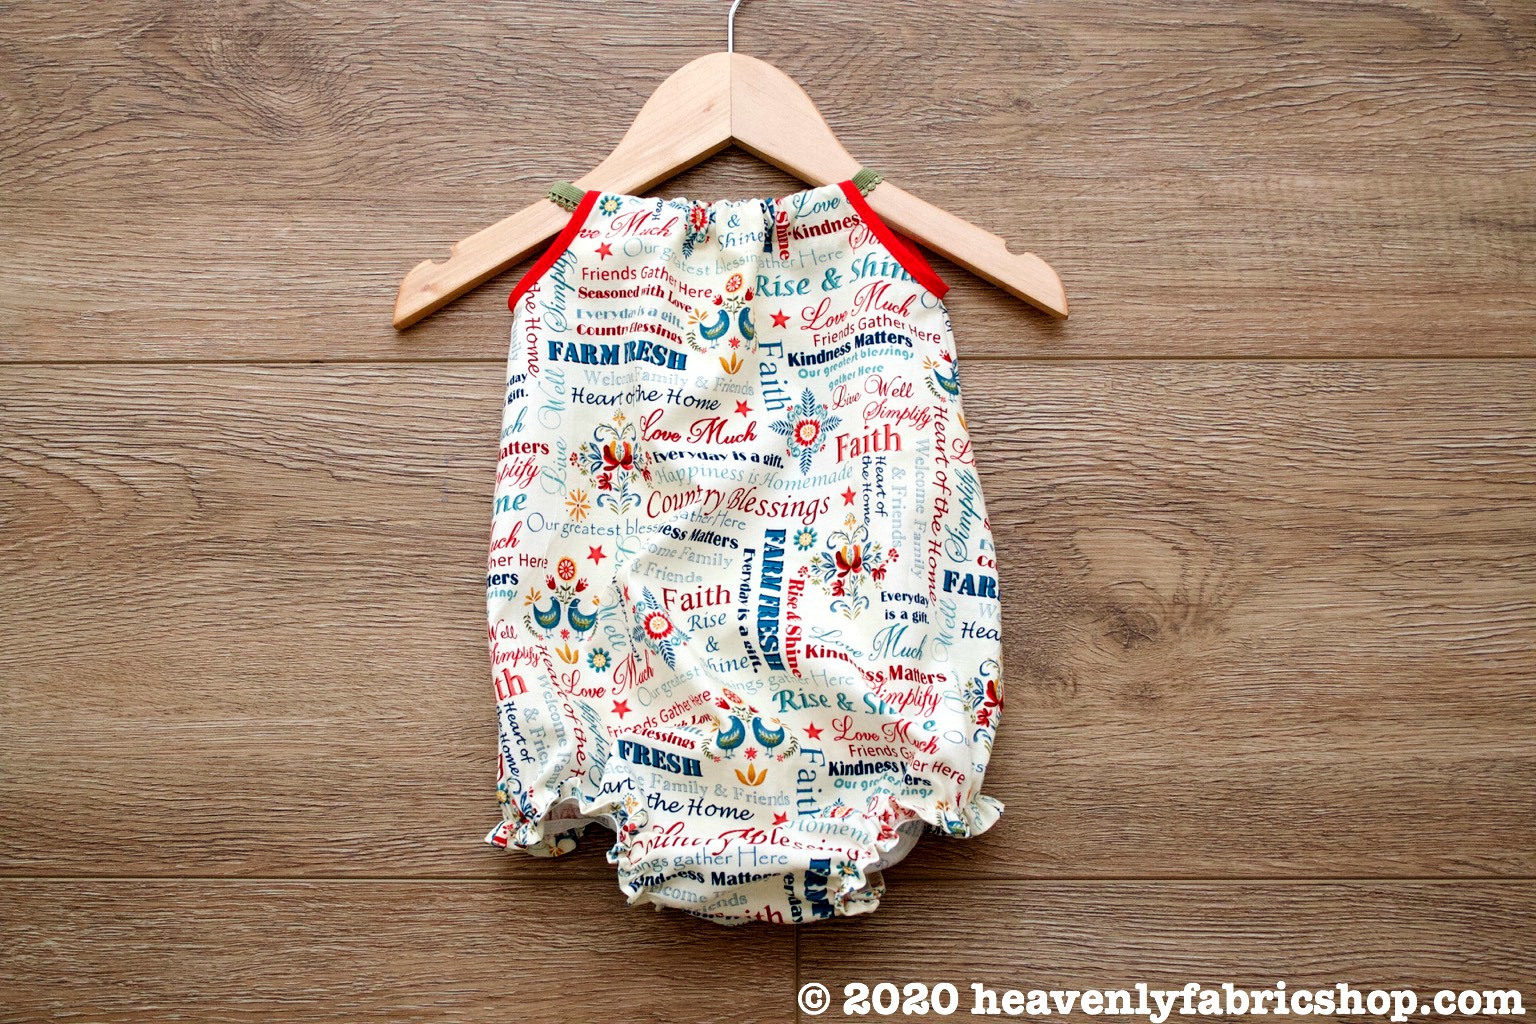
Admire your cute new bubble romper and dress that baby for summer!

a great pattern for us beginners
thanks