
DIY Tiered Tray Painting

Make some stunning holiday (or everyday) home decor with your own creative flair! Even if you're not super crafty, or great with decorating or short on space, these sets make it easy to create something lovely for the season (or everyday).

You simply paint and assemble the various dimensional elements and then place them with some little plants & knick knacks for a pretty themed look you can put anywhere. It's easy to see dimensional sets like these and just assume you have to be some incredible detail painter to make them look good, but the secret is that they come unassembled so you don't have to worry about staying in the lines.
We've put together all the best tips for doing tiered tray decorations and getting great results in no time.
Tiered Tray Set Painting Tricks
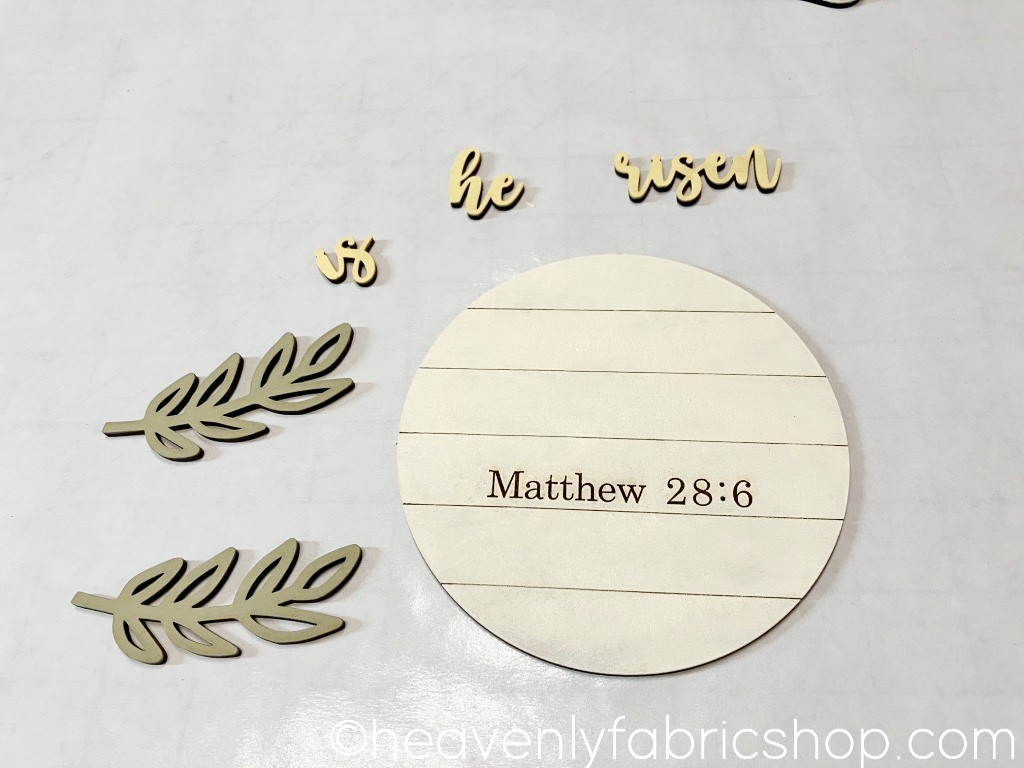
The Religious Easter Set has 6 key pieces with these layered elements:

It's recommended to plan out your color scheme and group the elements by color to be efficient. For ours we chose an off-white, sage green, butter yellow and chocolate brown:

We did all our painting on freezer paper (shiny side up) to keep things clean and no-stick.

The trick to painting without brushstrokes is to use foam makeup wedges and dab the paint on. Super easy and drip-free too:

To make it simple to do the little pieces like letters, put a strip of painter's tape sticky side up and put the pieces on it. Then you can hold the tape rather than the pieces. Less mess and easier to coat:

We gave all the light colored pieces a double coat of paint. The trick to keeping the cut-in lettering nice & contrasting (unpainted) like the Matthew 28:6 here is to dab gently with very little paint in those areas and use a wet toothpick to remove any paint that does get in the grooves:
To smooth the finish, go over them gently with a high (fine) grit sandpaper. If you want to distress them, sand a little harder.

When dry, we grouped all the elements of each piece back together:

The detail pieces for ours are self adhesive so we just peeled the backing paper off and stuck them in place:

You can seal them with a poly spray if you want - especially if using for outdoors. We strung the banner elements on some baker's twine:
If free time is in short supply, you'll love how quickly these come together and how fun it is to style them up. Another bonus is that they don't take up a ton of storage space out of season, unlike wreaths and bigger decorations.
We used ours on a tiered tray, but they are also ideal to use in wreaths or turn into magnets. Add some pretty ribbon loops and hanging them to make an Easter tree too.
